
E-Signature events can be configured after the corresponding application preference is enabled.
Enable the E-Signature preference
-
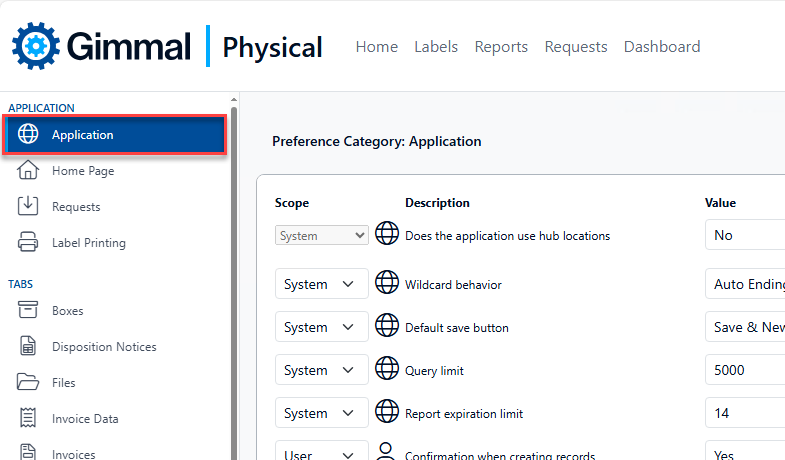
Browse to the Preferences page by choosing the Preferences option in the gear menu.

-
After the Preferences page loads, make sure the Application preferences are displayed using the left navigation.
-
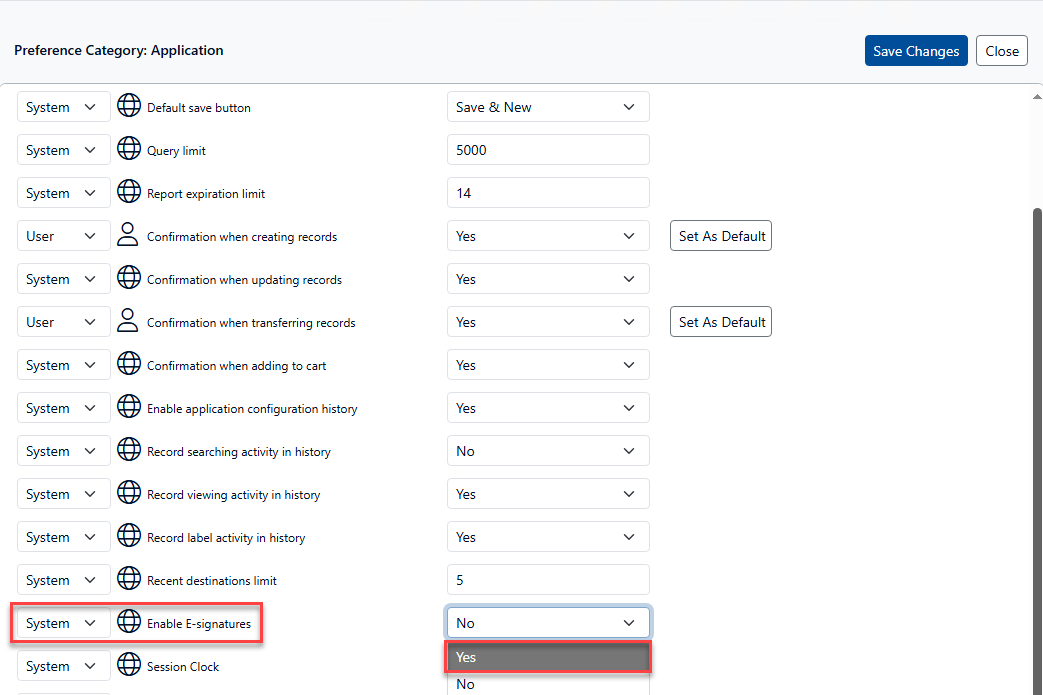
In the Application preferences, locate the Enable E-signatures preference and change it to Yes.
-
Make sure to Save Changes after updating the preference. You can now proceed with configuring E-Signature events.
Configure E-Signatures
-
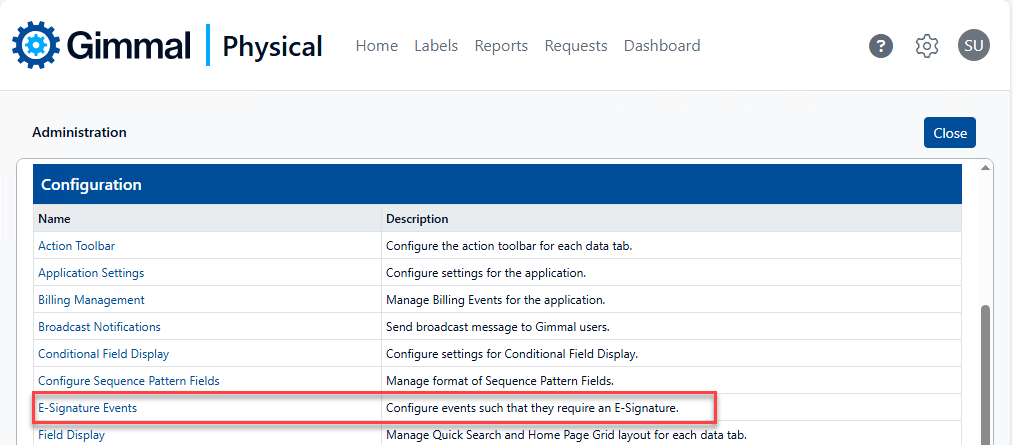
As a User with permission to Manage E-Signature Events (Roles and Permissions → Edit Permissions → Advanced), load the Admin page by choosing the Admin option from the gear menu.

-
Click the E-Signature Events link in the Configuration section.
-
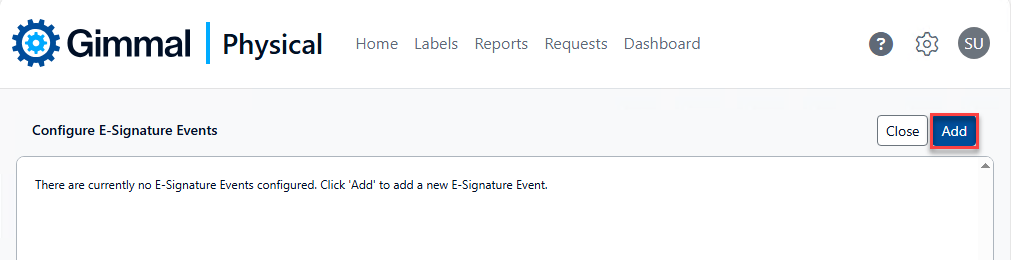
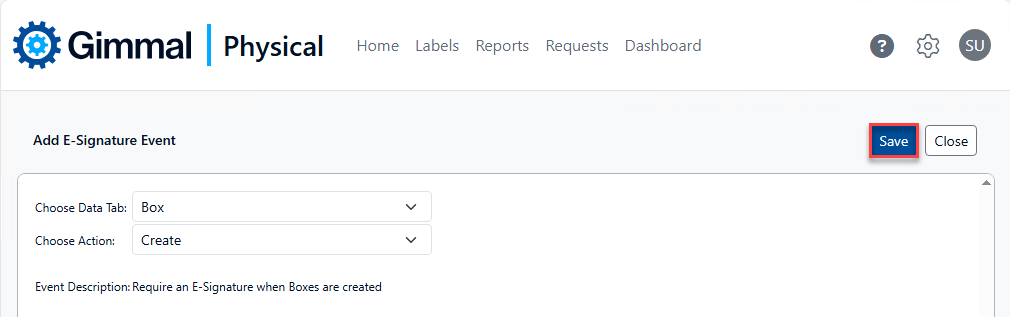
On the Configure E-Signature Events page click Add to create a new E-signature Event.
-
On the Add E-Signature Event page, Select the Data Tab and Action from the drop-down menus. The Event Description displayed below reflects the choices made. After making your selections, make sure to click Save.
-
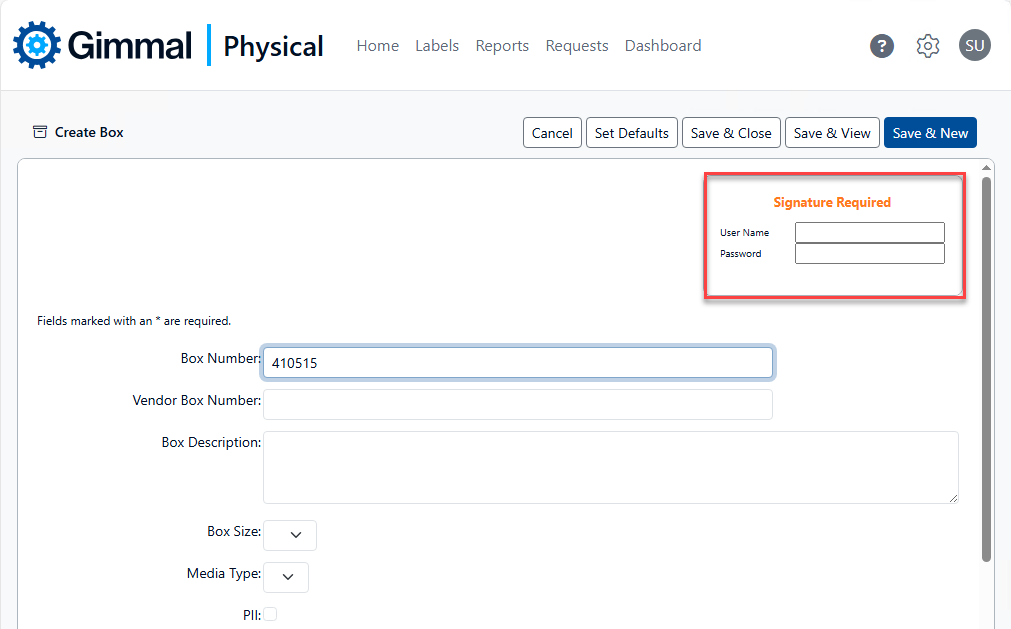
Now, when creating a new Box, for example, user credentials are required:
Although E-Signature Events can be added, the functionality will not execute unless the Enable E-Signatures preference is enabled for the logged in user.