
To be included in a disposition batch, an item cannot be on a Legal Hold or already deleted. The specific items must then meet the criteria of the specified Target Date and have a related Organization, Location, or both as chosen by the filters. If the criteria is only a specified Target Date (i.e. no filters are used), this identification will be run across all Organizations and Locations.
In the examples below, Boxes will be used.
Create Batches
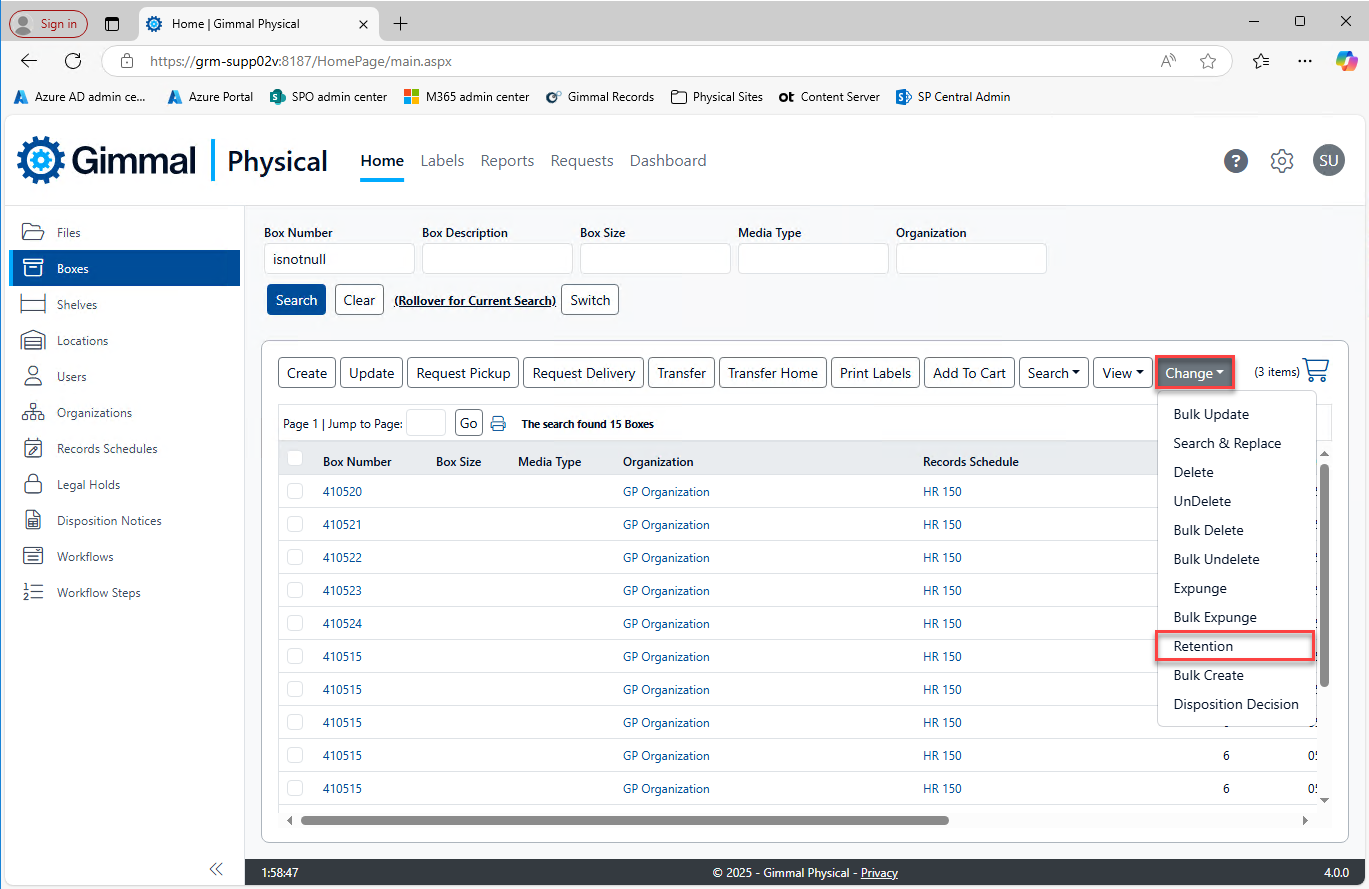
Proceed to Boxes Tab > Change > Retention to open the Retention page for Boxes.
Your application may have the link to the Retention in a different location or as a separate button.
-
Proceed to the Boxes Tab.
-
Select the Retention button to begin the disposition process.
The Box Retention view will open. At this point, batches may or may not have been run. A batch is simply a grouping of the items that meet this disposition criteria. Once a batch has been run, a grid will appear to manage the previously run batches or in process batches.
There is a helpful information bubble up at the top of the page that will highlight the step being activated within the process.
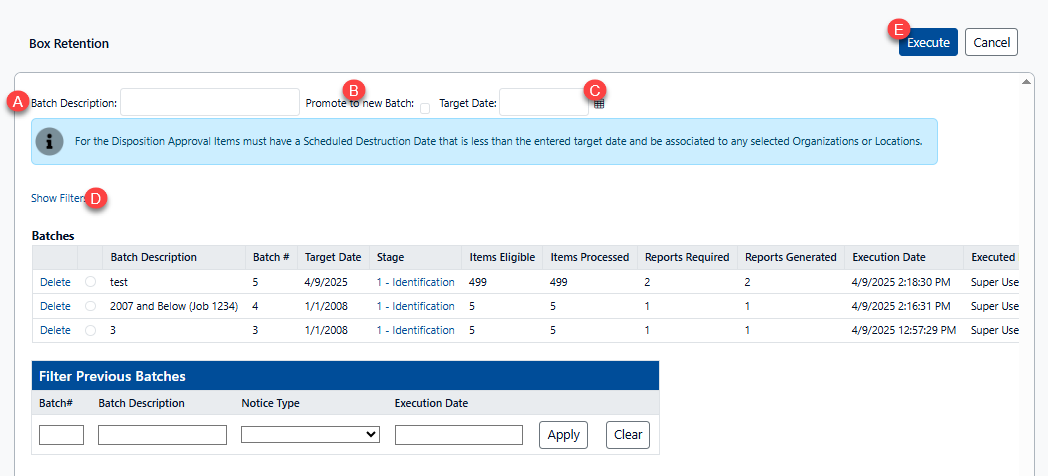
To begin disposition:
-
(Optional) Enter a Batch Description for an alternate identifier for a given batch (e.g. HR Q2, 2025) (A)
-
(Optional) Enable the ‘Promote to new Batch' option if you wish for any items not disposed from previous batches to migrate to the new batch.
-
Enter the Target Date by typing directly or using the calendar control. (C)
-
(Optional) Choose one or more filters for one or more data fields by clicking the ‘Show Filters’ link. This will expand the control to enable the restriction of batches by one or more data filters (D):
-
Saved Queries
-
Organizations
-
Locations (Note: Only Hub locations are available as a filter option for disposition)
-
Record Schedules
-
-
Select Execute, then click ‘OK’ on the subsequent verification page. (E)
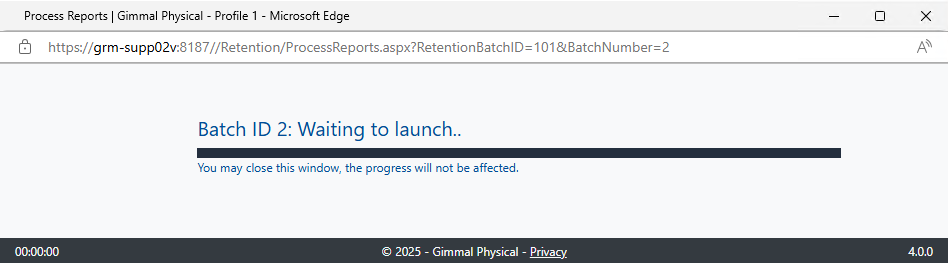
A pop-up will appear to let you know the process is being run.
Once the batch processing is complete, the Box Retention page will be updated with details of the new batch. A new, automated, batch number is assigned to all items which meet the disposition criteria.
At this point, Disposition Decisions (Approve, Reject, Remove)
The ‘Saved Query’ filter identifies items for Disposition from any Advanced Search. This drop down list is populated by queries saved in the ‘Advanced Search’ view which are scoped for the logged in User (i.e. User or System).
Make Disposition Decisions
Once items have been collected in a batch, an optional step is to have an semi-automated or manual review to validate the items are eligible for disposition before any further steps are taken. See Disposition Decisions for more detail.
Helpful Tips for Identification
For more control, or a smaller number of boxes to approve:
-
Use Filters - Organization, Location, Record Schedule or all three
-
If a large backlog of items exists, run batches in years and months for easier management.
-
To provide a count of items that are ready for deletion before initiating the retention process, search the appropriate Tab (e.g. Boxes) based on the following criteria:
-
Not deleted (Deleted set to false),
-
Not on a legal hold (Legal Hold set to false)
-
Enter a particular scheduled date with the appropriate comparison operator (usually less than <).
-
-
To see item level details, like the Disposition Notice showing the current Stage/Batch and the Disposition Approval checkbox, simply view the item (e.g. Box). Please note that changes to this information are recorded in history.
-
If a File belongs in a Box but is checked out when the Box is destroyed through a Disposition Batch, the File is not deleted, but its Home Location is removed. The file will inherit a new Home Location based on the next Box it gets put into.
Move to the Next Stage: Aggregation
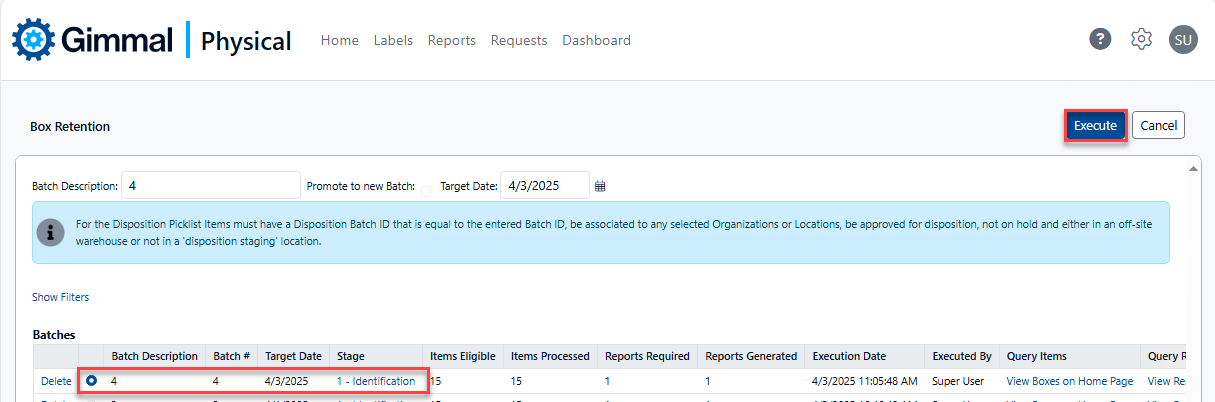
Select the radio button on the Identification Stage and click Execute to proceed to the next stage Aggregation for the selected batch.