
Upgrade from version 5.1 to version 5.1.1
Prerequisites
-
The current user is a Local Administrator
-
You have installed .NET Framework 4.5
-
You have installed .NET Framework 3.5
-
Connector system requirements.
-
100 MB of space available for the Documentum Connector
-
A service account with Read / Write permissions to %Install path%\Logs
Be sure you have completed the prerequisites before upgrading the Documentum Connector to 5.1.1
-
Remote into the server as an Administrator on which the Documentum Connector is installed.
-
Stop the following Documentum Connector Services:
-
Gimmal Documentum Classification Service
-
Gimmal Documentum Retention Service
-
-
Download the Documentum Connector ISO (Documentum Connector v5.1.1.iso ) from the Gimmal Software Downloads site. Once in the Gimmal Software downloads site click on the Documentum Connector link to see the Documentum Connector downloads. If you do not have access to the software download site, please contact Gimmal Support.
Upon launching the Documentum Connector installer as the Local Administrator, the following screen displays:
Upgrading the Documentum Connector
Before you upgrade the Documentum Connector, verify the Connector system requirements. This upgrade section also assumes that you have already installed the Records Management Core platform.
To upgrade the Documentum Connector, perform the following steps:
4. From the Records Management splash screen, click the
Install Documentum Connector link, and the User Account Control window opens.
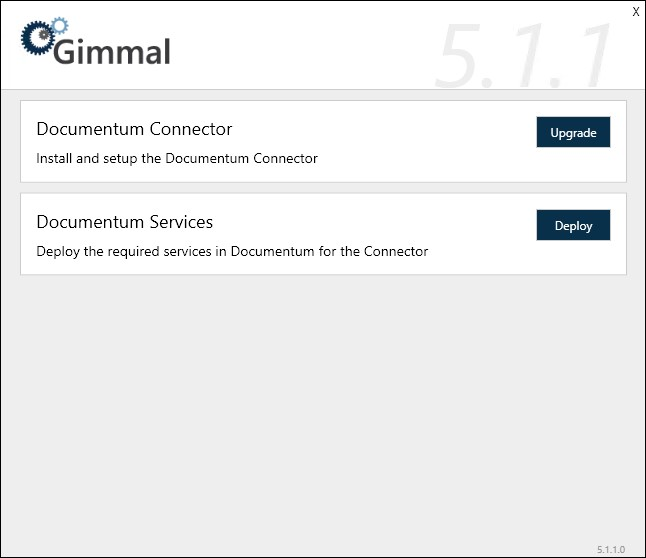
5. On the Documentum Connector installation screen, click
Upgrade to the right of the Documentum Connector option. The first window that displays is the check for prerequisites.
This window validates the following information before allowing the installation to proceed:
-
The current user is a Local Administrator
-
You have installed .NET Framework 4.5
-
You have installed .NET Framework 3.5
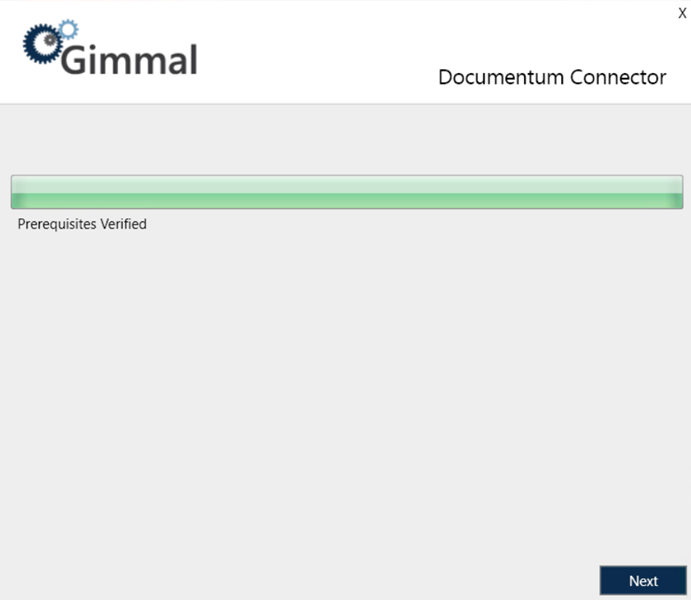
6. Click Next. The installation location screen is displayed. This determines where the connector will be installed.
7. Leave the installation path as the default, or to change it, click the ... icon next to the installation location field, select the desired installation location, and then click Next.
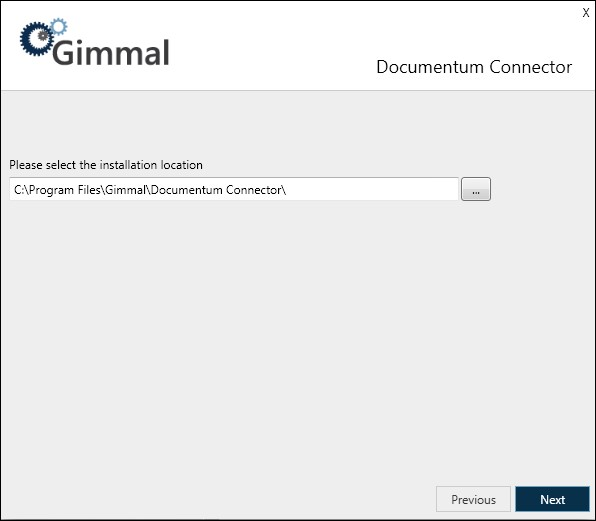
You must have at least 100MB of disk space available.
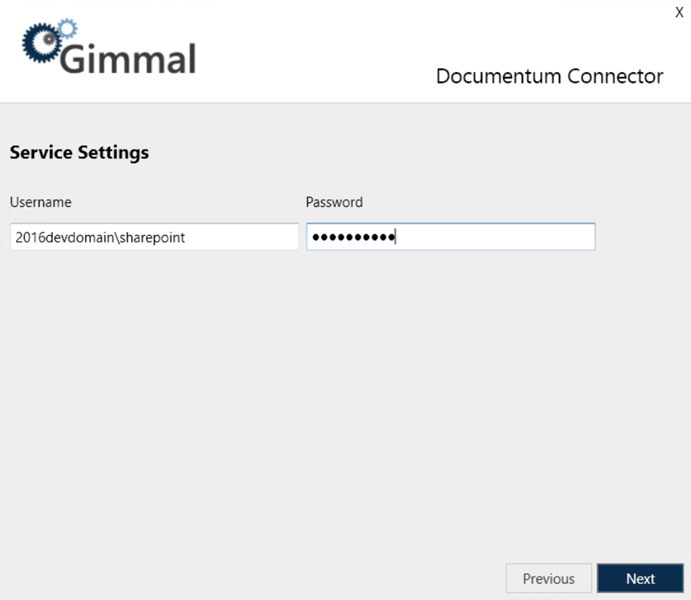
8. Enter the following required information to specify which user account to use when you run the Windows Services:
o Username (Ex. DOMAIN\Username)
o Password
The user account must be a domain account and must have the following file system permissions:
o Read/Write: %Install path%\Logs
9. Click Next. The Database Settings screen displays.
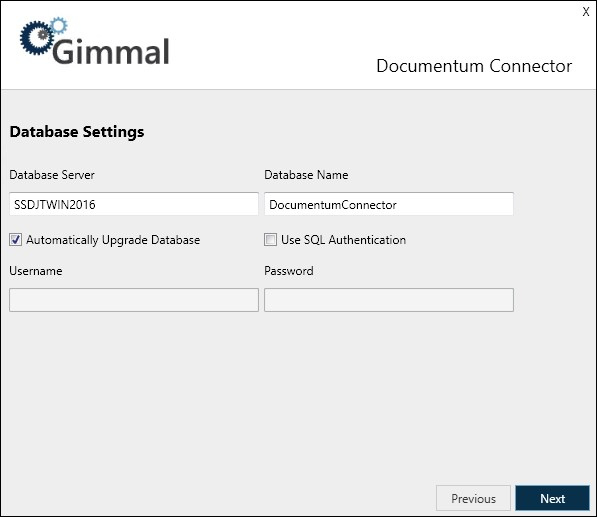
The "Database Server" and the "Database Name" settings, and the "Automatically Upgrade Database" checkbox, will be populated automatically, however, you can change these settings. For information on the settings, see the picture above.
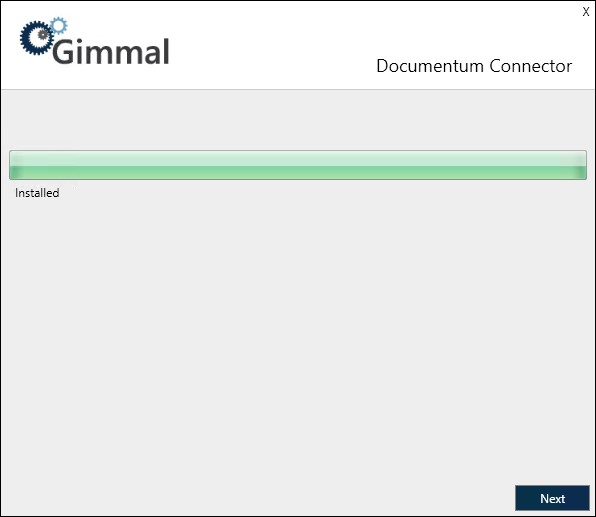
Click Next to perform the final installation using the database settings you specified above. The progress bar indicates the state of the installation
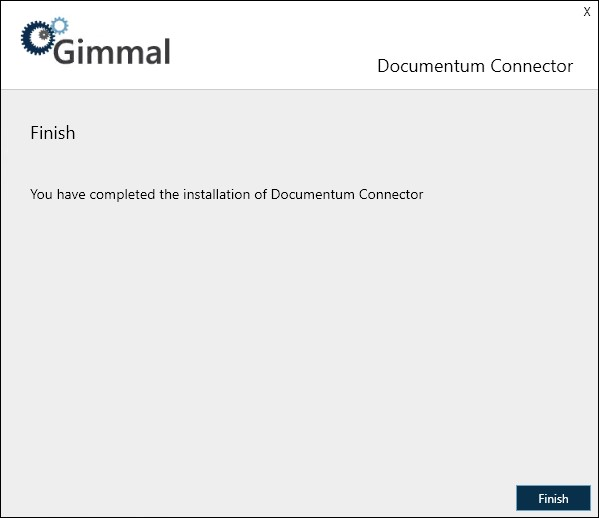
10. When the application finishes installing, click Next to continue to the Finish screen. This screen indicates that everything was installed successfully.
If you experience any errors during the installation process, refer to the installer log in your Windows Temp folder (typically c:\temp).
11. Click Finish to return to the main Setup screen, which should now indicate that the Documentum Connector was installed successfully.
12. After clicking Finish, you will see the initial installation screen showing that the Documentum Connector was installed.
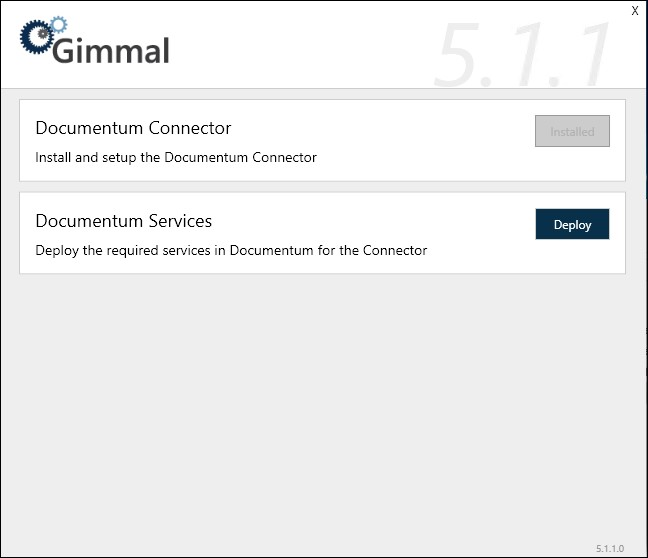
13. Next, click on the Deploy button on the installation screen.
14. After you have finished installing the Documentum Connector, you must perform the following steps to run the newly installed Windows Services. (For information on how to run Windows Services, see Microsoft's online documentation.)
a. Open the Windows Services Manager.
b. In the Services window, verify that the Gimmal Documentum Classification Service and the Gimmal Documentum Retention Services are listed.
c. Start both services. When the services begin, the Status column will display "Running".
d. Using the SQL Server Management Studio, connect to the SQL database and navigate to the Databases folder. The database you applied settings to in step 9 is located under this Databases folder.
e. Verify that DocumentumConnector is listed.
f. Expand the nodes: DocumentumConnector > Security > Users, and then verify that the Service/User account that was created during the installation steps above is listed and has the correct permissions.
15. Continue the installation process by installing the Documentum Services component. For information, see
Installing Documentum Services.
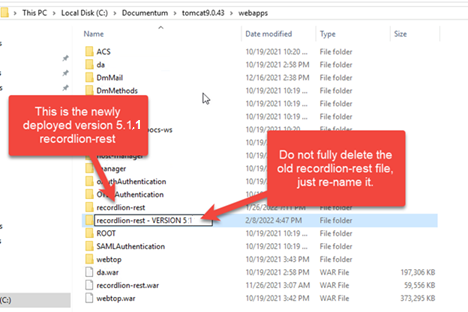
16. Deploy the recordlion-rest war file by following these steps.
As a precautionary step, do not delete the previously used recordlion-rest file when replacing it with the new recordlion-rest file, just simply rename it. (Below it has been renamed to recordlion-rest VERSION 5.1)
FYI: For the precautionary step, I don't do this, but I would keep what's there.
17. Perform this step if you are deploying a new recordlion-net.war file in Step 16 above:
Update the dfc.properties file for the recordlion-rest by following these steps.
If you do not know where to find the dfc. properties, reference step 1 in the prerequisites.
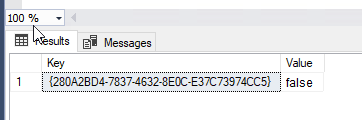
18. Confirm the KeyValue tables have been added to the DocumentumConnector table
o Expand the DocumentumConnector database in SQL Server Management Studio, then expand Tables. Then right-mouse-click on the KeyValues table and choose Select Top 1000 Rows…

o Confirm that there is an entry in the KeyValues table that has a value of false
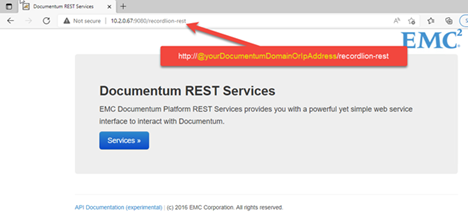
Confirm recordlion-rest has been successfully deployed by opening a web browser to the URL http://@yourDocumentumDomainOrIpAddress/recordlion-rest-, and confirm that the web page below renders.
Documentum Connector Initial Re-Recordization
Next, you must go through the initial process of re-recordizing all the previous records to switch out the old URI format with the new clickable URI format. After completing these steps, you continue to proceed to use the connector as usual.
-
Remote into the machine where the Documentum Connector is installed.
-
Launch the Documentum Connector Configuration.
-
In the 'Connection' tab, enter the full Url path to the Documentum Web Url (login page) – see the setting in red below.
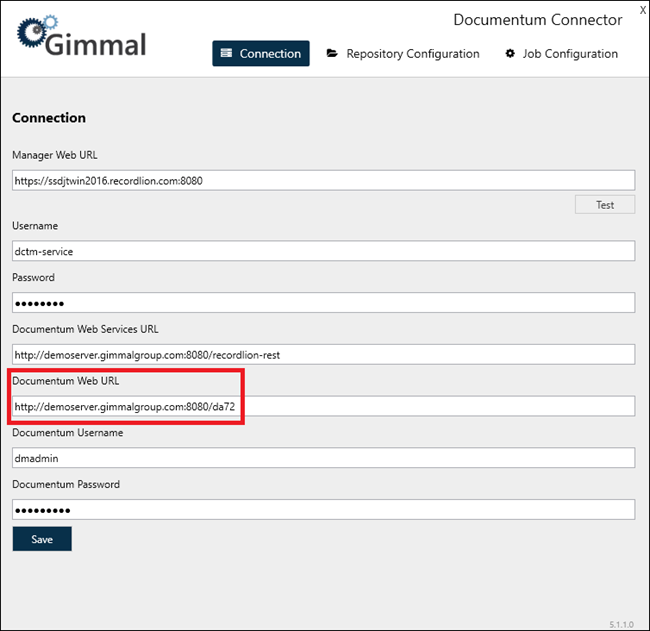
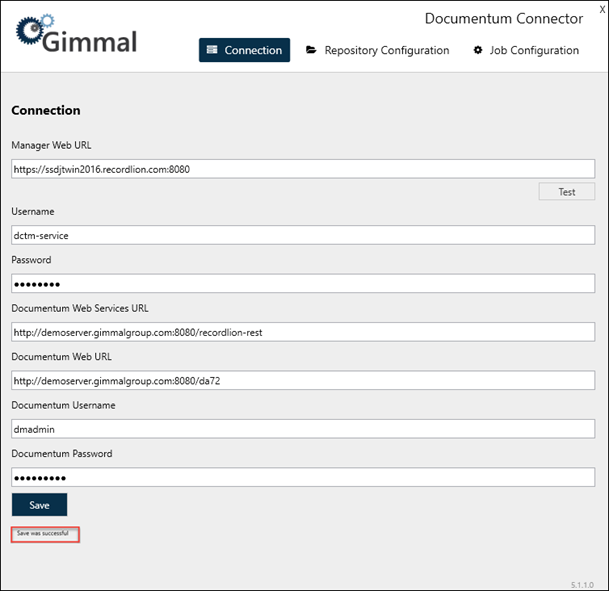
4. Enter the 'Documentum Web URL (this is the absolute path to the login URL for Documentum Web) value, then click ‘Save’. You will receive a confirmation if this is successful at the bottom of the web page.
It is highly recommended to not adjust any of the Documentum information in the Connection tab after saving. Changing this setting can result in duplicate records being added.
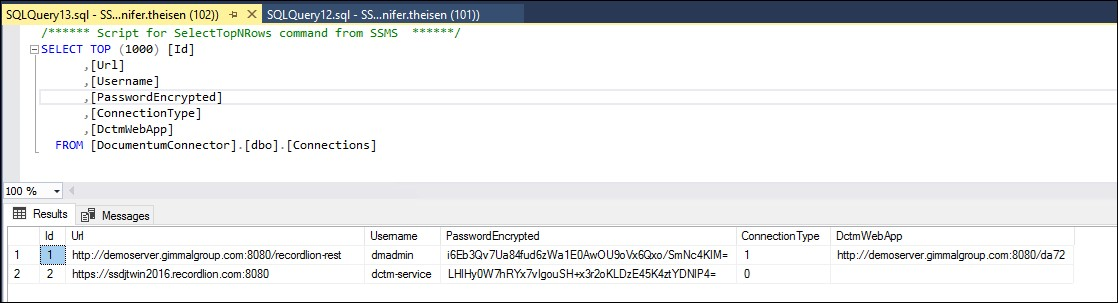
5. Open SQL Server Management Studio and make sure that the Documentum Web Url was entered in the database with an absolute path by querying the Connections table as follows; you should see the DctmWebApp column populated correctly:
6. Restart the machine to clear any potential credential caches before proceeding to the next steps.
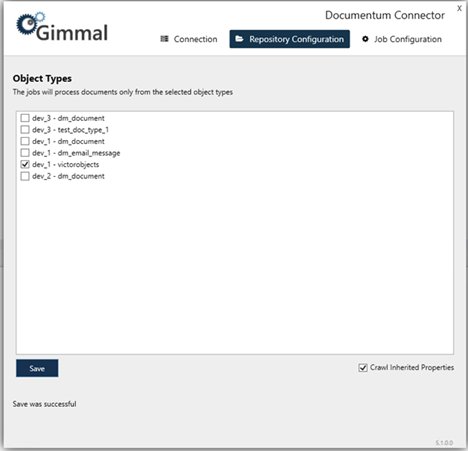
7. Click the 'Repository Configuration' -> select the docbases and object types that you made note of in the prerequisites, and click Save.
Only select repositories and docbases that were noted in the prerequisites at this time.
8. Start Documentum Connector Services:
-
Gimmal Documentum Classification Service
-
Gimmal Documentum Retention Service
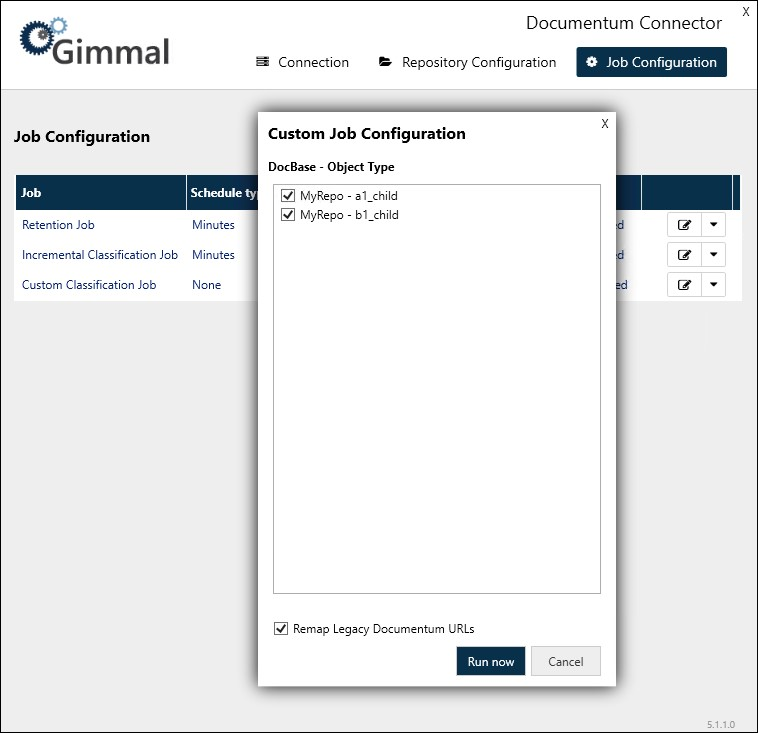
9. Click Job Configuration, then click Custom Classification Job.
Please do not set a Next Run Time for Incremental Classification Job or Retention Job before you run this essential step first.
10. Select all the docbases and object types you wish to undergo the initial step of re-recordizing all the records to update to the new clickable URI format, select the "Remap Legacy Documentum URLs" checkbox, and press 'Run now'.
This should again be the repositories and docbases noted in the prerequisites.
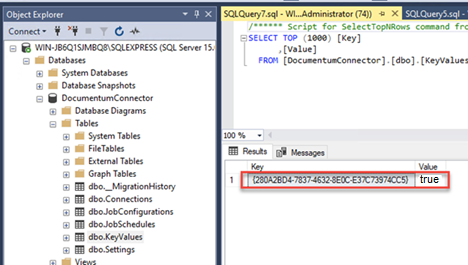
11. Open SQL Server Management Studio and double-check that the KeyValue entry in the Documentum Connector database has been populated – could be true or false.
If you have not included all of the docbases or object types so that it did not initially re-recordize to use the new URI format, just edit this entry to display True and follow steps 6-10 again.
12. The upgrade to version 5.1.1 is complete. Please re-enable retention and incremental classifications to proceed.