Email and Notification Settings
Email Server
If you are a Gimmal Records Cloud customer - you have the option to use either the built-in Gimmal Email Service or you may use your own e-mail server settings.
An asterisk (*) indicates that the property is mandatory.
Gimmal Email Service
The Gimmal Email Service is hosted in the Gimmal Cloud and is only available to Gimmal Cloud customers. It is not available to on-premise installations. The service will be automatically enabled for new Cloud customers.
Cloud Customers who use their own email server may enable the Gimmal Email service at any time:
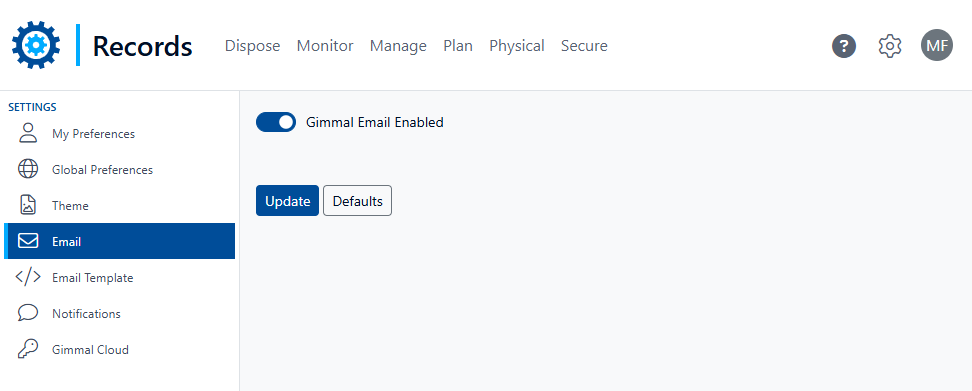
Select Settings from the Main Menu.
Select Email from the left navigation menu.
Ensure the slider is set to the right (On) for Gimmal Email Enabled setting.
Click Update.
Emails sent by the Gimmal Email Service are from no-reply@gimmal.com. This is a global setting for all tenants and is not configurable. Please ensure that if your organization has any email security settings for spam or junk notifications that you need to whitelist "no-reply@gimmal.com".
Specify Your Own Email Server Settings
If you are a on the Gimmal Cloud, you may choose to use your own email server to send notifications. You can set up your email server by performing the following steps:
Choose the Gear icon in the upper right
Select Settings
Select Email from the left navigation menu
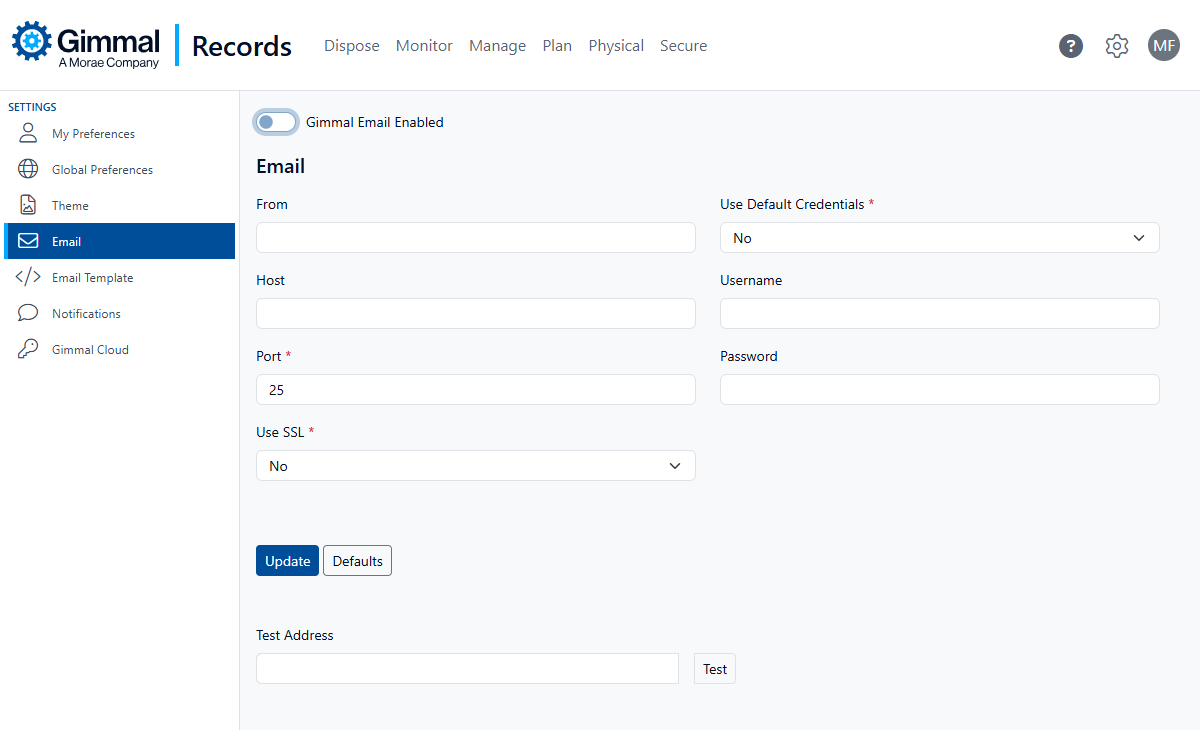
Ensure the slider is set to the left (Off) for Gimmal Email Enabled setting
In the "From" field, enter the Sender address to be used in the email notification
In the "Host" field, enter the “Host” which represents the address of the email server which will be sending the messages
In the "Port" field, enter the “Port” on the host which is used for SMTP communications
Indicate whether “SSL” is used on the email server
Indicate if “Default Credentials” should be used to access the email server
If "Yes", the email server will be connected to using the Records Management Web’s App Pool
If "No", the specified “Username” and “Password” will be used
Click Update
The email system can be tested by entering an address in the ‘Test Address’ text box and then clicking Test.
Email Template
Customize an email template for your Records Management approval notifications by performing the following steps. This will be used when the system sends emails for approvals.
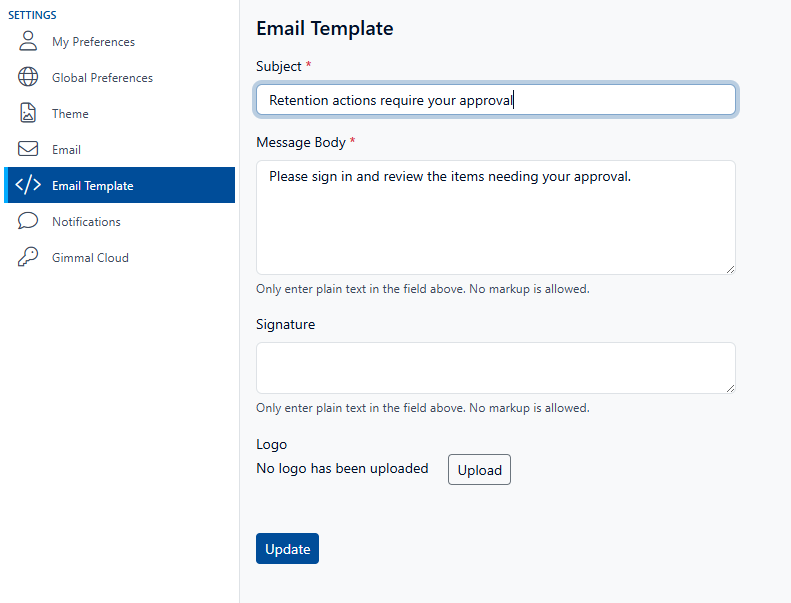
Only enter plain text in these fields. No markup is allowed.
Select Settings from the Main Menu.
Select Email Template from the left navigation menu.
Enter a custom subject, message body, signature and logo that will be used in the email notification.
Choose a .PNG file for the logo. The maximum preferred logo dimensions are W: 300px X H: 100px
Click Update.
Notifications
Approvers with any pending action items will be sent a notification based on when they last received an approval notification and the configured schedule. If the schedule is set to Weekly and an approver receives a notification Tuesday afternoon and still has pending approvals the following Tuesday afternoon, they will receive another notification.
Once your Email server is configured, you can configure the interval in which notifications should be sent to users by performing the following steps:
Select Settings from the Main Menu.
Select Notifications from the left navigation menu.
Choose how often to notify users of Pending Action Item by using the slider to select either ‘Manual’ or 'Schedule'
Manual will allow for ‘Push Notifications’ to be sent at a time of your choosing.
Schedule will send notifications to users with records awaiting approvals at the time selected in the schedule. A variety of options for Days, Weeks, Months, and Years is offered. An example for ‘Months’ can be seen below.
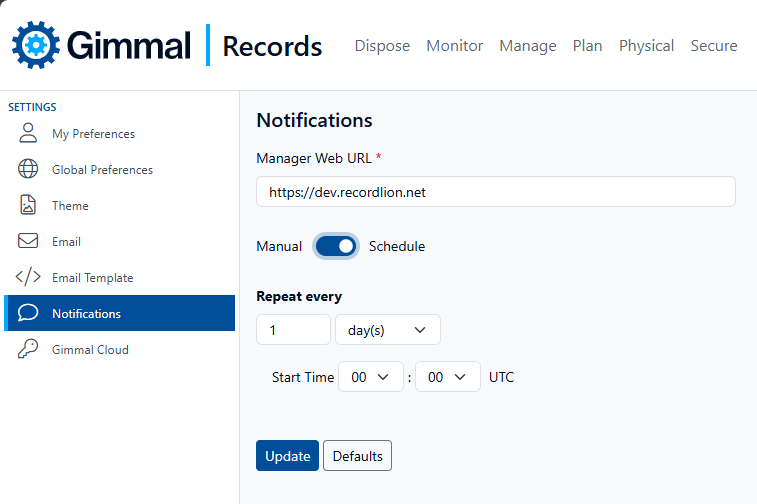
Enter the “Manager Web” URL. This is the address that should be used as a base to generate the link contained in the notification, which will be used to guide the user to the appropriate location based on the notification type.
Note: This value defaults to the current URL in the browser’s address bar. However, it can be changed to account for load balancing or FQDN names.Click Update.
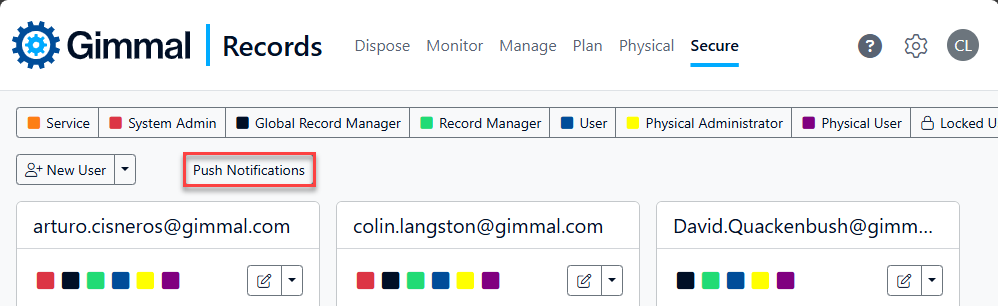
When Notifications are configured to Manual, a Push Notifications button will be shown on the Secure screen that will, when clicked, manually send notifications to approvers with pending action items.
Note: This button will not be displayed until your Email Server is also configured.