
This document reflects the installation process for the most recent Universal File Share Connector, 6.2
Installing the Universal File Share Connector
The Universal File Share Connector component installs a Desktop Configuration Application and a group of Windows Services that work with Gimmal Records to manage the lifecycle of files on any File Share that is configured.
To install the Universal File Share Connector, perform the following steps:
-
Right-click on the .iso file and choose 'Mount' to show the setup files.
-
Double-click on ‘Setup.hta’ to run the installer. The setup utility will open to the splash screen.
-
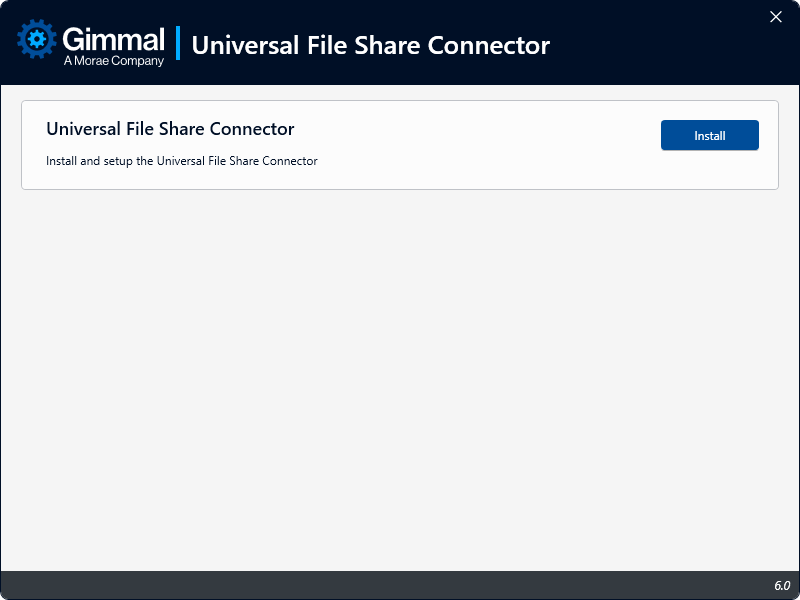
From the Gimmal Records splash screen, click the Universal File Share Connector link under the ‘Install’ section. The Universal File Share Connector installation screen displays.
-
Click Install to the right of the Universal File Share Connector option. This opens the installation wizard.
-
The first screen that displays is the check for prerequisites. This screen validates the following before allowing the installation to proceed:
-
Prerequisites are installed
-
Current User is Local Administrator
-
-
Click Next to display the Installation Location screen. This determines where the connector will be installed.
-
Leave the installation path as the default, or change it to the desired installation location, and click Next.
-
The Service Settings screen displays. This is where you will configure the settings for the Universal File Share Connector Services. When the Universal File Share Connector Service is installed, Windows Services are created. The options on this page specify which user account* to use to execute these services.
-
Username (ex. DOMAIN\Username)
-
Password
-
-
Click Next. The Data Provider screen displays, which enables you to configure the data provider used by the Universal File Share Connector. This stores Universal File Share Connector data in the configured database. The following options determine the connection information that the Universal File Share Connector will use to connect to SQL Server:
-
Database Server: The name of the SQL Server installation
-
Database Name: The name of the actual SQL Server Database. The default is UniversalFileShareConnector.
-
Authentication
-
(Optional) Use SQL Authentication: Specifies that the connection information should use SQL Authentication with the Username and Password indicated below.
-
Username: The SQL Server username to use if SQL Authentication is specified
-
Password: The SQL Server password to use if SQL Authentication is specified
-
-
-
Notes:
-
If SQL Authentication is not specified, the connection information will use Windows Authentication by specifying a trusted connection. This means that the Service account will be used to connect to SQL Server; therefore, this account will need the following database permissions. If SQL Authentication is specified, the SQL user will also require the following permissions.
-
db_datareader
-
db_datawriter
-
-
-
Automatically Create Database
-
If checked, the installation will automatically attempt to create the database using the Database Server and Database Name indicated. The appropriate account will also be automatically granted the appropriate rights to this database. This option requires that the current user has permission to create databases and manage security in the SQL Server instance indicated.
-
If unchecked, the installation will configure connection information but will not attempt to create the database. In this case, you will need to leverage the SQL Scripts at the following location to manually create the database in the SQL Server instance indicated. You will also need to manually configure security as indicated above.
-
%Install Path%\Configuration\Sql\RecordLion.RecordsManager.UniversalFileShare.sql
-
%Install Path%\Configuration\Sql\RecordLion.RecordsManager.UniversalFileShare.Optimize.sql
-
-
-
-
Click Next and then Finish to continue through the remaining screens and complete the installation.
*The User Account for the Service Settings should be a domain account and must have the following file system permissions:
Read/Write: %Install Path%\Logs
Full Control: Managed file share locations to be configured (Recursive)
Note: When assigning permissions to the account for the managed file share locations, assign them directly to the user rather than to a group in which the user is a member.
Upgrading from a Previous Version
To upgrade from a previous version:
-
Stop all three services for the Universal File Share Connector. (Classification, Reconciliation, Retention).
-
Close the configuration application if open.
-
Open the Universal File Share Connector setup file (setup.hta), click Upgrade to launch the upgrade process.
-
Click ‘Next’ to progress through the subsequent screens, entering information as needed.
-
An ‘Installed’ screen will show upon success.
-
Click ‘Finish’ to close the installer.
-
If the database is not automatically created, or if the database is not automatically updated (e.g., due to an error), use the following scripts to perform a manual update:
-
%Install Path%\Configuration\Sql\RecordLion.RecordsManager.UniversalFileShare.sql
-
%Install Path%\Configuration\Sql\RecordLion.RecordsManager.UniversalFileShare.Optimize.sql