
To configure the SharePoint Online Connector once it has been deployed to the SharePoint App Catalog, follow these steps:
-
Deploy the app to the site(s) to be managed
-
Register the site(s)
-
Configure the Connector
Deploy the App to the Site
-
Identify the site to be managed
-
As a Site Admin, browse to the Site Contents
-
Click the ‘+New’ button and choose ‘App’ from the menu list. This opens the SharePoint Apps page.
-
Choose the ‘SharePoint Online Connector’ from the available apps
-
Confirm the verification for the app
Register the Site
To register a SharePoint Online site with the connector, perform the following steps for each site you’d like to manage:
-
As a Site Admin, open the SharePoint Online Connector on any site you wish to register.
-
Select Register on the top menu.
-
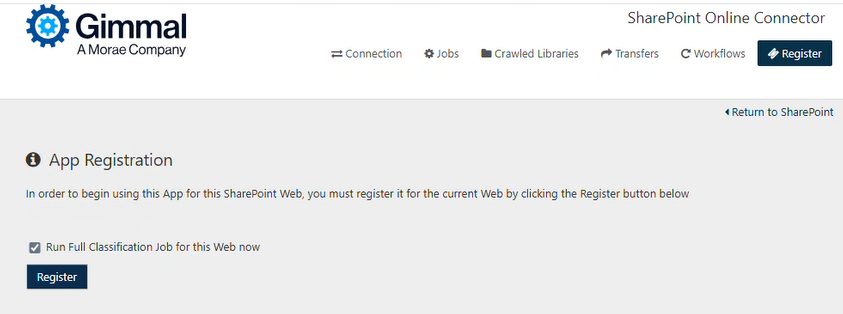
Click the Register button. This notifies the SharePoint Online Service that this Web is being managed, and enables you to begin using this app for this SharePoint Web.
Selecting the "Run Full Classification Job for this Web now" checkbox to limit the full classification job so that it runs for just this individual Web (instead of running the job for all Webs). This will improve processing performance.
If you need to unregister or rename the URL of a Web (SharePoint site), follow the directions on the topic (6.0) Unregistering a SharePoint App from an Individual Web.
Connection Configuration
Once you deploy the SharePoint Online Connector, you must direct the Connector to the location of Records Management. To do so, perform the following steps:
-
Browse to a SharePoint Site that has the connector deployed and open the Site Contents page.
-
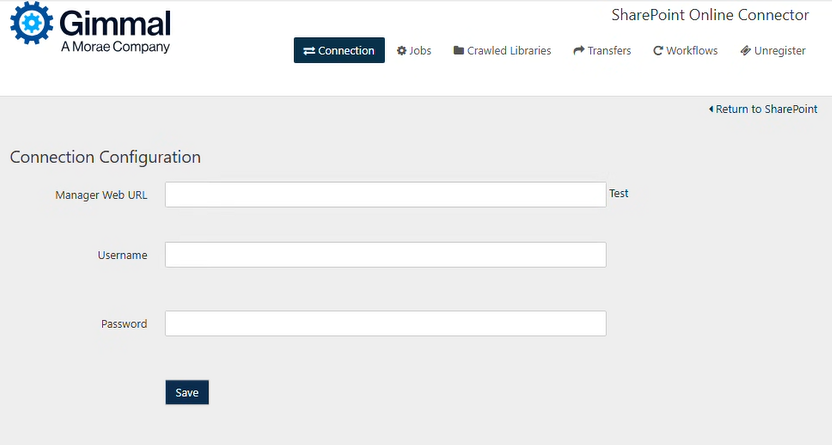
Select the SharePoint Online Connector to open the SharePoint Online Connector Web and ensure that you're on the Connection tab.
-
Enter the URL to the Manager Web.
-
Enter the Username* of the Service Account created in Records Management.
-
Enter the Password of the Service Account created in Records Management. (The password has a maximum length of 18 characters)
-
-
Click Save.
This step only needs to be performed for the first site. All other sites will only need to be registered by clicking the ‘Register’ button.
Connector Jobs
The SharePoint Online Connector incorporates a number of essential jobs/processes that each run on a regular schedule. These jobs are executed by the SharePoint Online Connector Service. See the following table for a list of the jobs and their descriptions.
All job schedules/options described on this page are global - they are applied to all sites registered with the SharePoint Online Connector.
|
Job Type |
Description |
|---|---|
|
Gimmal Full Classification Job |
The Full Classification job crawls every file contained within registered SharePoint Online sites for Gimmal Records and notifies Gimmal Records of their existence. This job is typically executed upon initial registration of a site and can be scheduled to be run regularly. |
|
Gimmal Incremental Classification Job |
The Incremental Classification job synchronizes all file changes that have occurred within SharePoint Online sites registered with Gimmal Records. |
|
Gimmal Retention Job |
The Retention job processes lifecycle actions after they have been enqueued by Gimmal Records. 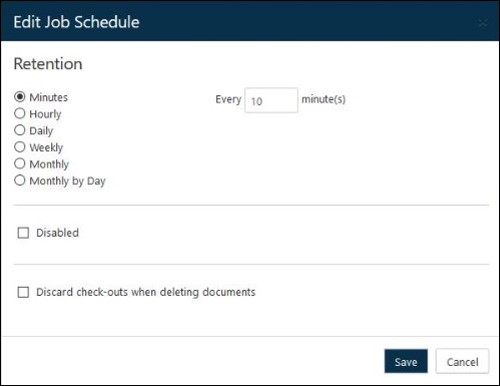
Disabled When this option is checked, the Gimmal Retention Job will not run for the SharePoint Online Connector. Discard Check-outs When Deleting Documents When enabled, the retention job will take action on documents even if they are checked out in SharePoint. This option is off by default. |
Default Connector Job Schedules
These job schedules are optimized for this connector. Changing them could negatively affect the overall performance of Gimmal Records.
|
Job Type |
Schedule |
|---|---|
|
Gimmal Full Classification Job |
Monthly |
|
Gimmal Incremental Classification Job |
Every 10 Minutes |
|
Gimmal Retention Job |
Every 10 Minutes |
Transfer
Transfer actions require a repository-specific destination for the transferred items. This location must be configured for the connector when transfer actions are used.
Transfer configurations described on this page are global - they are available for all sites registered with the SharePoint Online Connector.
To set up a transfer destination, perform the following steps:
-
As a Site Admin, open the SharePoint Online Connector on any site where it is deployed.
-
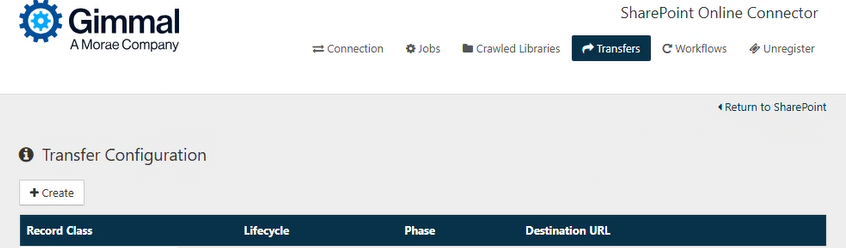
Click Transfers
-
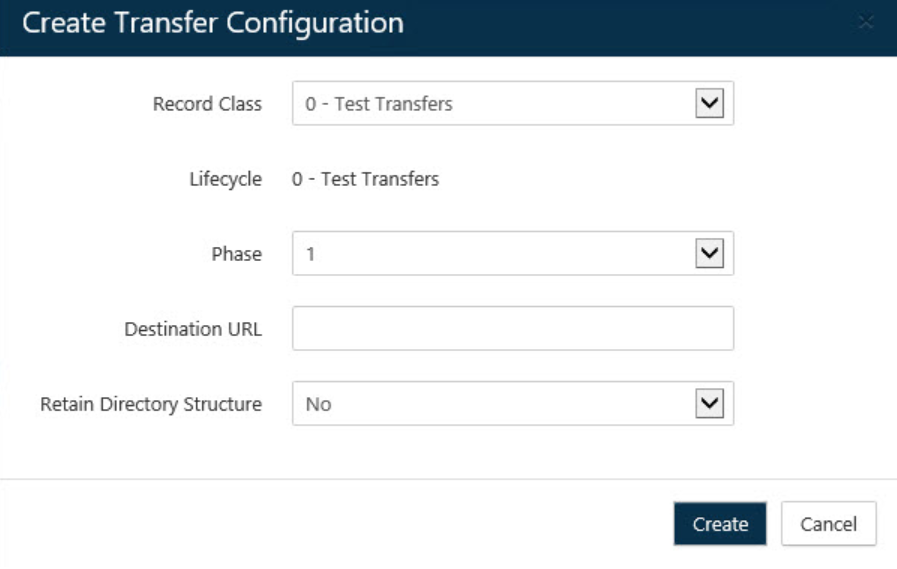
Click the + Create button on the Transfer Configuration page. The Create Transfer Configuration dialog opens.
-
Select the Record Class and Retention Phase for which you would like to configure the transfer destination.
-
Provide the Destination URL for the Site location. This URL must be in the same site collection as the source document.
-
Choose whether to "Retain Directory Structure" for the folders in the transferred location.
-
Click Create
-
When configuring a transfer destination, in the rare circumstance that a Drop-Off Library is used as the destination and there are no matching Routing Rules for the document, the document will remain in the Drop-Off Library.
-
Cross-site collection transfers are not supported by the SharePoint Online Connector. This means you cannot transfer an item from one site collection to another. Only transfers within the same site collection are supported.
Workflow
Workflow Actions are not supported in SharePoint Online. They are supported in SharePoint on-premises only.