
Creating Transfer and Workflow Actions
Configuring Transfer Actions
When a lifecycle in Records Management contains a Transfer Action, the Connector requires that an Administrator configure the repository-specific destination of the transfer for items contained within the repository. This tells the Connector where to put the files when it sees that it needs to execute a Transfer Action for an item. This step is optional unless you have configured a Transfer Action (Transfer or Dispose and Transfer) in your File Plan. To set up a transfer destination, perform the following steps:
Open SharePoint Central Administration.
From the Application Management section, click Manage Service Applications > Gimmal SharePoint Connector.
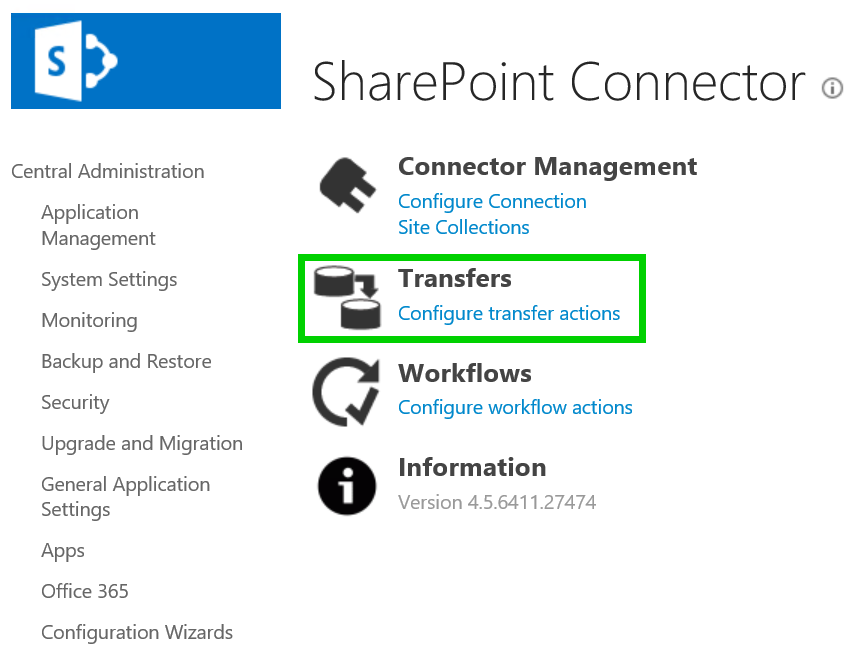
On the SharePoint Connector page, click Configure transfer actions from the Transfers section.
Select the Retention Phase for the Record Class in which you would like to configure the transfer destination.
Click Connect from the ribbon.
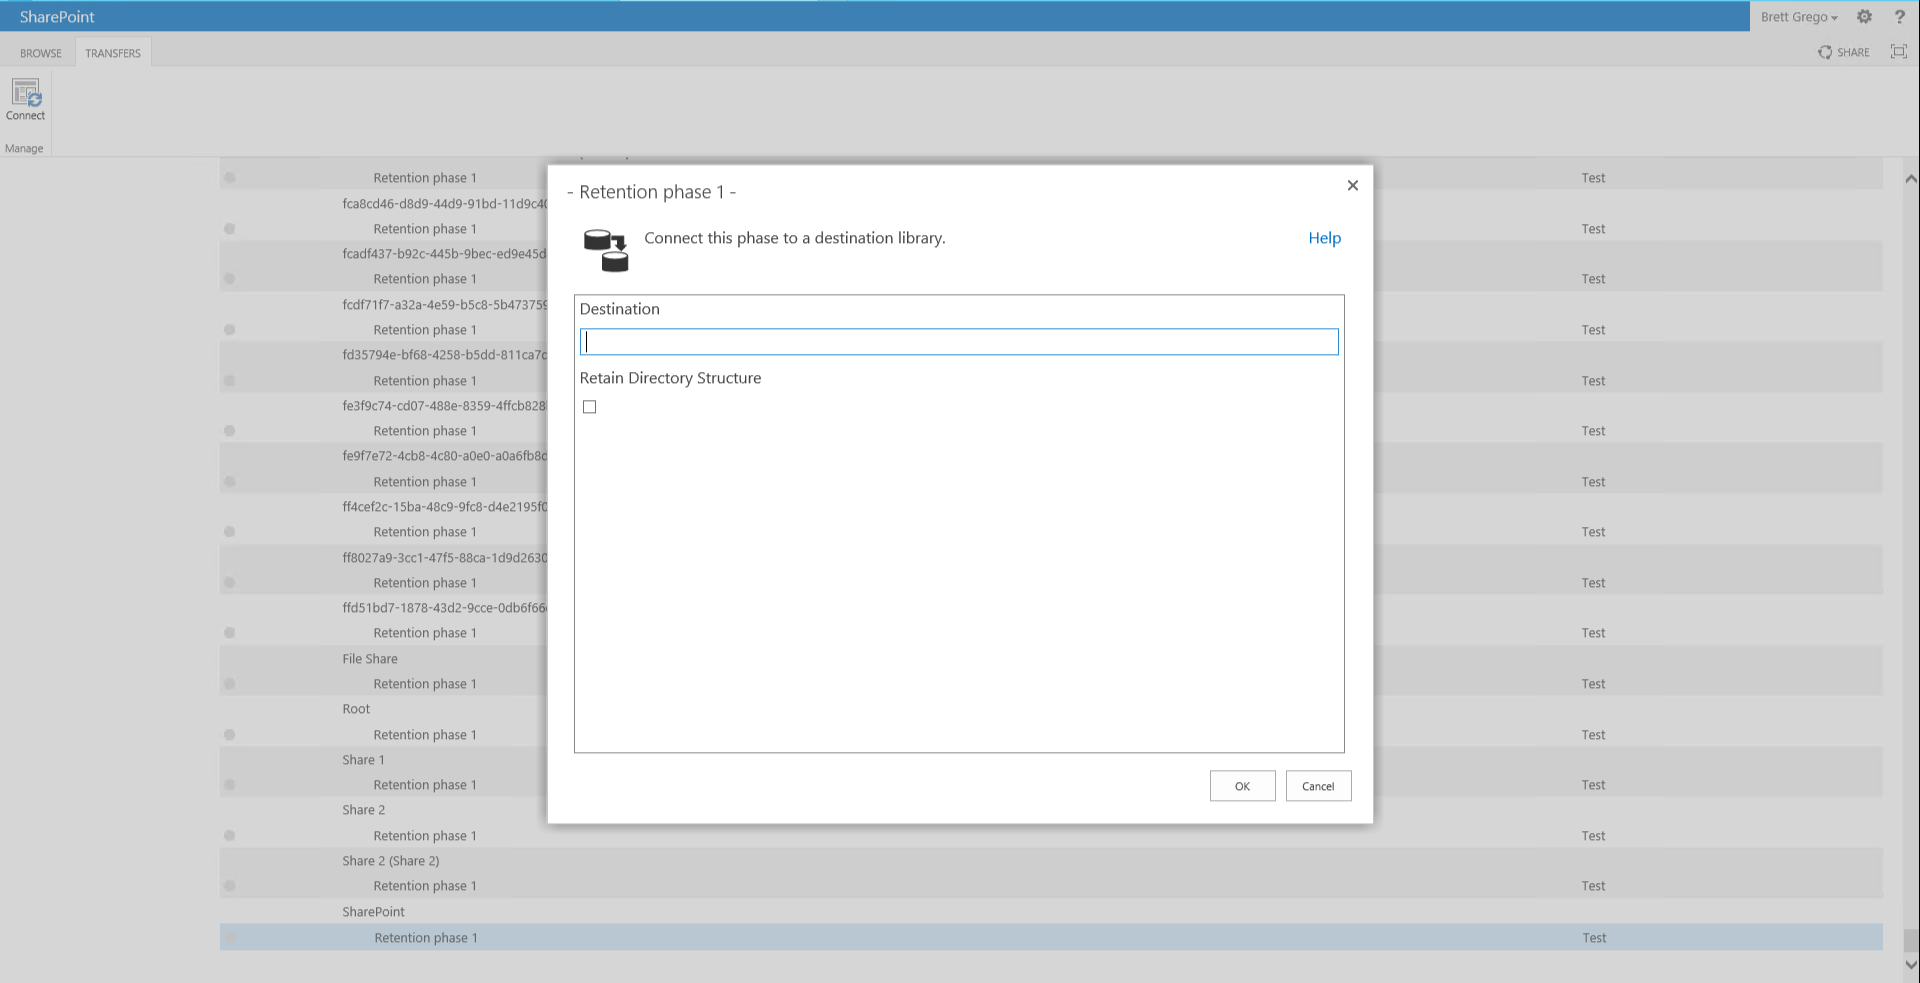
Provide the destination URL for Site Collection location in SharePoint.
Choose whether to "Retain Directory Structure".
Click OK
When configuring a transfer destination, in the rare circumstance that a Drop-Off Library is used as the destination and there are no matching Routing Rules for the document, the document will remain in the Drop-Off Library but will only be visible to the Farm Account due to the way that Drop-Off Libraries were designed.
Configuring Workflow Actions
When a lifecycle in Records Management contains a Workflow Action, the Connector requires that an Administrator configure the repository-specific Workflow to initiate items contained within the repository. This tells the Connector which Workflow to initiate for files when it sees that it needs to execute a Workflow Action for an item.
Workflow Actions work in SharePoint on-premises only; they are not supported in SharePoint Online.
This step is optional unless you have configured a Workflow Action in your File Plan. To set up a Workflow to initiate, perform the following steps:
Open SharePoint Central Administration.
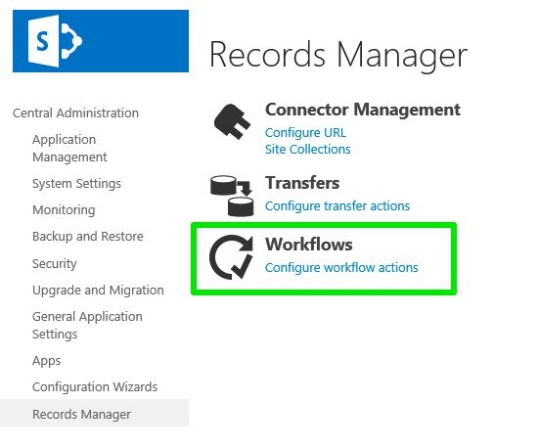
Select the Gimmal Records Management menu option.
Select Configure Workflow Actions from the Workflows section.
Select the Retention Phase for the Record Class in which you would like to configure the Workflow to initiate.
Click Connect from the Ribbon.
Choose the appropriate Workflow Association Type.
Enter the name of your SharePoint Workflow Association.
Click OK
Workflow Association Types
Association Type | Description |
|---|---|
Web | Workflow Name should refer to a Workflow associated with the File’s parent Web |
List | Workflow Name should refer to a Workflow associated with the File’s parent Library |
Content Type | Workflow Name should refer to a Workflow associated with the File’s assigned Content Type |
Custom | Allows a custom Workflow Initiator to be selected. Workflow Name should refer to a Workflow that the Custom Workflow initiator understands |