Managing Charge-Outs
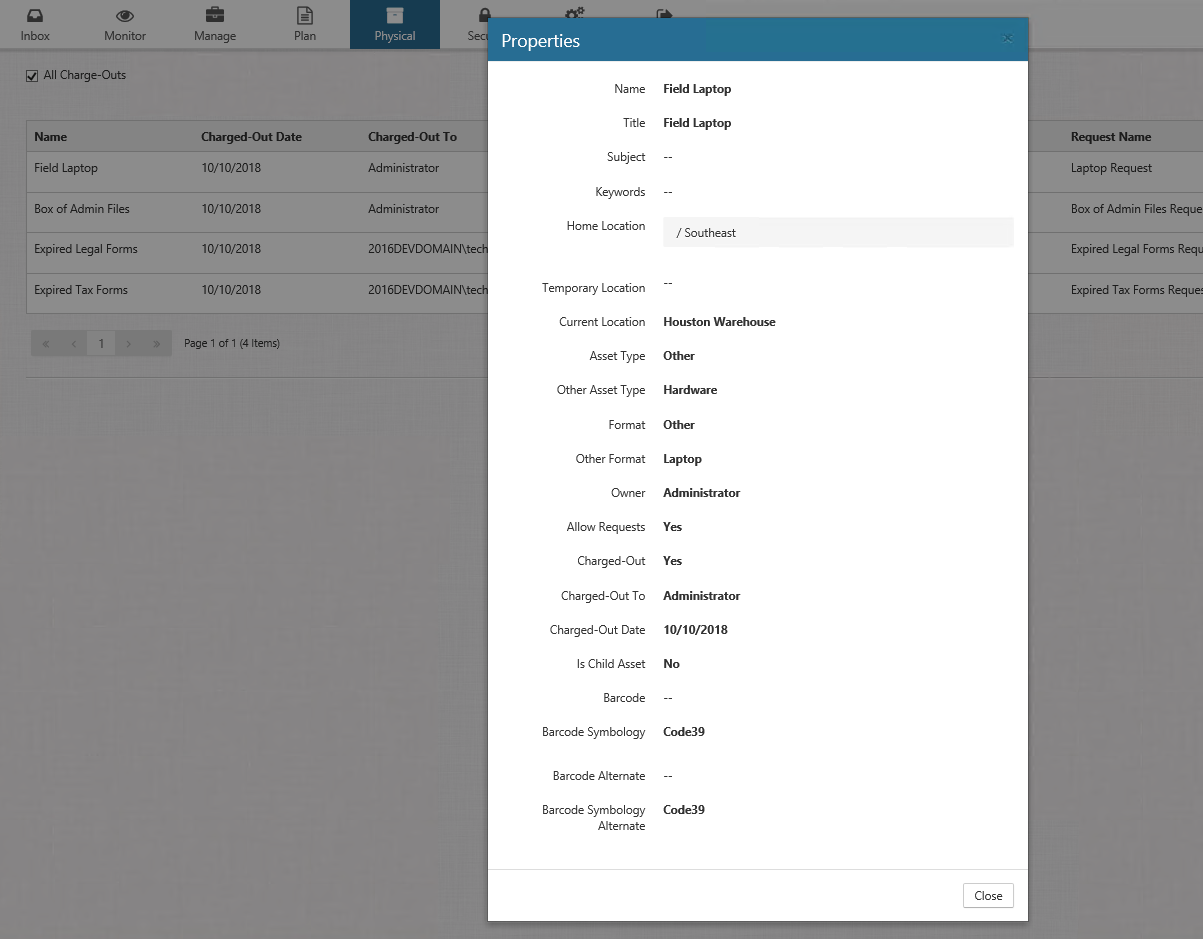
Users can see a list of their charged-out assets by browsing to the Charge-Outs page in Physical Records Management. Select Physical from the Main Menu, then Charge-Outs from the navigation bar on the right side.

Viewing Asset's Properties
You can view the Properties of any charge-out by clicking the drop-down arrow on the right, and selecting Properties.

Returning an Asset
The system provides a convenient way to return assets from one central location via the Charge-Outs page. The Charge-Outs page provides a list of all of your charged-out assets and enables you to add each asset to a previously-created return, and submit the return for processing.
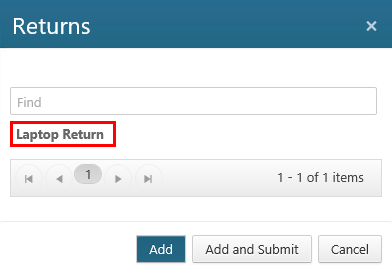
- Locate the asset you want to return, click the drop-down arrow on the right, and select +Add to Return. The Returns dialog opens.

Perform either of the following steps:
Select the return you want to add the asset to, and then click Add. A green confirmation message displays in the upper right corner, indicating that the return was added. (You can verify the asset was added to the return by returning to the My Requests page, clicking the drop-down next to the return name, and selecting Edit. On the Edit Return dialog, the added asset displays in the Assets list in the middle of the dialog. Note that the Status column still indicates that the return is New, since it hasn't been submitted yet.)
Select the return you want to add the asset to, and then click Add and Submit. Two green confirmation messages display in the upper right corner, indicating that the return was added and submitted. (You can verify the asset was added to the return by returning to the My Requests page, clicking the drop-down next to the return name, and selecting Edit. On the Edit Return dialog, the added asset displays in the Assets list in the middle of the dialog. Note that the Status column now indicates that the return is Submitted, since you added the asset and submitted the return in one step.)
