
Configure Space Management
To configure space management, data needs to be entered on the Location, Shelf, and Box tabs within the Gimmal Physical system. There are key fields on each of these tabs that need to be set for the Space Management module to function correctly.
-
Application Settings – A parameter is available that allows Space Management to be calculated on either home or current location.
-
Locations – The “Space Management” checkbox must be selected for at least one of the Location records.
-
Shelves – The “Current Location” of the Shelf record needs to be one of the Locations where the “Space Management” checkbox has been selected. A value also needs to be selected from the “Capacity” list on the Shelf record(s).
-
Boxes – The “Current Location” needs to be one of the Shelves in a “Space Management” Location. A value also needs to be selected from the “Box Size” list on the Boxes tab.
Application the Settings
-
Click on the Admin tab.
-
Click on Application Settings.
-
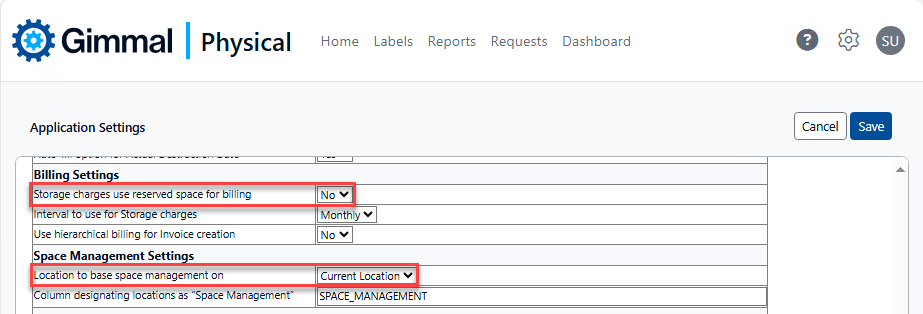
Under Billing Settings | Storage charges use reserved space for billing, choose either:
-
Yes - reserved space is billed if item is checked out
-
No - reserved space is not billed when item is checked out
-
-
Under Space Management Settings | ‘Location to base space management on’, select either “Current Location” or “Home Location”.
Create Locations
-
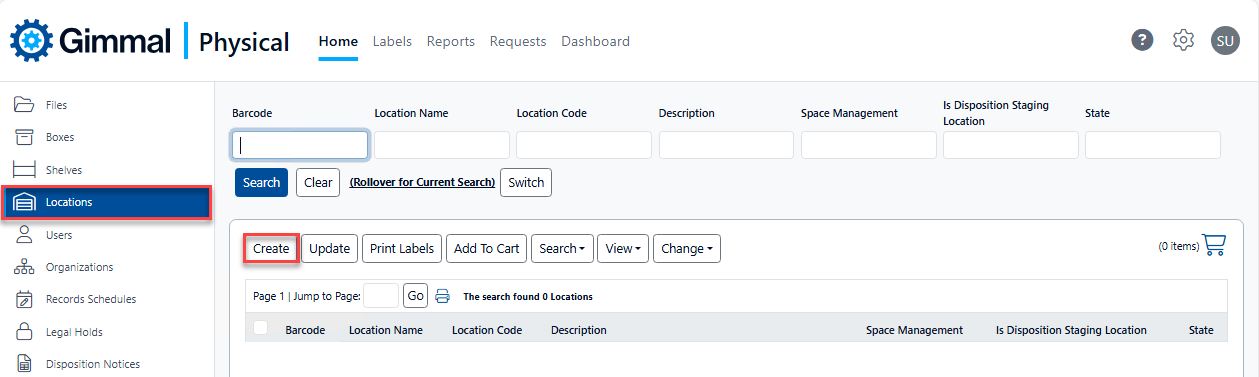
Click on the Locations tab.
-
Click on the Create action button.
-
Enter metadata for the Location record and check the “Space Management” checkbox.
-
Click Save & Close.

Create Shelves
-
Import Shelf data.
-
Create Shelf data from the Shelves tab.
-
Verify preference settings on the Preference page for the Shelves category. The “Default current location” and the “Default home location” should be set to the barcode of a “Space Management” Location.
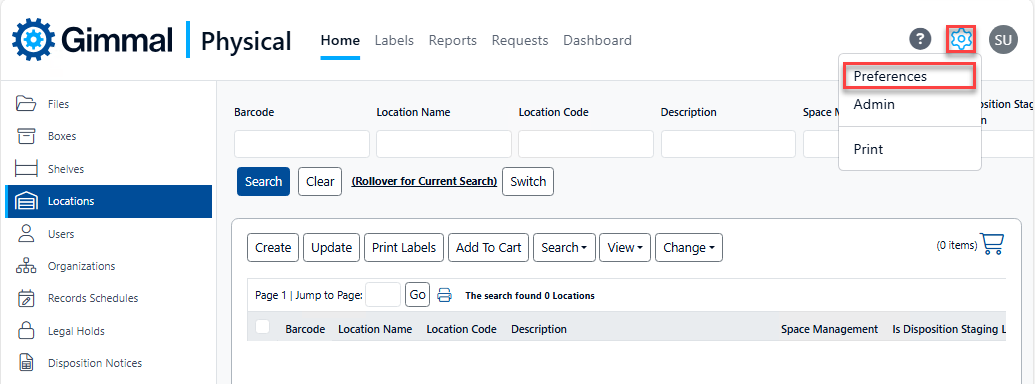
Accessing Application Preferences
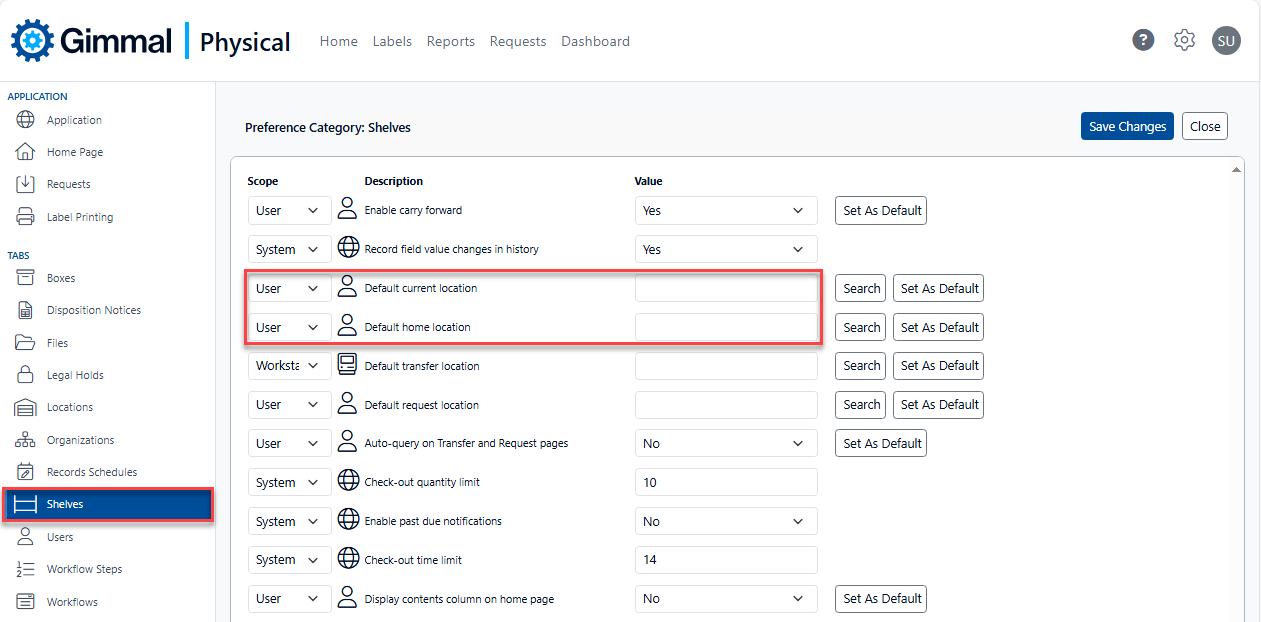
Setting Shelves' preference for current and home locations -
Click on the Shelves tab.
-
Click on the Create action button.
-
Enter metadata for the Shelf record, being sure to select a “Capacity” value.
-
Save the Shelf record.
-
Verify the Shelf record was created in the “Space Management” Location.
-
-
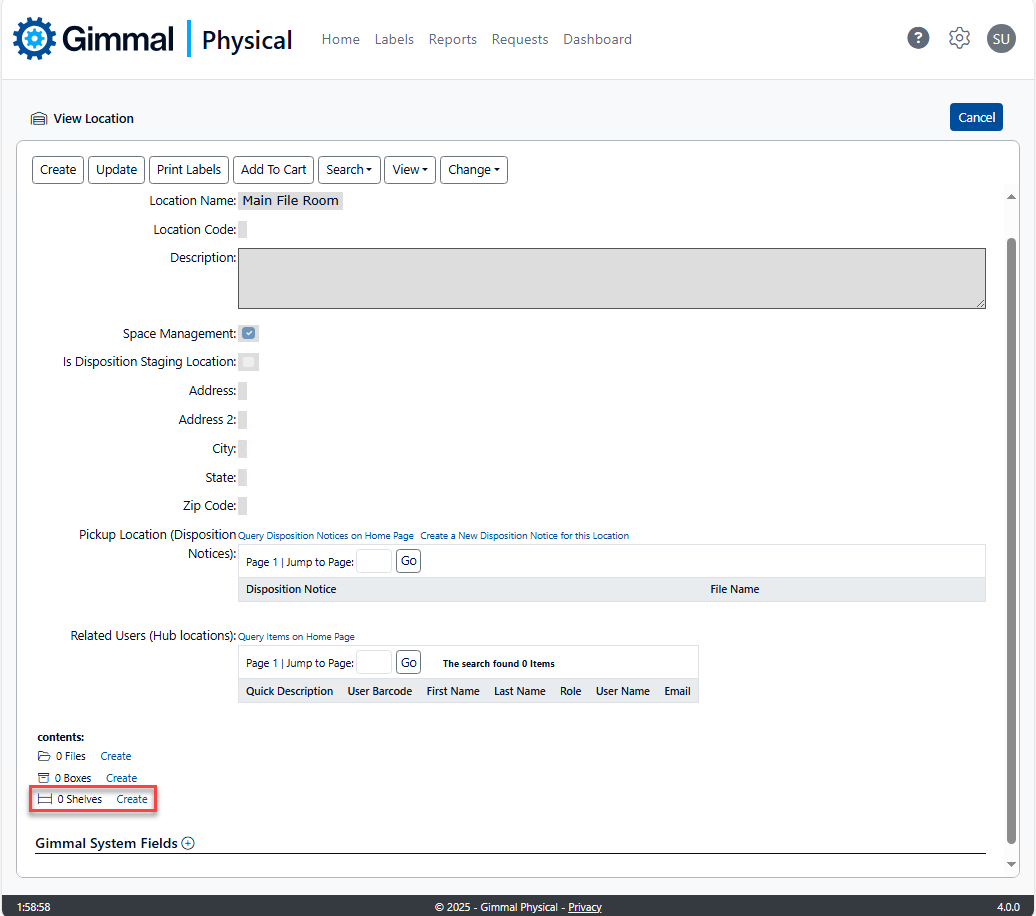
Create Shelf data from the View Location page.
-
Go to the View page for the Location where the Shelves will be placed.
-
Click on the Create link next to the Shelf icon near the bottom of the page.
-
Enter metadata for the Shelf record, being sure to select a “Capacity” value.
-
Save the Shelf record.
-
Create Boxes
-
Import Box data.
-
Create Box data from the Shelf view page.
-
Go to the View page for the Shelf where the Boxes will be placed.
-
Click on the Create link next to the Box icon near the bottom of the page.

-
Enter metadata for the Box record, being sure to select a “Box Size” value.
-
Save the Box record.
-
View the Space Management Page
-
Click Admin on the top navigation Menu.
-
Under the Data section, click Space Management.
-
If more than one Location is used in Space Management, select the desired Location from the list.
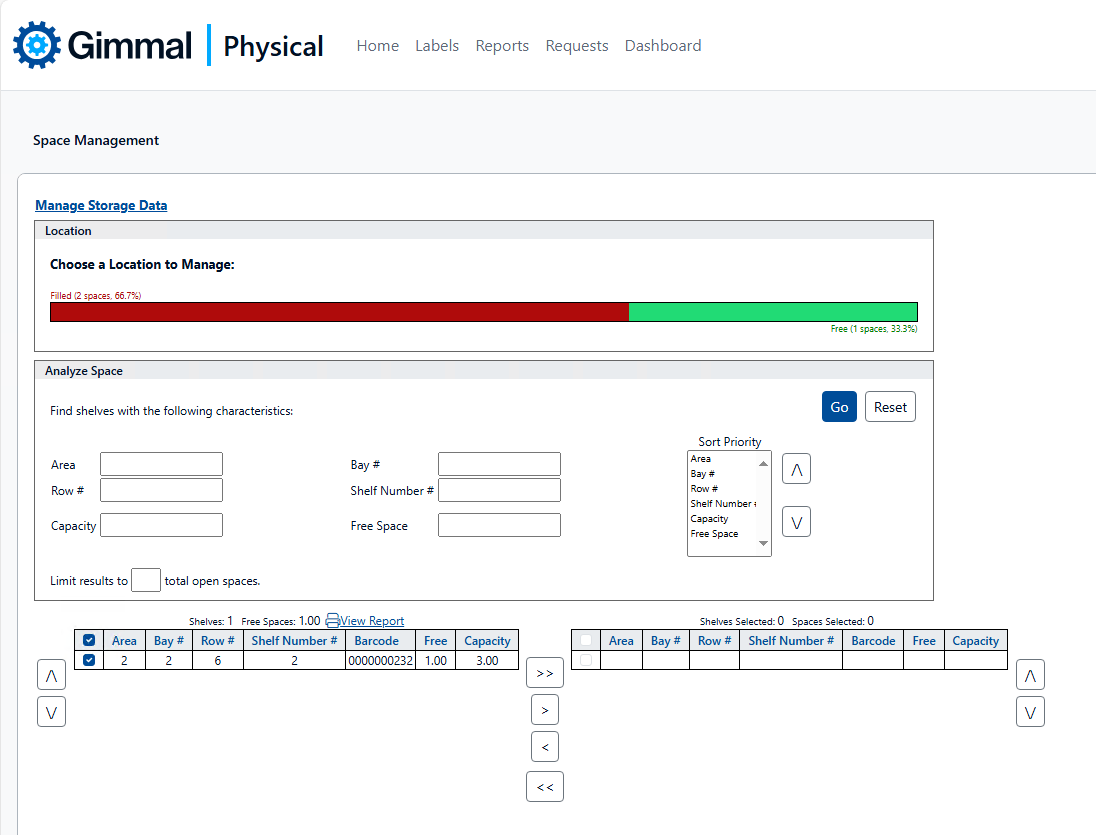
Searching from the Space Management Page
-
Data can be entered into the various search fields and queried by clicking on the Go button.
-
Database operators (<, >, <=, >=) can be used to query the data. Additionally, a sort order can be applied to the query by arranging the fields in the Sort Priority list box.
-
Records returned by a search are presented in grid format on the left side of the page. From here, individual records or all results can be selected and moved to the grid on the right side of the page.
-
The grids display the capacity and the free space available for each Shelf record.
-
Negative values in the “Free” column show Shelf records that are in error (i.e. more items are listed on the Shelf than it can contain).
-
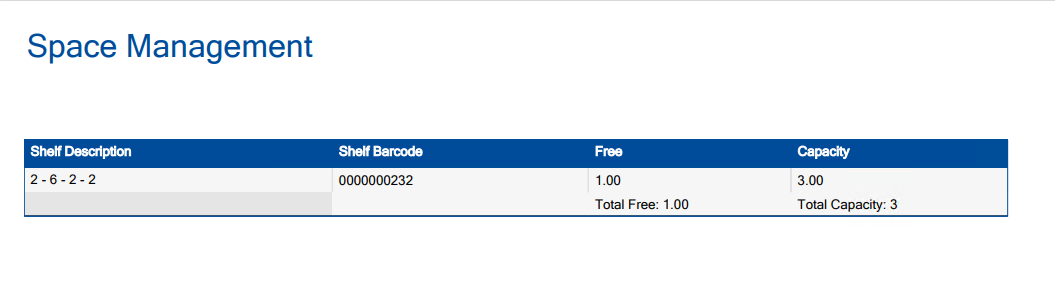
Grid data can be used to print a report of the selected spaces by clicking on the printer icon above either grid.
A shelf must be expunged to be removed from Space Management