
There are a number of settings which are available for handling administration tasks in Gimmal Physical.
Administration Page
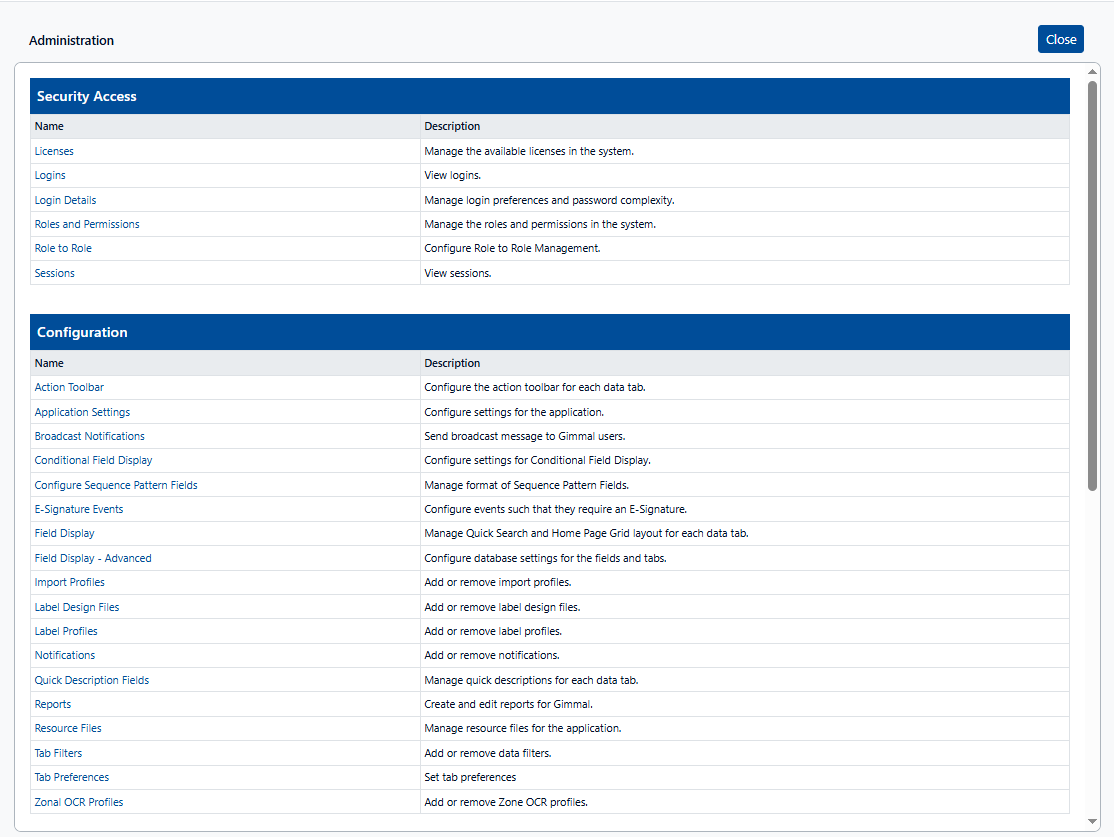
With the correct permissions, key administrator options are accessed by clicking the gear icon and choosing ‘Admin’. This opens the ‘Administration’ page where various options can be accessed.
Some of the visible options (e.g. Integrations) may depend on the components which are licensed for your organizations.
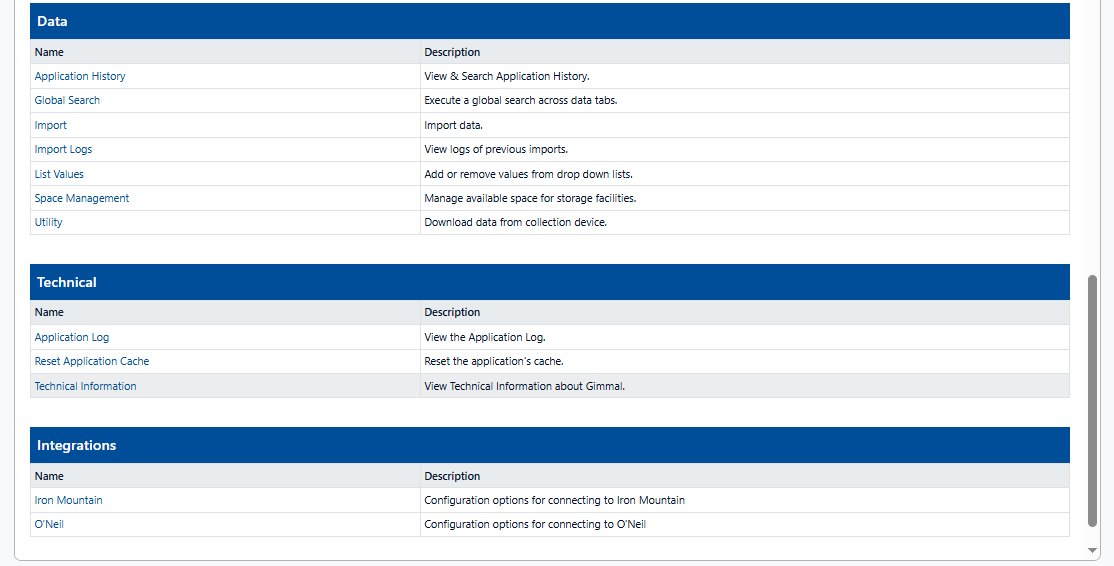
The options are grouped into five sections. Each option is accessed by clicking on the relevant link.
-
Security Access
-
Configuration
-
Data
-
Technical
-
Integrations
When Setting up the system, several key areas should be reviewed:
-
User Creation is handled in the User tab. Please see this interactive tutorial for more detail.
-
Roles and Permissions (under Security Access) allows administrators to create and edit roles and the permissions associated with them. For additional information, please see the Security Model Overview or the interactive tutorial.
-
Information on Application Preferences can be found here.
Documentation Options

By default, the Help button (?) found in the Navigation Ribbon will take users to the Gimmal Physical Documents Site. However, if your organization has its own web-based documentation, Gimmal Physical will support linking your documentation to the default Help button. To do so,
-
Navigate to the Gear icon on the top of the Gimmal Physical home page
-
Select ‘Admin’
-
Choose Application Settings under the Configuration section.
-
Copy the URL of your documentation into the ‘Gimmal Online Help URL’ option
-
Click ‘Save’ to update the Settings.