This article is provided for informational purposes only. The Migration Utility is an internal tool, shared with select customers to be used only with the guidance of the services & support teams.
The Migration Utility for Records Management is used to perform the following Migrate and Import functions:
-
Migrate the following from one Records Management Server to another:
-
Classification rules
-
Record Classes
-
Lifecycles
-
Retentions
-
Triggers
-
Holds
-
-
Import the following from an Excel-based File Plan:
-
Record Classes
-
Lifecycles
-
Retentions
-
Triggers
-
Please Note:
-
The migration utility does not support the import/migration of Physical Records and containers.
-
When using the migration utility to move File Plans (and specifically Record Classes) from one instance of Gimmal Records to another, components such as Retention Triggers, Retentions, and Lifecycles will only be included in the migration if they are connected to a Record Class that is being migrated. Components that are not associated with a Record Class will not be migrated.
-
The migration utility is intended to be used in conjunction with implementation team efforts.
Running the Migration Utility
Open the Migration Utility
To open the Migration Utility, navigate to the directory selected during installation, and double-click Gimmal.RecordsManager.Migrate.exe. The default installation directory is:
-
C:\Program Files\Gimmal\Records Management\Migration
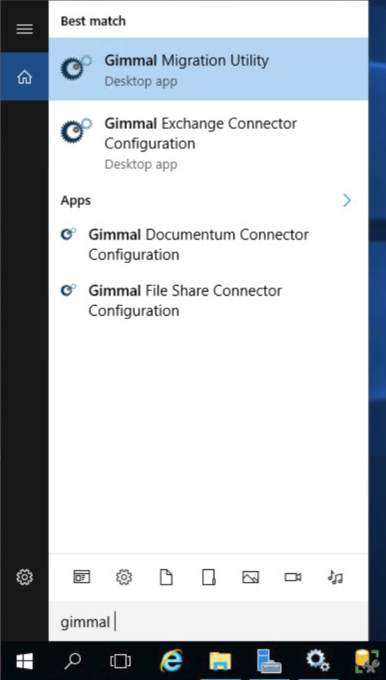
You can also open the Migration Utility from the Windows Start menu by selecting Gimmal Migration Utility.
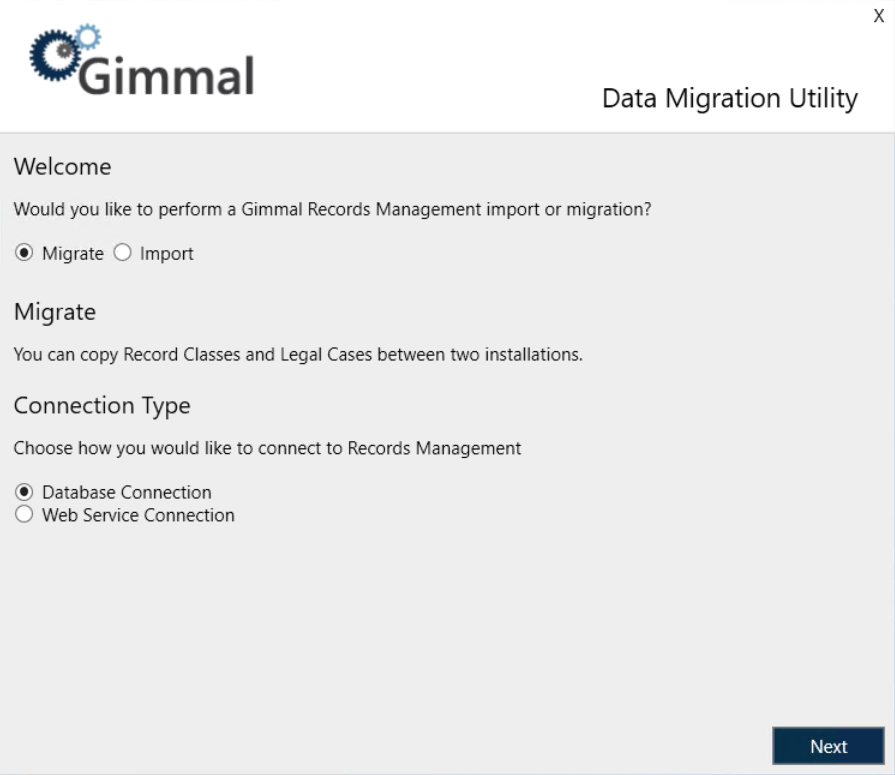
Welcome Screen
When the application first opens, you will be presented with the Migration Utility Welcome screen. From here, you can select which function you would like to perform.
Select one of the following options, then select a Connection Type, and click Next.