
Documentum Connector Installation
Ensure that you run the installer as the Local Administrator.
Upon launching the Documentum Connector installer, the following screen displays:
Installing the Documentum Connector
Before you install the Documentum Connector, verify the Connector system requirements. This installation section also assumes that you have already installed the Records Management Core platform.
When you install the Documentum Connector, a Configuration Utility and two Records Management related Windows Services are installed automatically as part of this process.
To install the Documentum Connector, perform the following steps:
From the Records Management splash screen, click the Install Documentum Connector link and the User Account Control window opens.
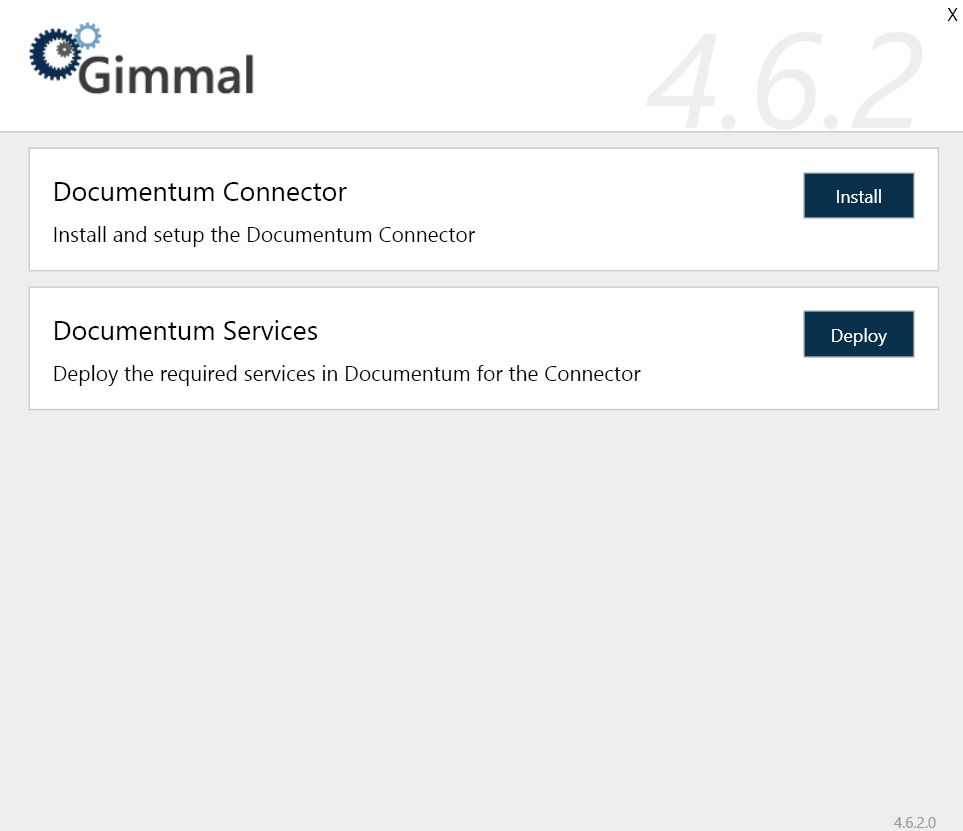
Click Yes to allow the installer to make changes to your computer. The Documentum Connector installation window opens.
On the Documentum Connector installation screen, click Install to the right of the Documentum Connector option. The first window that displays is the check for prerequisites. This window validates the following information before allowing the installation to proceed:
The current user is Local Administrator
You have installed .NET Framework 4.5
You have installed .NET Framework 3.5
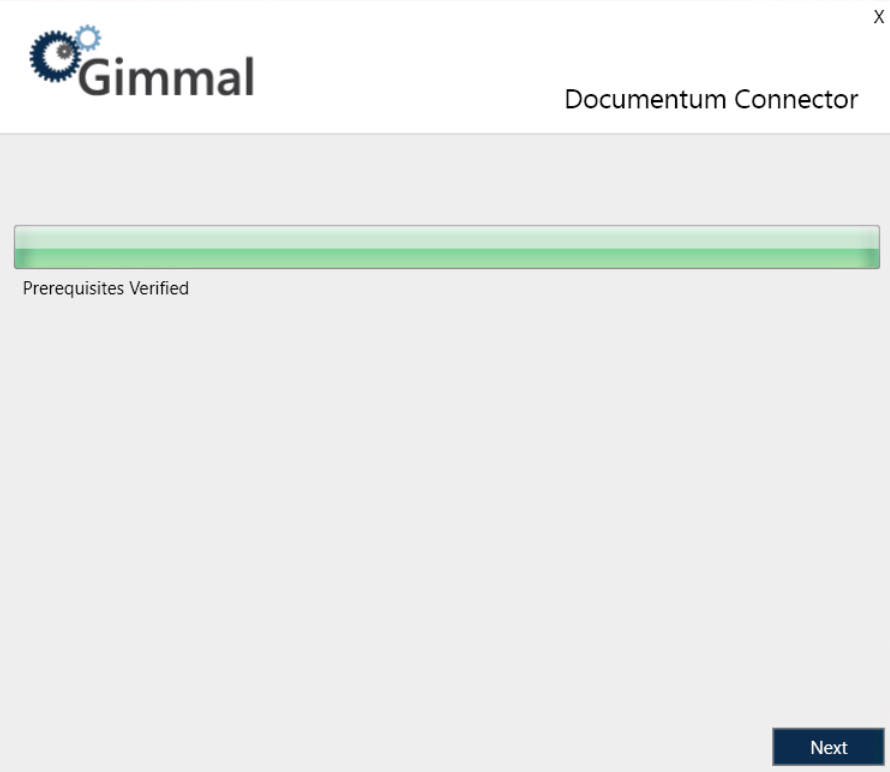
Click Next. The installation location screen displays, which determines where the connector will be installed.
Leave the installation path as the default, or to change it, click the ... icon next to the installation location field, select the desired installation location, and then click Next.
You must have at least 100MB of disk space available.
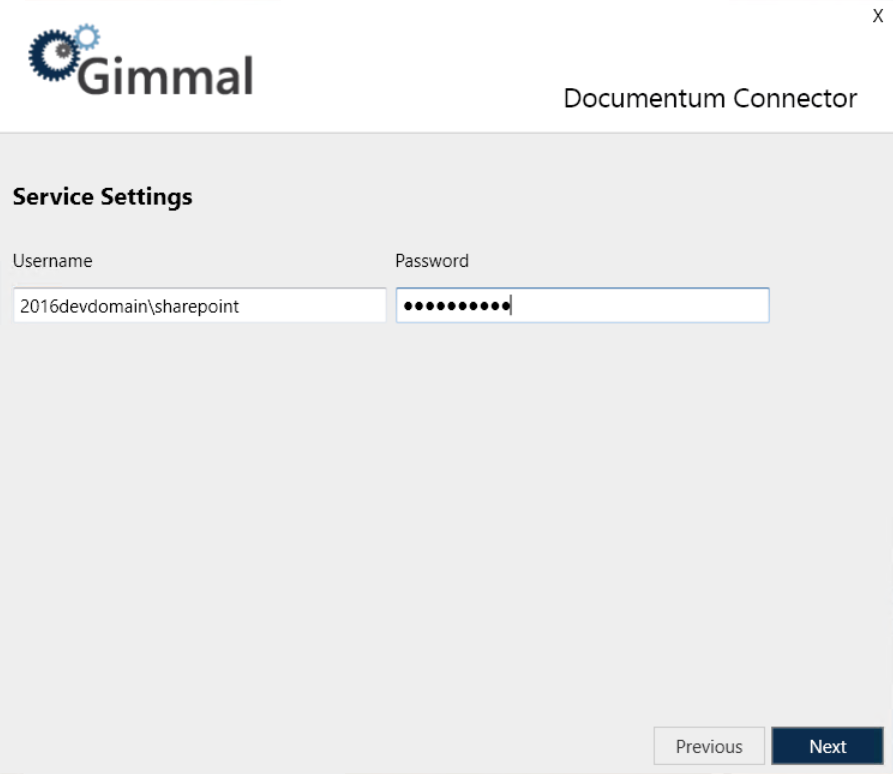
Enter the following required information to specify which user account to use when you run the Windows Services:
Username (Ex. DOMAIN\Username)
Password
The user account must be a domain account and must have the following file system permissions:
Read/Write: %Install path%\Logs
Click Next. The Database Settings screen displays.
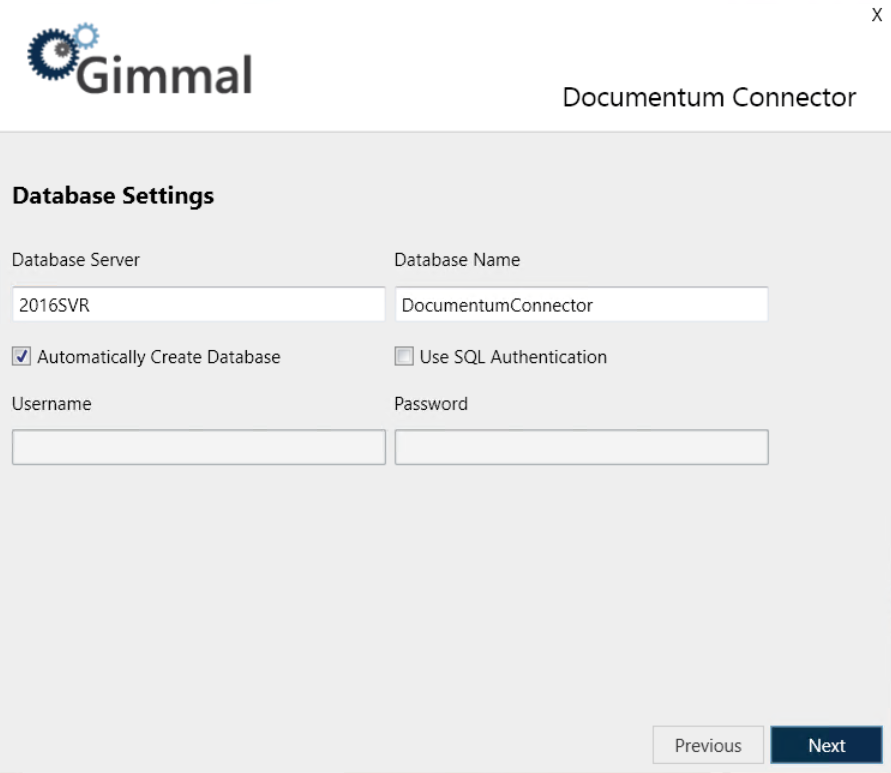
The "Database Server" and the "Database Name" settings, and the "Automatically Create Database" checkbox, will be populated automatically, however, you can change these settings. For information on the settings, see below.
Enter/select the following database settings to determine the connection information that will be used by the Documentum Connector to connect to SQL Server:
Database Server: The name of the SQL Server Install (ex. SERVERNAME\InstanceName)
Database Name: The name of the actual SQL Server Database (The default name for the database is “DocumentumConnector”, but you can change it here.)
Automatically Create Database: See description below
Use SQL Authentication: Specifies that the connection information should use SQL Authentication with the Username and Password indicated below
Username: he SQL Server username to use if SQL Authentication is specified
Password: The SQL Server password to use if SQL Authentication is specified
If SQL Authentication is not specified, the connection information will use Windows Authentication by specifying a trusted connection. This means that the Service account will be used to connect to SQL Server, and therefore, this account will need the following database permissions.
db_datareader
db_datawriter
GRANT EXECUTE on all Stored Procedures
GRANT EXECUTE on all Scalar User Defined Functions
GRANT SELECTon all Table and Inline User Defined Functions
If SQL Authentication is specified, the SQL user will also require the above permissions.
If Automatically Create Database is specified, the installation process will automatically attempt to create the database using the Database Server and Database Name indicated and will grant the appropriate database rights and permissions to the Service account. This option requires that the user running the installation has permission to create databases and manage security in the SQL Server instance indicated.
If Automatically Create Database is not specified, the installation will configure connection information but will not attempt to create the database. In this case, you will need to leverage the SQL script provided at the following location to manually create the database in the SQL Server instance indicated. You will also need to manually configure security as indicated above.
%Install Path%\Configuration\Sql\RecordLion.RecordsManager.Documentum.sqlClick Next to perform the final installation using the database settings you specified above. The progress bar indicates the state of the installation
When the application finishes installing, click Next to continue to the Finish screen. This screen indicates that everything installed successfully.
If you experience any errors during the installation process, refer to the installer log in your Windows Temp folder (typically c:\temp).
Click Finish to return to the main Setup screen, which should now indicate that the Documentum Connector was installed successfully.
After you have finished installing the Documentum Connector, you must perform the following steps to run the newly installed Windows Services. (For information on how to run Windows Services, see Microsoft's online documentation.)
Open the Windows Services Manager.
In the Services window, verify that the Gimmal Documentum Classification Service and the Gimmal Documentum Retention Services are listed.
Start both services. When the services begin, the Status column will display "Running".
Using the SQL Server Management Studio, connect to the SQL database and navigate to the Databases folder. The database you applied settings to in step 9 is located under this Databases folder.
Verify that DocumentumConnector is listed.
Expand the nodes: DocumentumConnector > Security > Users, and then verify that the Service/User account that was created during the installation steps above is listed and has the correct permissions.
Continue the installation process by installing the Documentum Services component. For information, see Installing Documentum Services.