
Record Locking with Microsoft 365 Retention Labels
The Microsoft 365 SharePoint Connector supports the option to perform record locking using M365 Retention Labels for customers wanting to lock records when declared, when on legal hold, etc.
NOTE – when using M365 Retention Labels for record locking, SharePoint Site users will still have the ability to modify the labeled document and edit its properties, but not delete the document.
Create Microsoft 365 Retention Label for Record Locking
Navigate to your SharePoint Admin Center.
Click Compliance in the left navigation.
Click Records Management in the left navigation.
Select File Plan from the top navigation.
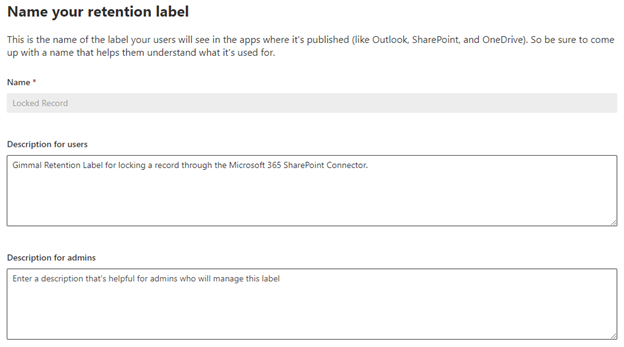
Click Create a label.
- Name – must be named “Locked Record”.
- NOTE – The Microsoft 365 SharePoint Connector is looking for a retention label titled “Locked Record”, naming this something different will results in no record locking.
- Description – optional
- “Gimmal Retention Label for locking a record through the Microsoft 365 SharePoint Connector.”
- Description for admins – optional
Click Next.
File plan descriptors are optional.
Click Next.
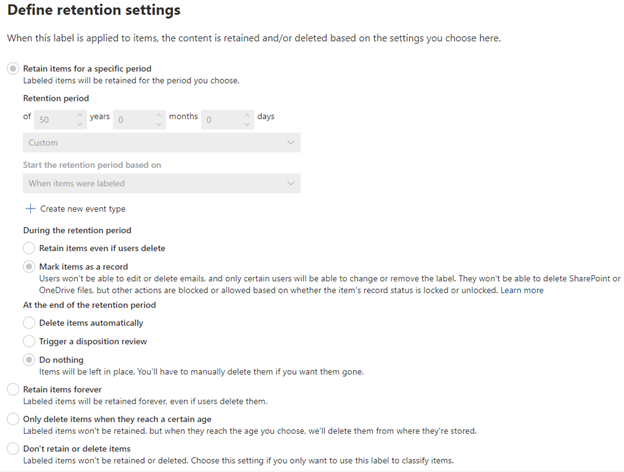
Retention Settings:
- Retain items for a specific period:
- Select a Retention Period of 50 Years.
- Mark items as a record
- Set Do nothing for end of retention period.
Review and finish. Click Create.
Select Publish This Label.
Creating the Policy:
- Ensure your new label is the one being published – click Next.
- Can leave as default or select let me choose and only select SharePoint site – click Next.
- Pick a name for the policy – name isn’t important, but required – click Next.
- Review your settings and submit.
- NOTE – publishing the label can take up to one (1) day to show up in SharePoint.