Import
Select Import from the Welcome screen, this section will guide you through the wizard.
Import Configuration
The next screen you will be presented with is the Import Configuration Screen. In this screen, select the path to the Excel-based File Plan and corresponding Import Mapping File that will be used for performing the Import. Click Next.
Select the option "Overwrite Existing Data" will result in the deletion of all existing File Plan configuration prior to executing the import. You will be prompted for confirmation before proceeding.
Destination Connection
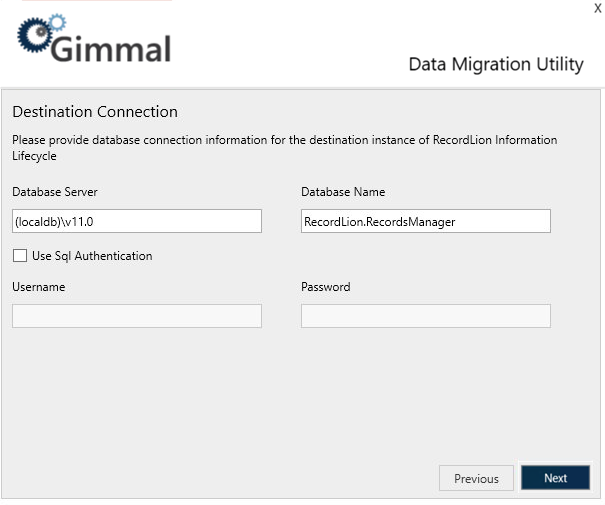
The next screen you will be presented with is the Destination Connection Screen. In this screen, enter the connection information to the Information Lifecycle Server Database where data should be migrated to.

Executing Import
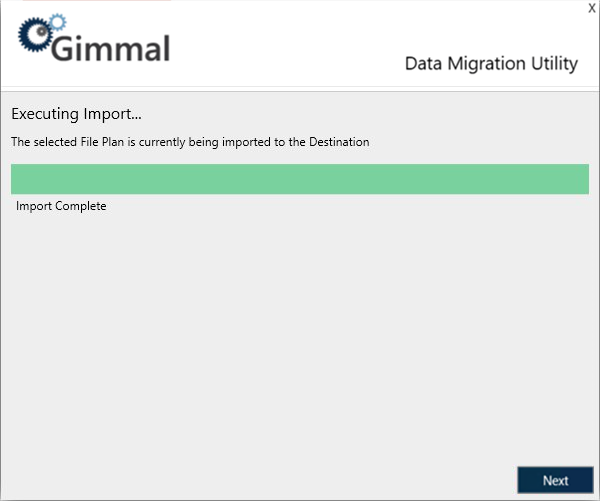
After kicking off the import, the next screen displayed is the Executing Import Screen. This screen displays the progress of the import while it is executing. Once the import has finished executing, click Next.
The final screen displayed is the Import Complete Screen. This screen simply notifies you that the import has been completed. Click Finish to exit the utility.

