
FileNet Services Installation
The FileNet Services component deploys required services and components into the FileNet Server, which the FileNet Connector will leverage to communicate with FileNet. Additionally, a .WAR file*, which contains the services that are deployed to the FileNet farm, is deployed. The FileNet Connector uses these services to manage documents inside of FileNet.
The .WAR file that is installed as part of the FileNet Connector is deployed only to Apache Tomcat. Tomcat must be version 8.x or higher.
To install FileNet Services, perform these steps on the same machine where the FileNet app server is installed:
On the FileNet Connector installation screen, click Deploy to the right of the FileNet Services option. The Destination Directory Path screen displays.
Click the ... icon next to the Destination Directory Path field. The Browse For Folder dialog opens.
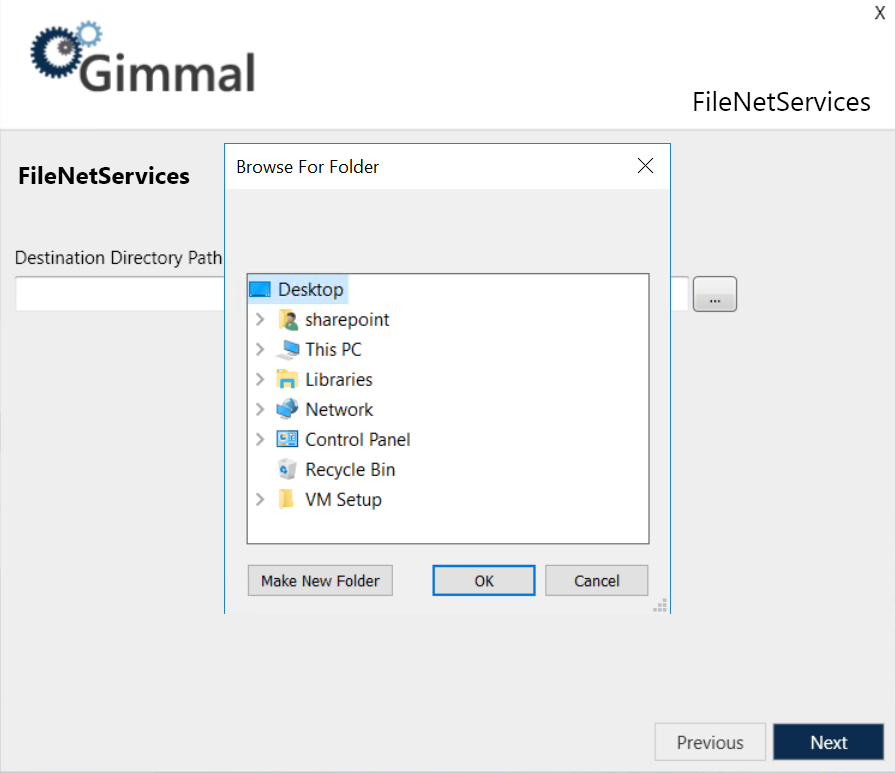
Select the webapps folder of the Java web server that hosts FileNet, and then click Next. The installation begins, with a progress bar indicating the state of the installation. Upon deployment, the following screen displays:
Click Next. The Finish screen displays, indicating the component was installed successfully.
Click Finish to close the installer.
Deploying .WAR File to a FileNet Server
Perform the following steps to deploy the FileNet Connector .WAR file to a FileNet server.
From the Records Management splash screen, click the Install FileNet Connector link. The User Account Control window opens.
Click Yes to allow the installer to make changes to your computer. The FileNet Connector installation screen displays.
On the FileNet Connector installation screen, click Install to the right of the FileNet Services option.
Perform the steps described in Installing FileNet Services. When you get to step three, choose a temporary folder location (on current server or safe network location) where you want to deploy the .WAR file. This file enables you to configure the FileNet server so that it interfaces with the FileNet Connector server.
Take the .WAR file from the temporary folder location and copy it to the “webapps” folder of the Java web server that hosts FileNet.
Complete the remaining steps of the installation.
Start the FileNet Retention and Classification Windows services on the FileNet Connector server.