Creating a Container
A container is a logical or location-based structure used for organizing and managing physical assets. For example, a location-based container could be a shelf, and the boxes that are stored on the shelf (which represent the physical assets). For logical-based, the container can be anything, a charge-code, a taxonomy value, etc. and the assets contained therein are those that are being managed (boxes/folders/microfiche) etc. You can create parent (root) containers and a child container, depending on your permissions. The following sections describe how to create each type of container.
While it is possible to so create many levels of child containers, only six levels deep is supported.
By default, a child container inherits the Node Type (Location or Logical) of its parent container, so the parent container Node Type cannot be changed. If you want to change the node type, you must create a new root container and select the appropriate type. By default, a child container inherits the Record Class of its parent container. If the parent container does not have a Record Class, the child container will not have one either.
Creating a Parent (Root) Container
Login to Records Management as a user with the Physical Administrator role.
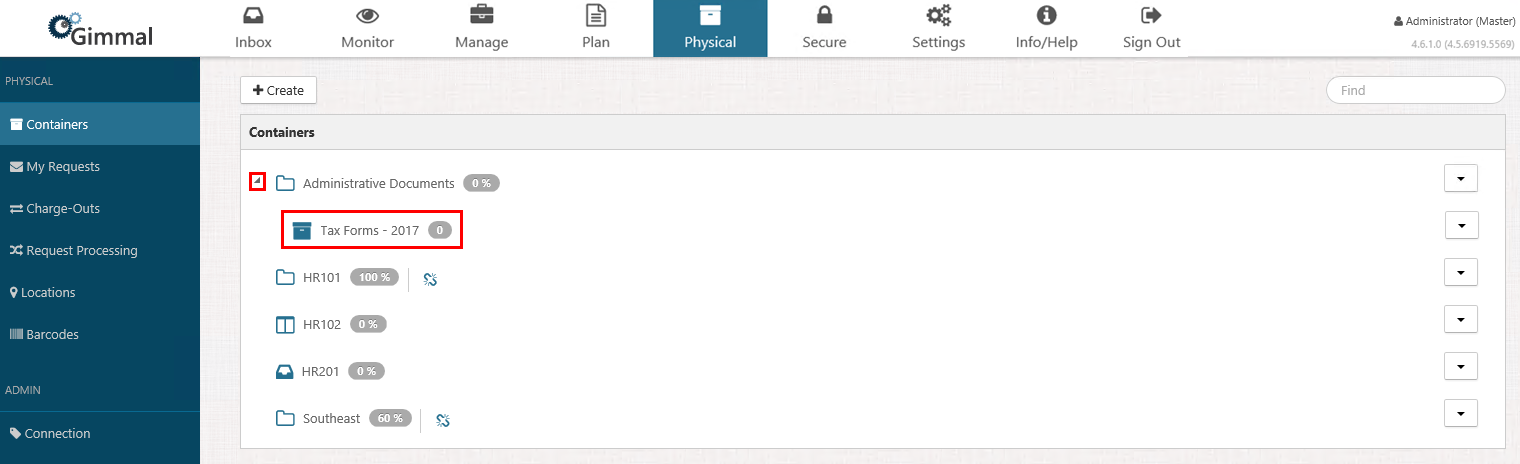
Click Physical on the Main Menu, and then click Containers on the left navigation menu. The Containers page displays.
Click +Create. The Create Container dialog opens.
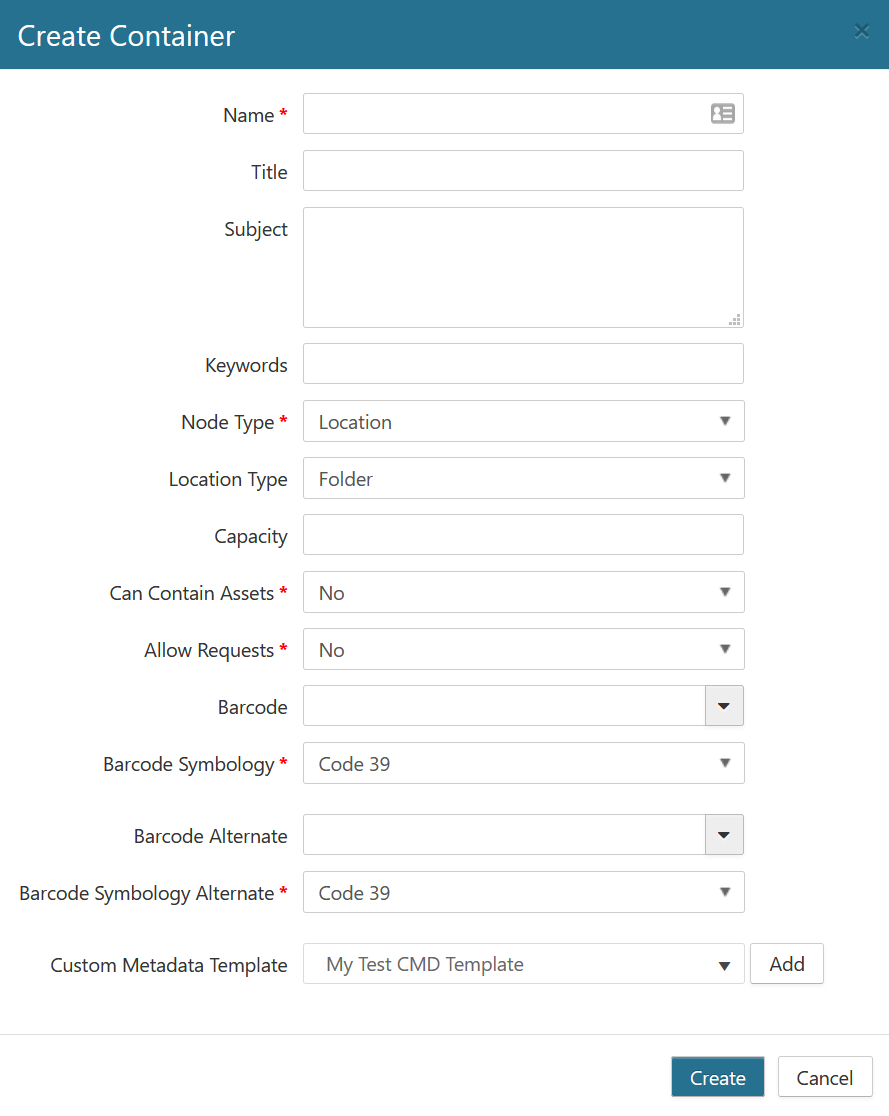
Enter the required and optional fields as described in Container Properties.
Click Create. The new container displays on the Containers page.
Creating a Child Container
Login to Records Management with either of the following roles/permissions:
A user with the Physical Administrator role, or
A Physical User with container permissions set to Edit or higher
On the Containers page referenced above, click the drop-down arrow for the container you want to create a child container for.
Click +Create. (The drop-down options you see may vary, depending on your permissions.)
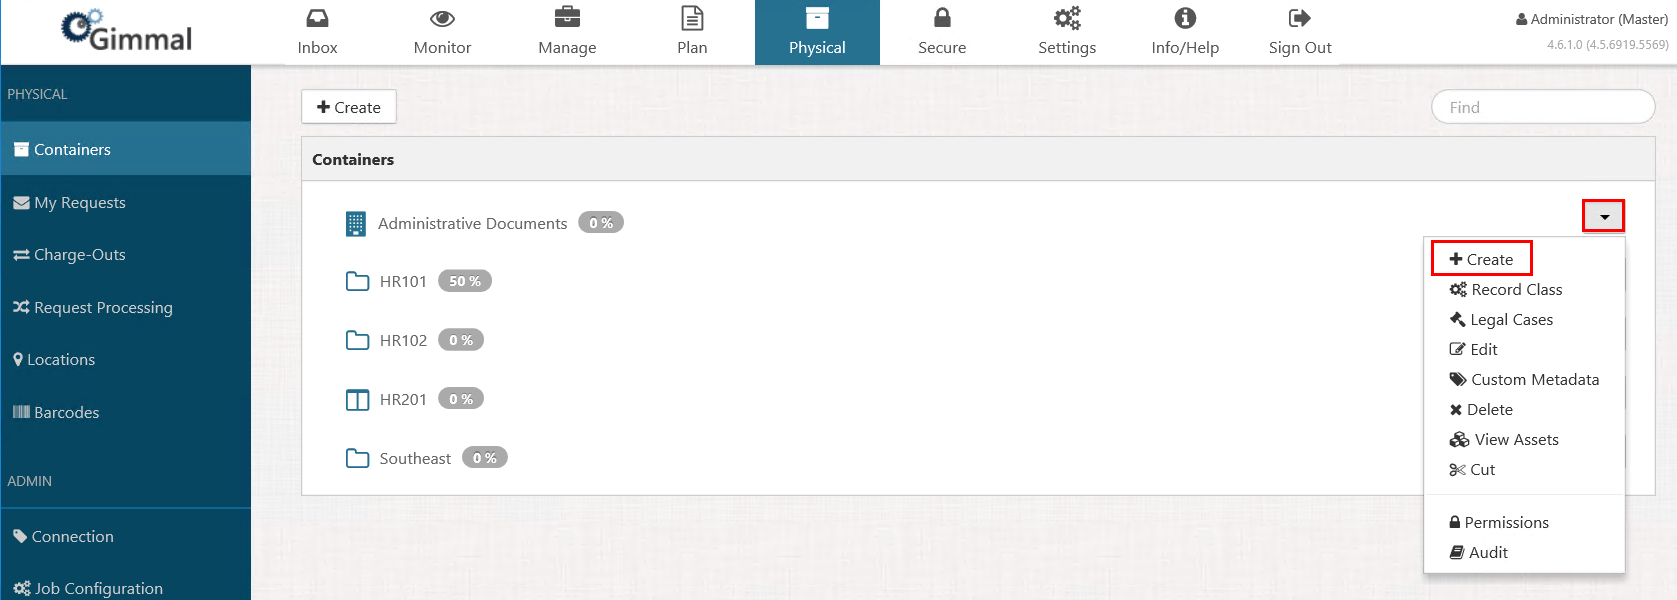
Enter the required and optional fields as described in Container Properties.
Click Create, and then expand the parent container. The new child container displays under the parent container.