
Adding the Decommissioning App to a Single Site
Before you can configure Decommissioning and use it in a site, you must add the Decommissioning app to a single site. Decommissioning is a single-instance app. If you add Decommissioning to more than one site, an error message displays in the App Event Log stating that the process has failed.
Microsoft does not allow you to use the System Account to add apps! Use a non-system account with appropriate permissions to perform these steps. Decommissioning is a single-instance app and it must be added to the root site of a site collection. The site that you are adding this app to should not be the Content Type Hub.
-
Navigate to the site as a user who has the following permissions:
-
SharePoint Online: Tenant Administrator, and Site Collection Administrator of the app catalog site.
-
SharePoint 2013/2016 on-premises: Farm Administrator, and Site Collection Administrator of the app catalog site.
-
-
Select Settings > Site Contents. The Site Contents page displays.
-
Select + add an app from the top of the page. A Decommissioning tile displays under Apps you can add.
-
Click the Decommissioning tile. A window displays: Do you trust Decommissioning?
-
Click Trust It on the following screen. The page refreshes when the app is installed. Depending on your system, this can take several minutes.
-
Click on the newly installed Decommissioning app tile to provision the app.
-
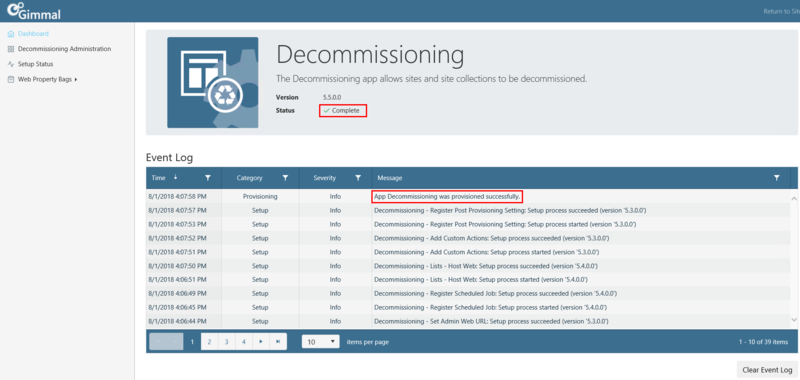
Ensure that the App Provisioned successfully message displays under Event Log, and the green checkmark displays next to Status. This could take several minutes.
-
Verify that the Decommissioning app displays on the Governance Hub Dashboard by the following these steps:
-
Navigate to the site where Governance Hub is installed.
-
Select Settings > Site Settings to display the Site Settings page.
-
Under the Site Administration section, click Governance Hub. The Governance Hub Dashboard displays.
-
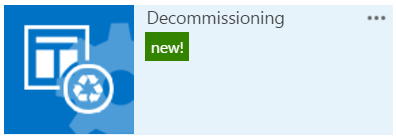
Verify the Decommissioning tile displays on this page, as shown in the following figure.
Creating a Governance Hub Secure Store Item
After the Governance Hub has been newly installed, or you have upgraded to the latest version, you must manually create the following Secure Store item to the Governance Hub Secure Store list located on the Governance Hub site to ensure that Decommissioning functions properly.
-
AdminDecommissioning – Supports the deletion of site collections
For on-premises installations, do not use a web application App Pool Identity account for any Secure Store Credentials. Ensure that you do not use multi-factor authentication when entering secure store credentials.
-
Navigate to the Governance Hub site as a user who has Contribute permission.
-
Access the Governance Hub – Secure Store page by clicking Secure Store on the left navigation pane of the Governance Hub Dashboard.
-
Click +new item. The list item page displays.
-
Enter the following information in the fields:
-
Key: AdminDecommissioning
-
Username: Username for farm or tenant account
-
Password: Password for farm or tenant account
Ensure that the username is in the form of '<username>@<domain>' and not '<domain>\<username>'.
-
-
Click Save. The AdminDecommissioning list item displays on the Secure Store page, as shown in the following figure.