Creating a Drop Zone
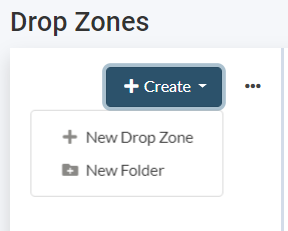
Select the "+ Create" button, drop down appears. Select the New Drop Zones function.
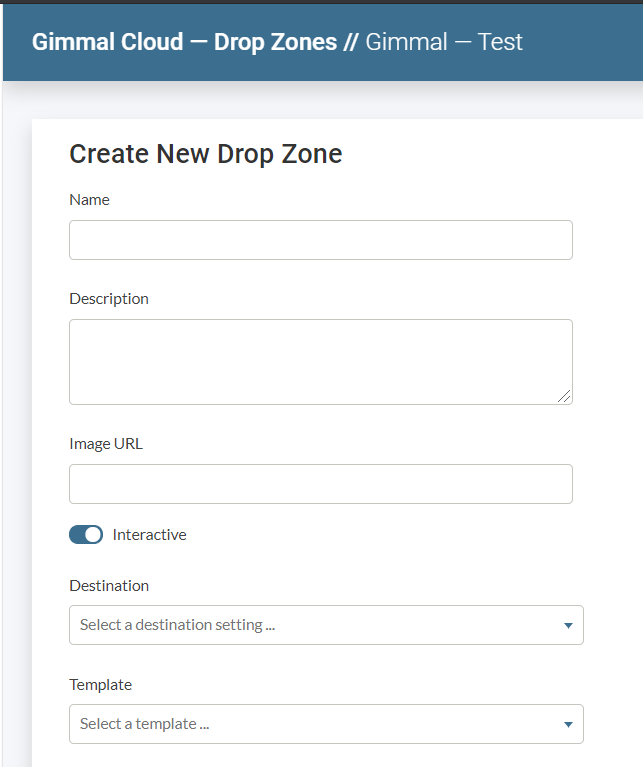
The Create new page appears:
-
Name the Drop Zone (Required)
-
Add a Description (Optional)
-
Add Image URL (Optional). This image must be accessible to the application. If you do not choose one a default Image will be attached to the Drop Zone.
-
Turn on/off Interactive option. This option defaults to On. If you turn it off, then when you submit a release you will not be prompted to add metadata to your properties.
-
Add a Destination from the drop-down list, You will need Destinations created to apply a destination. (Required)
-
Add a Template from the drop-down list, You will need Templates created to apply a Template. (Required)
-
Add Users (Optional)
-
Add Groups (Optional)
-
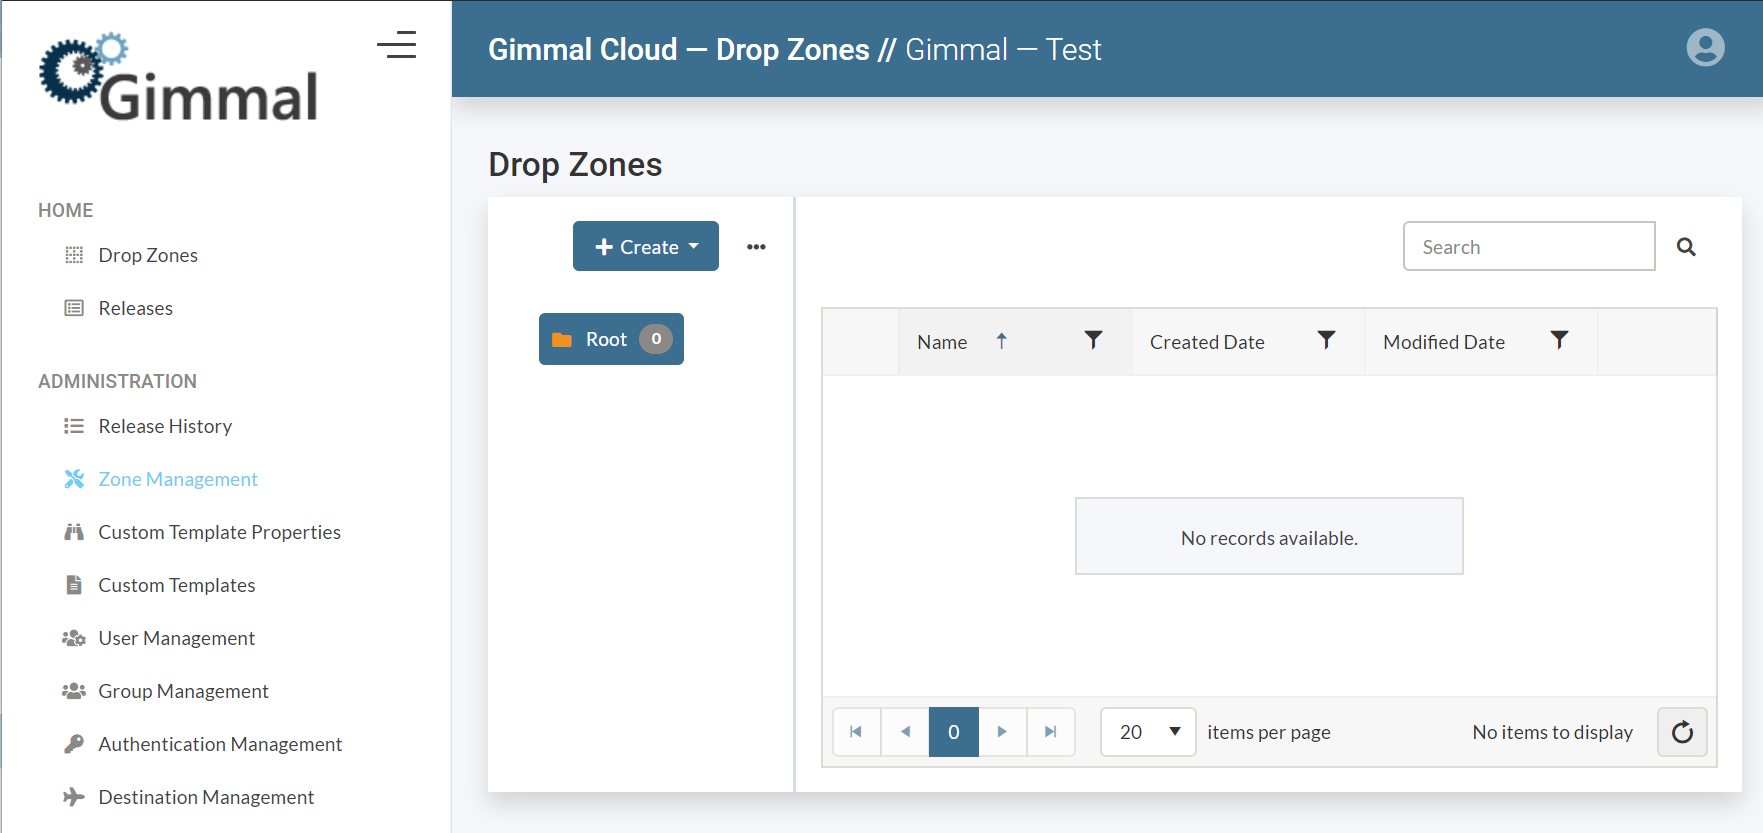
Select Create, once you select to create you are brought to the Drop Zones list where your Drop Zone is listed.
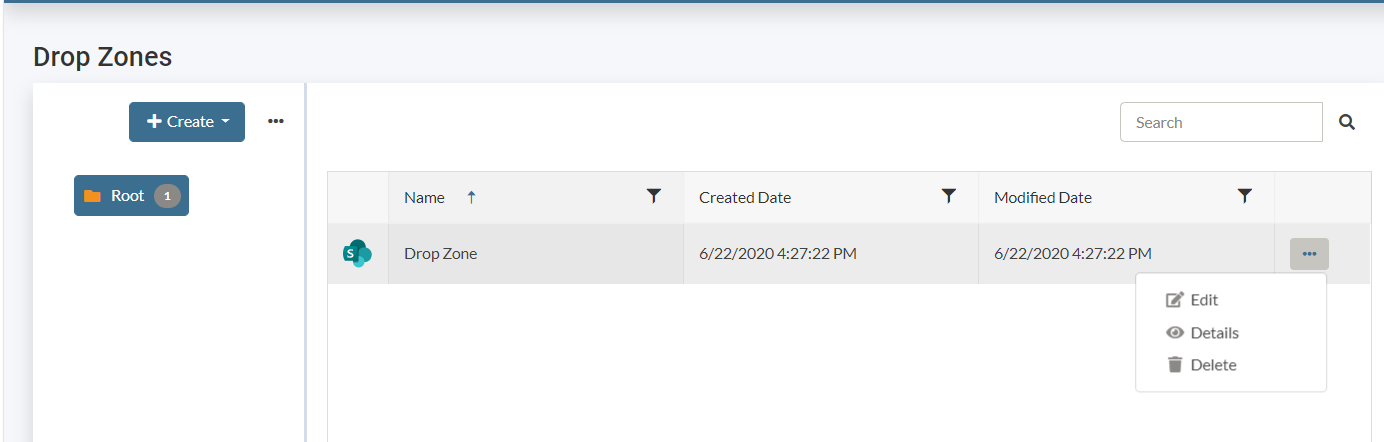
For each Drop Zone listed the ellipsis menu (...) allows you to Edit, View the Details and/or Delete. When you are finished creating you Drop Zone, select the Drop Zones tab and you can see the Drop Zone you just created.

Managing Zone Folders
Creating a Drop Zone Folder
Select the "+ Create" button, drop down appears. Select the New Folder function.
The Create New Folder right hand navigation pane appears:
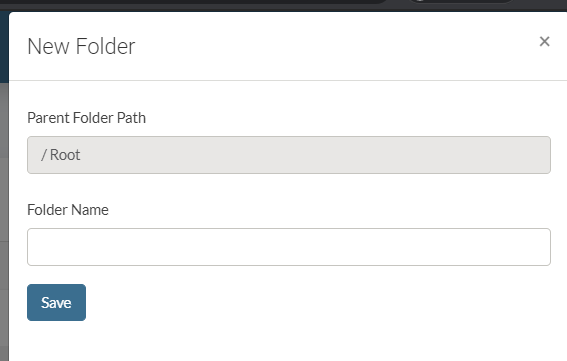
Verify the Parent Folder path is correct (you can also move folders up/down and to other parent folders).
Give the Folder a name
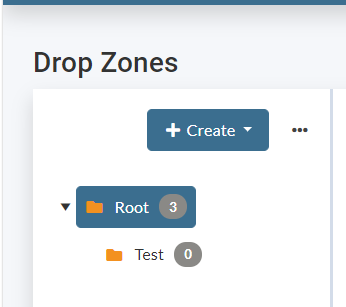
Save. The New folder pane closes and you can see the new folder(Test) listed in the folder tree.