Creating a Custom Template Property
-
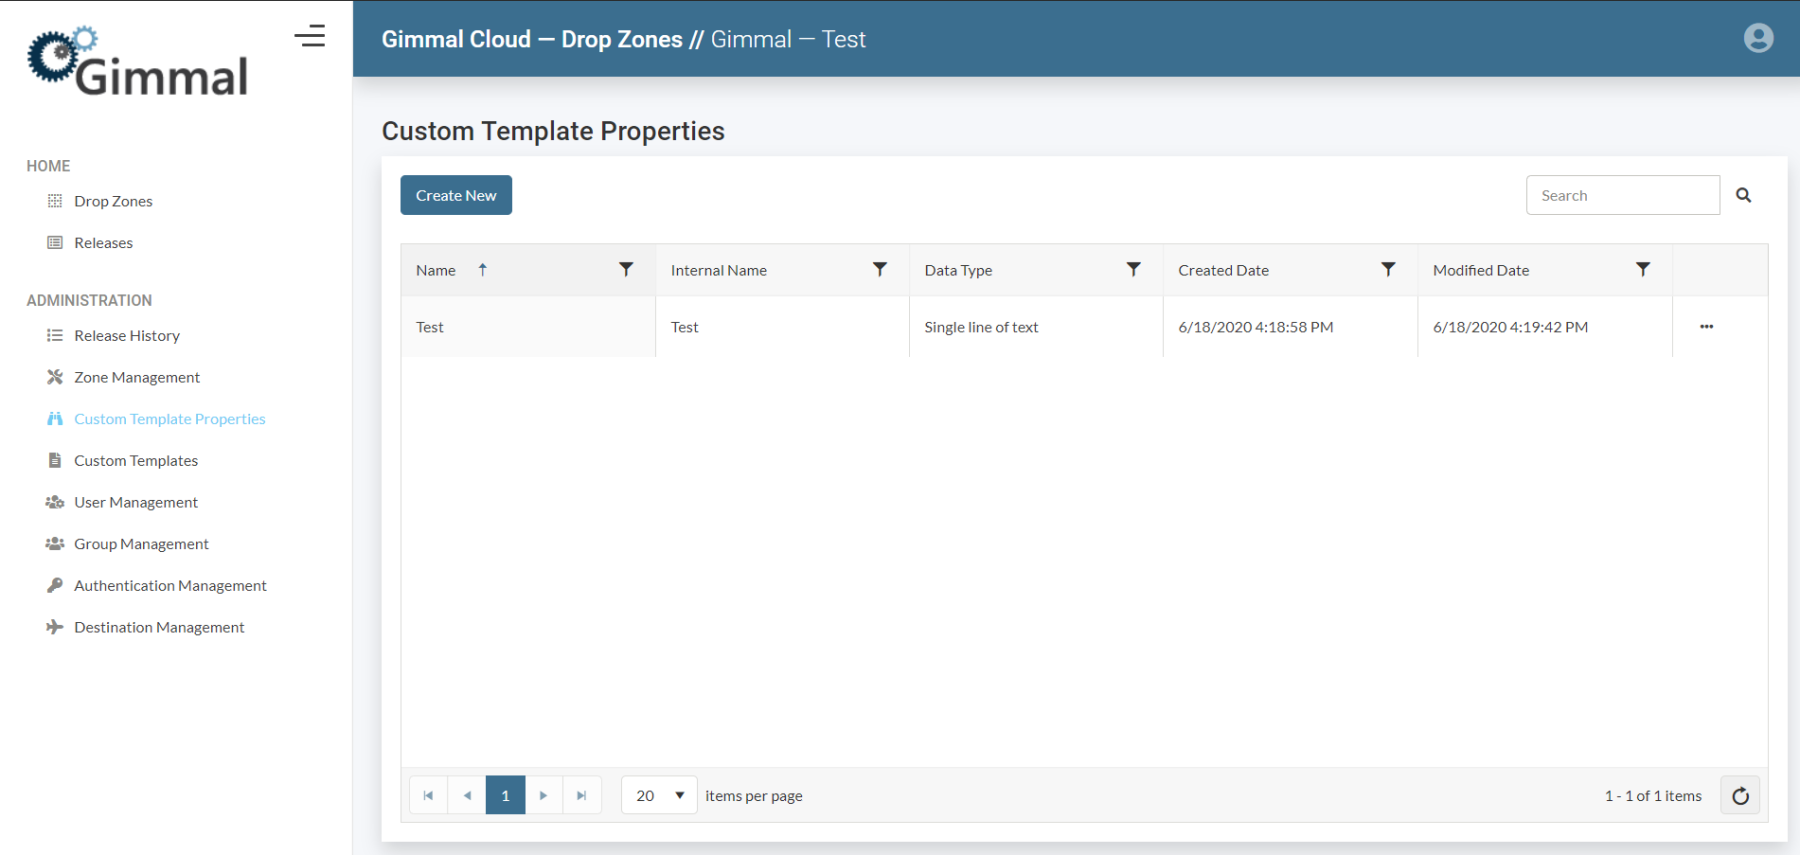
From the Landing page Select the Custom Template Properties Tab.
-
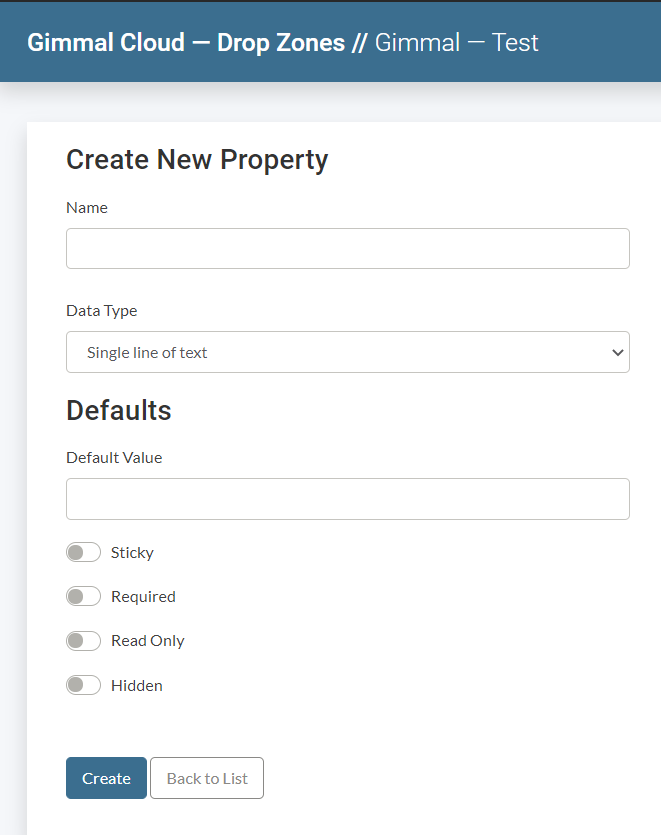
Select the Create New Button.
-
Give the Custom Template Property a name.(Required)
-
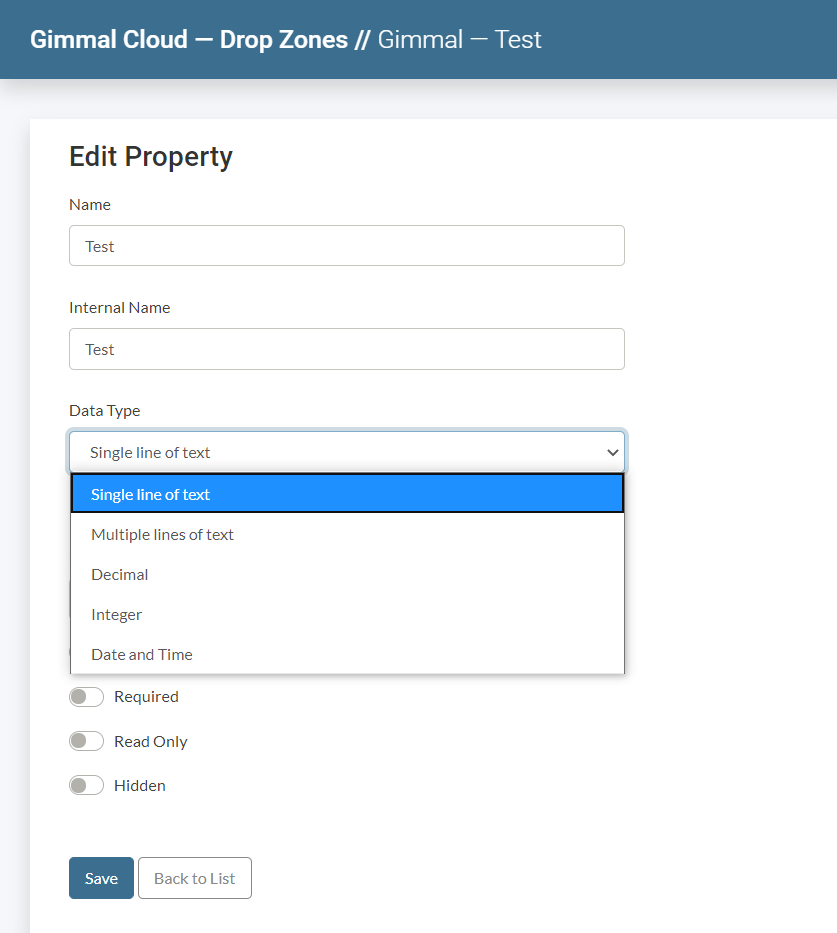
Select the Data Type from the list of Options.(Required)
-
You have the Option to Add Default Values that match the Data Type you selected above.
You have the option to use
-
Sticky: This will allow you to enter the meta data once and it will tie to the entire batch.
-
Required: This makes the field required for entire batch.
-
Read Only: This you will add a default value upon creation and that default value will be added to the entire batch and cannot be changed upon upload.
-
Hidden: This field is similar to Read Only, except this field will not be seen when uploading a batch.
-
Once fields have been added you will select to Create and then brought back to the Custom Template Properties List.
-
The Custom Template Property has an overflow menu to the right(3 Dots) this is where you can Edit, View the Details and/or Delete the Custom Template Property.
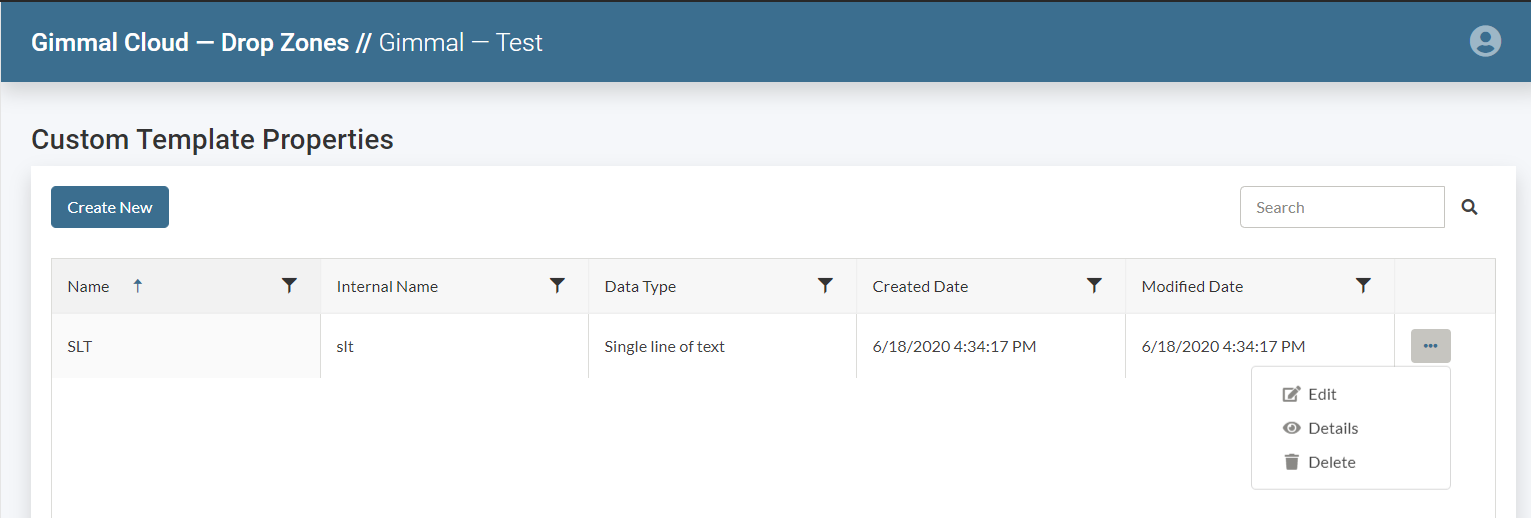
Edit a Custom Template Property by selecting the overflow menu to the right of the row.
Here is where you will Add the Internal name, the internal name is automatically generated from the name, you will verify and/or change it to match your repository field name.