Introduction
This document describes how to configure SSO (single sign-on) to the Discover management dashboard when using the Okta identity management platform.
Okta Configuration Steps
Create the Application
Begin by logging into the Okta administrative portal, selecting the Applications link on the top menu bar, then clicking on the button labeled Create New App.
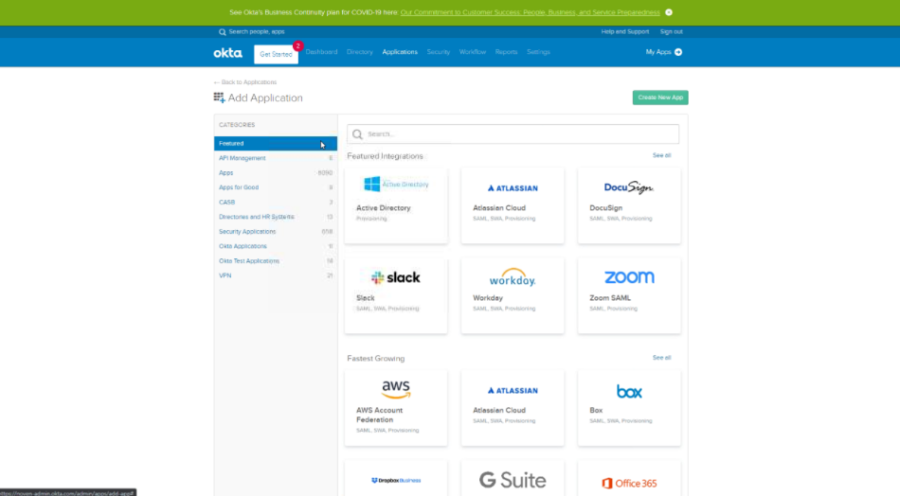
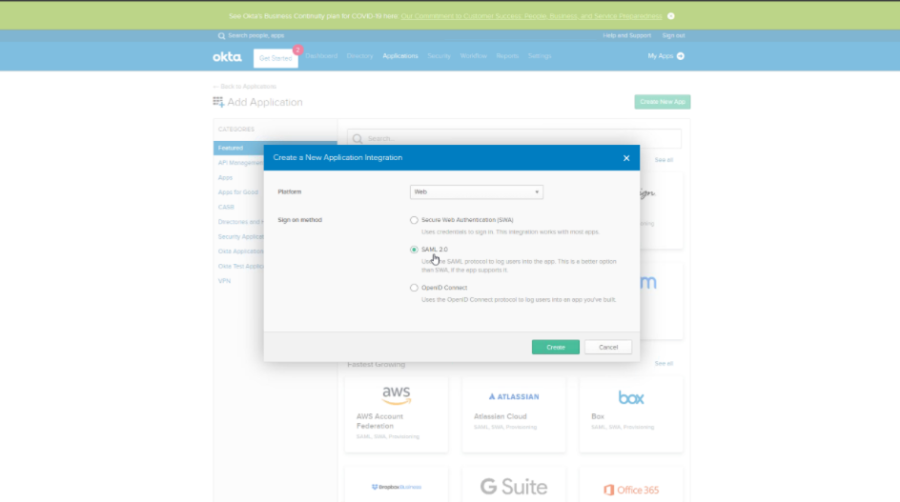
On the new application screen, select web from the platform drop-down box, then select the radio button for SAML 2.0
General Settings
On the General Settings tab, supply a name for the new application
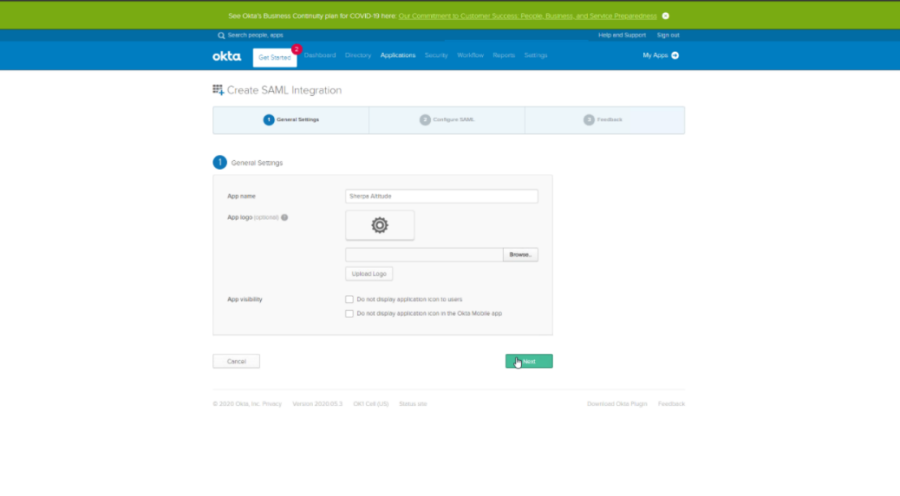
Click the Next button at the bottom of the page.
SAML Settings
On the Configure SAML tab, check the box labeled 'use this for recipient URL and Destination URL' and supply the values listed below:
-
Single Sign-on URL: https://discover.gimmal.cloud/Account/SamlConsume
-
Audience URI: https://discover.gimmal.cloud/Account/Login

Scroll down the Configure SAML tab and make the following selections:
-
Name ID Format to EmailAddress
-
Application username to Email
-
Update application username on to Create and Update
Click the Next button at the bottom of the page.
Feedback Settings
On the feedback tab, select the radio button labeled 'I am an Okta customer adding an internal app', and the button 'this is an internal app that we have created'. Then click the Finish button to save your settings.
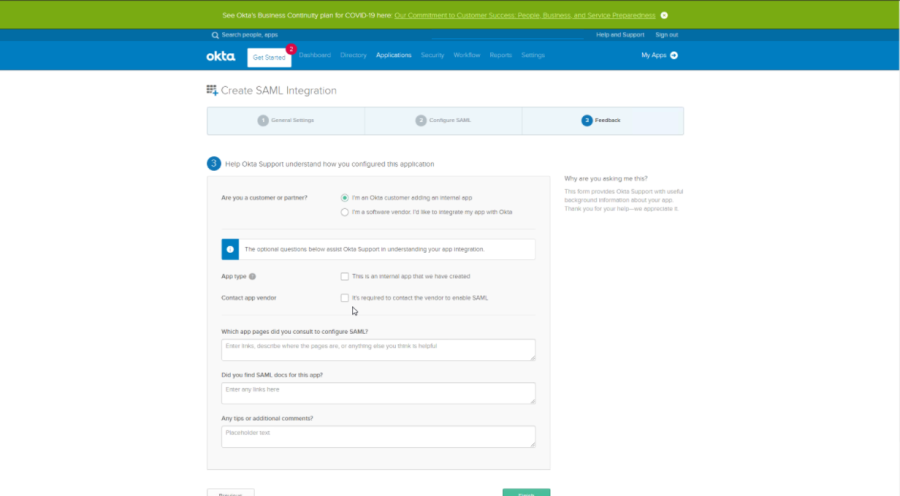
Click the Finish button at the bottom of the page.
Sign On Information
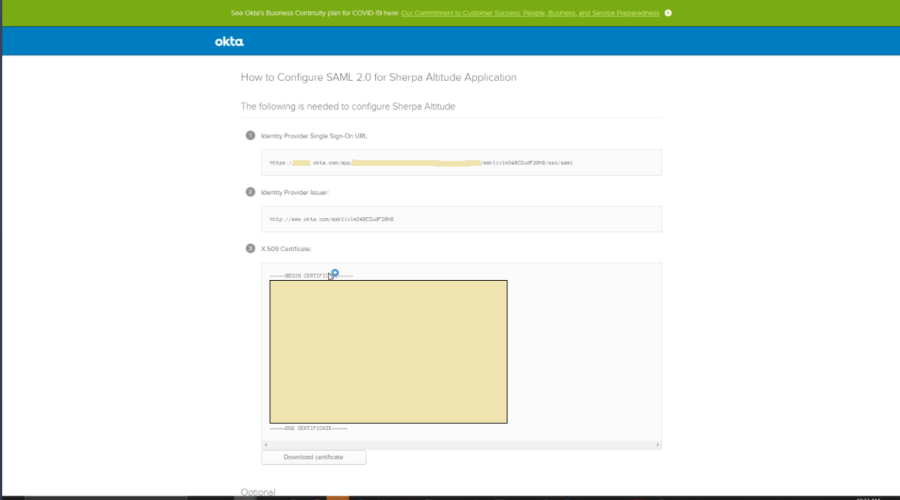
Now that the app is created, select the Sign On tab, then click on the button labeled 'View Setup Instructions' in the SAML2.0 box
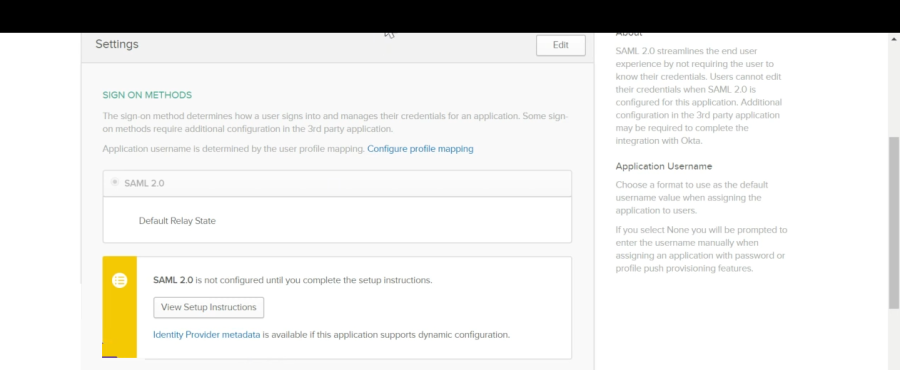
On this page, click the button to download the 509 certificate and copy the Identity Provider Single Sign-on URL (this URL will be needed during the Discover setup steps).
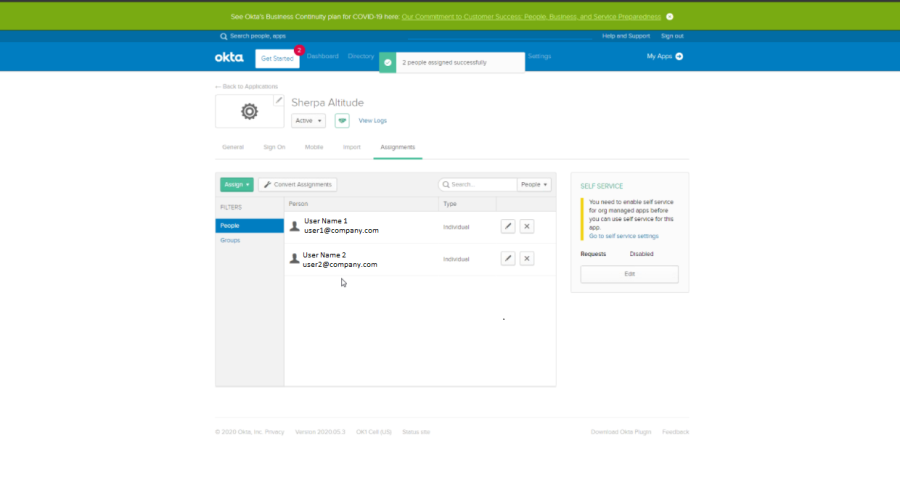
User Assignments
At the top of the page, click on the Assignments tab and add any users who will be granted access to the Discover dashboard. Note, the user accounts that you add as 'assignments' must also have been added on the configuration page of the Discover dashboard. The account that you create in Discover will determine the role that the user is assigned when their SSO sign-on is processed.
This completes the Okta configuration steps. To continue, log in to the Discover dashboard.
Discover Configuration Steps
Dashboard Settings
From the Discover dashboard, click the gear icon at the top right of the page, select Settings, and open the ‘Single Sign-on’ tab.
-
Check the box for Main Login
-
In the identity provider endpoint box, paste the 'Identity Provider Single Sign-on URL' that you copied during the Okta setup process
-
Open the Okta 509 certificate file in Notepad and paste that information into the box labeled Certificate on the screen shown below
-20250416-120716.png?cb=8b135bb74aa3f9651e6104b95536b60f)
Discover Dashboard Login
When logging into the Discover dashboard, you can trigger the SSO process by entering your Customer ID then clicking on the 'Use single sign-on (SSO)' link
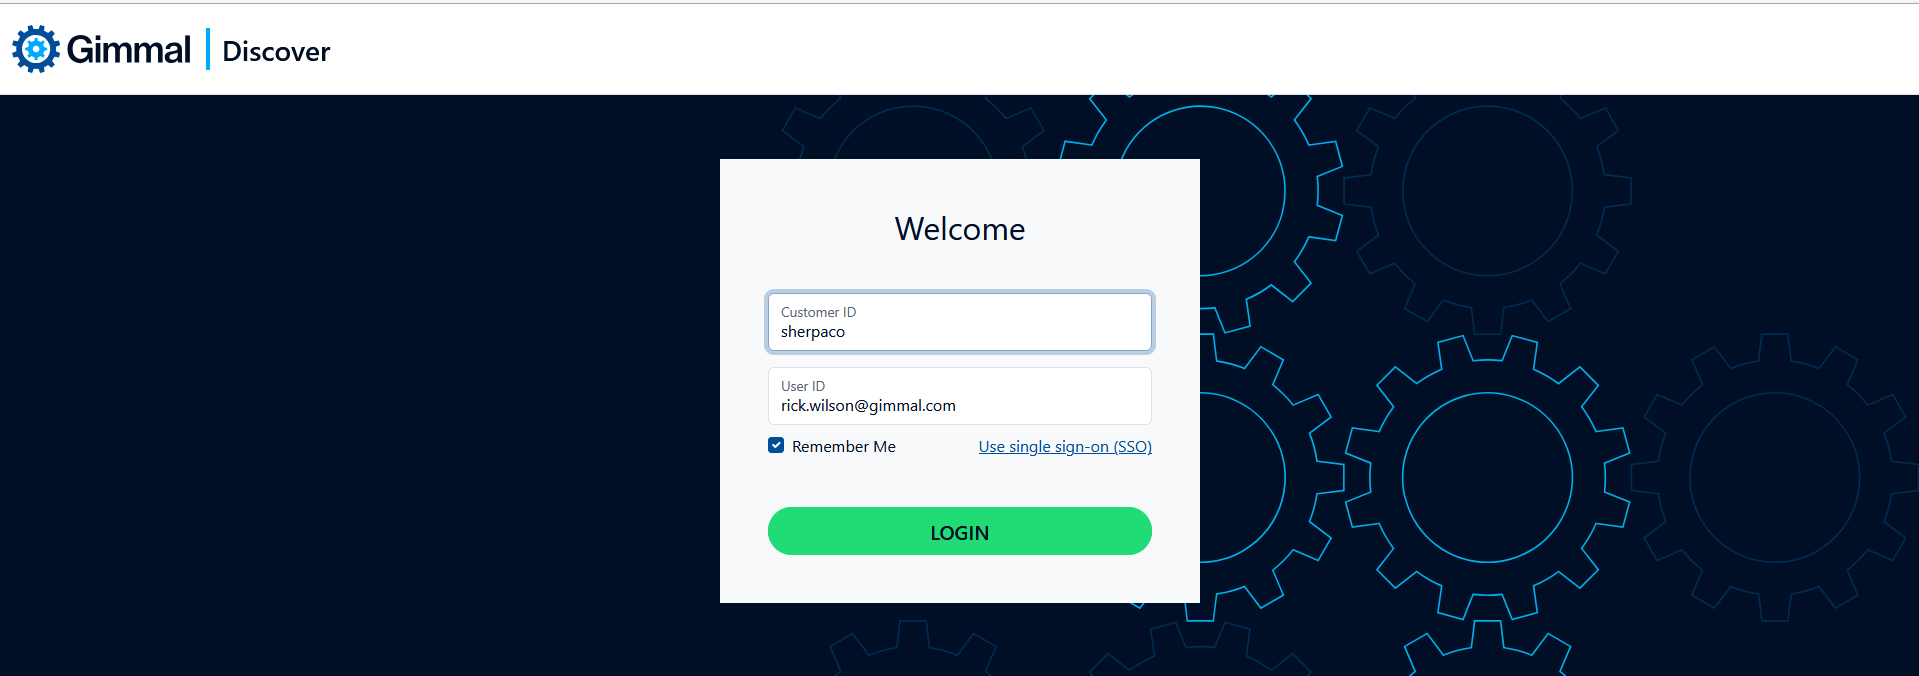
This will redirect you to the SSO login page. Clicking the Login button will invoke the SSO process. Note, the 'Force SAML Authentication' check box is optional. It will ignore any cached credentials in your active session and always force a login with the Okta SSO service