
Entra Configuration
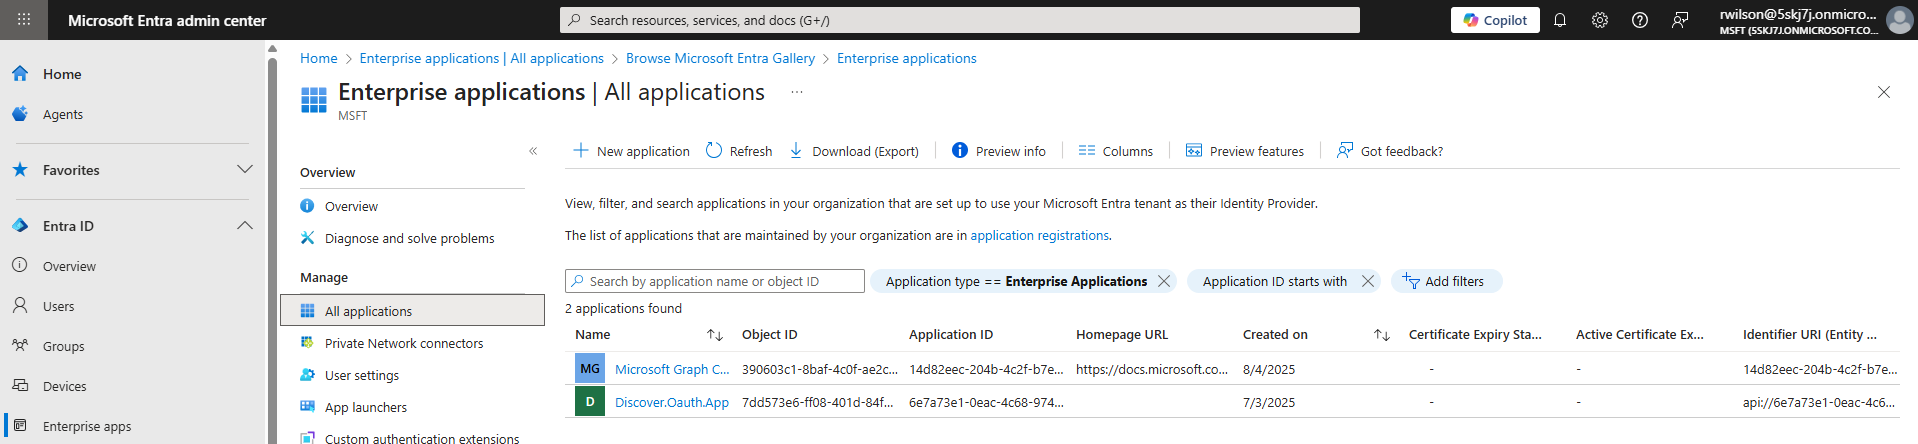
Log in to the Entra admin center (https://entra.microsoft.com/#home ) and navigate to Enterprise Applications. Click the ‘New application’ link at the top of the page
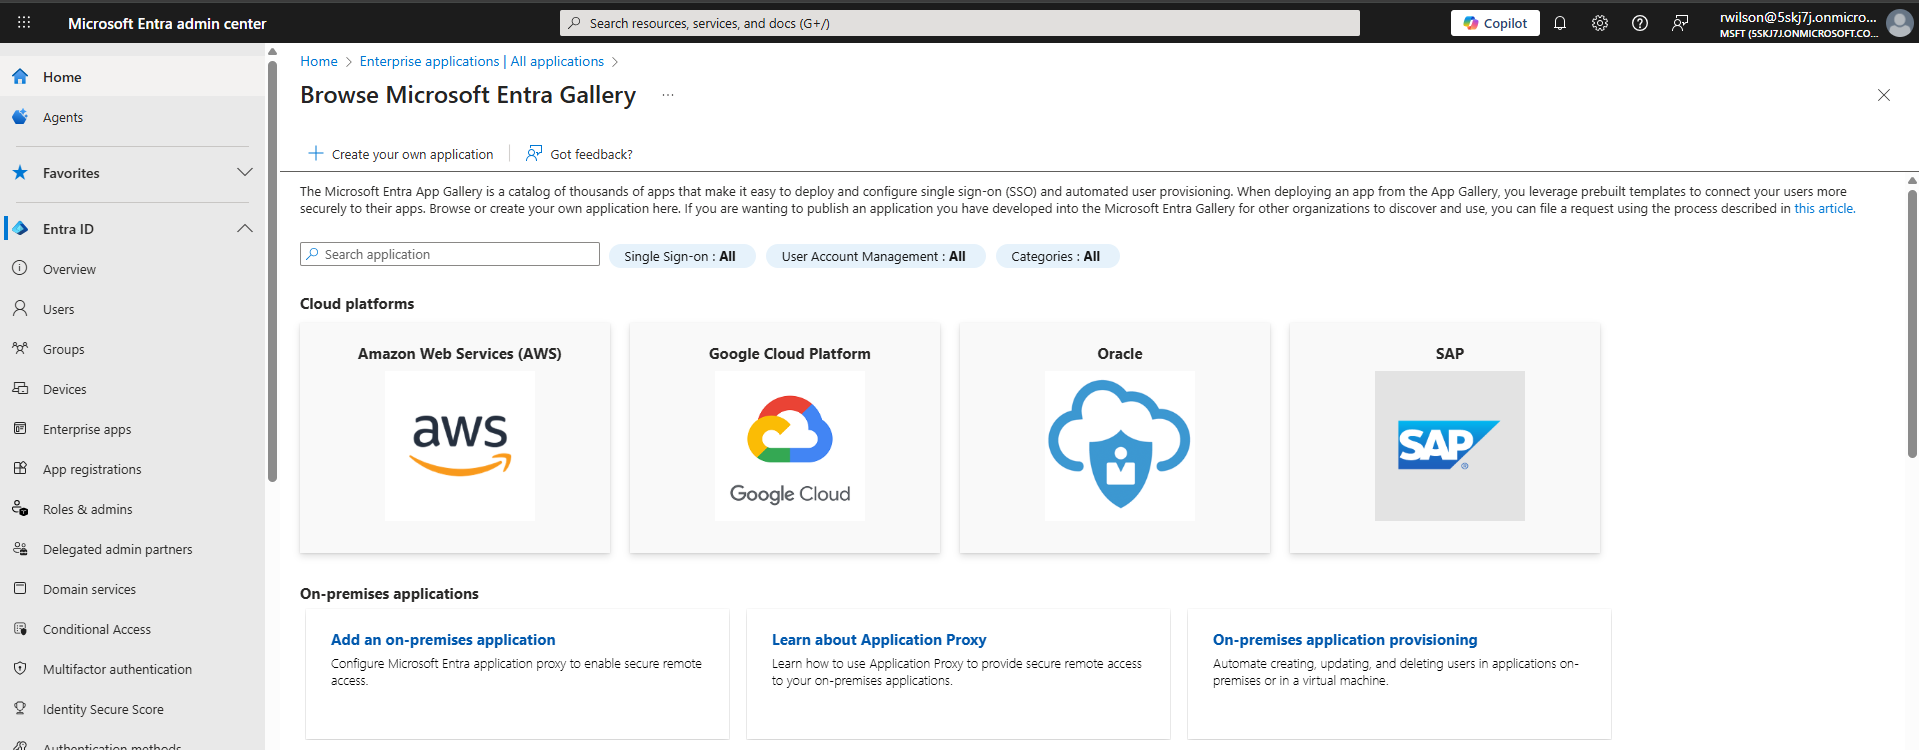
Next, click on the ‘Create your own application’ link at the top of the page.
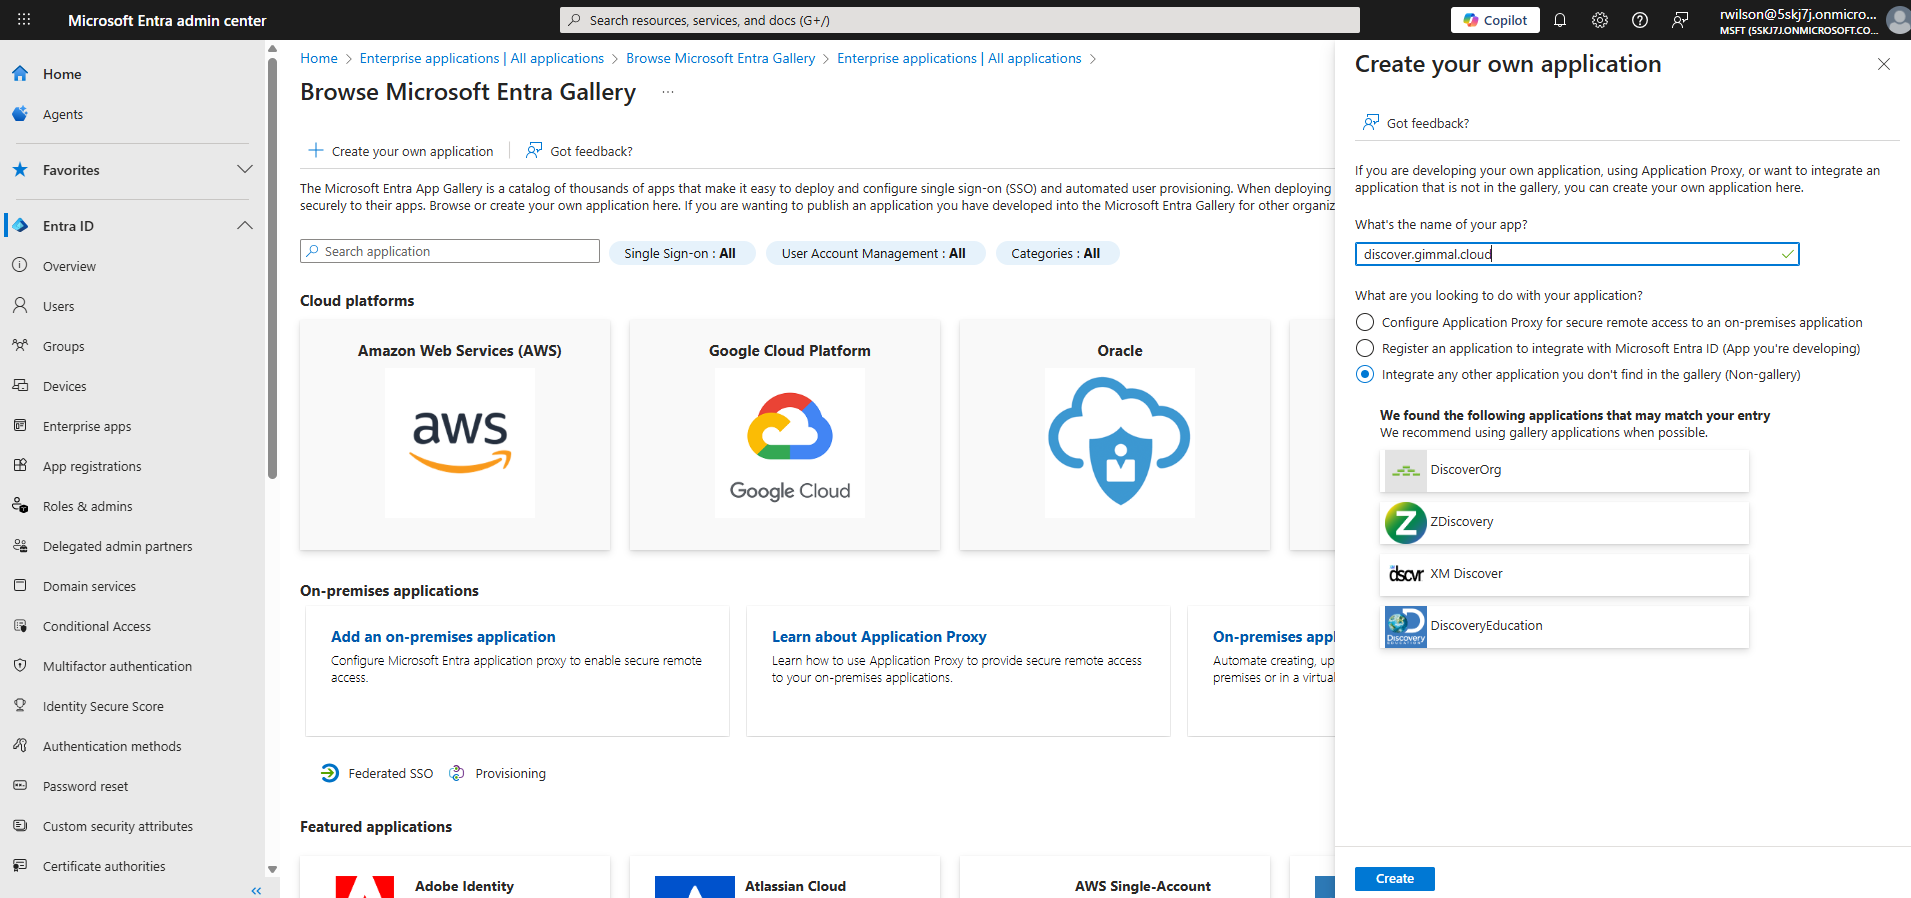
In the ‘Create your own application’ pane enter a name for your application, make sure the radio button is set to ‘Integrate any other application you don’t find in the gallery', then click ‘Create’ at the bottom of the pane.
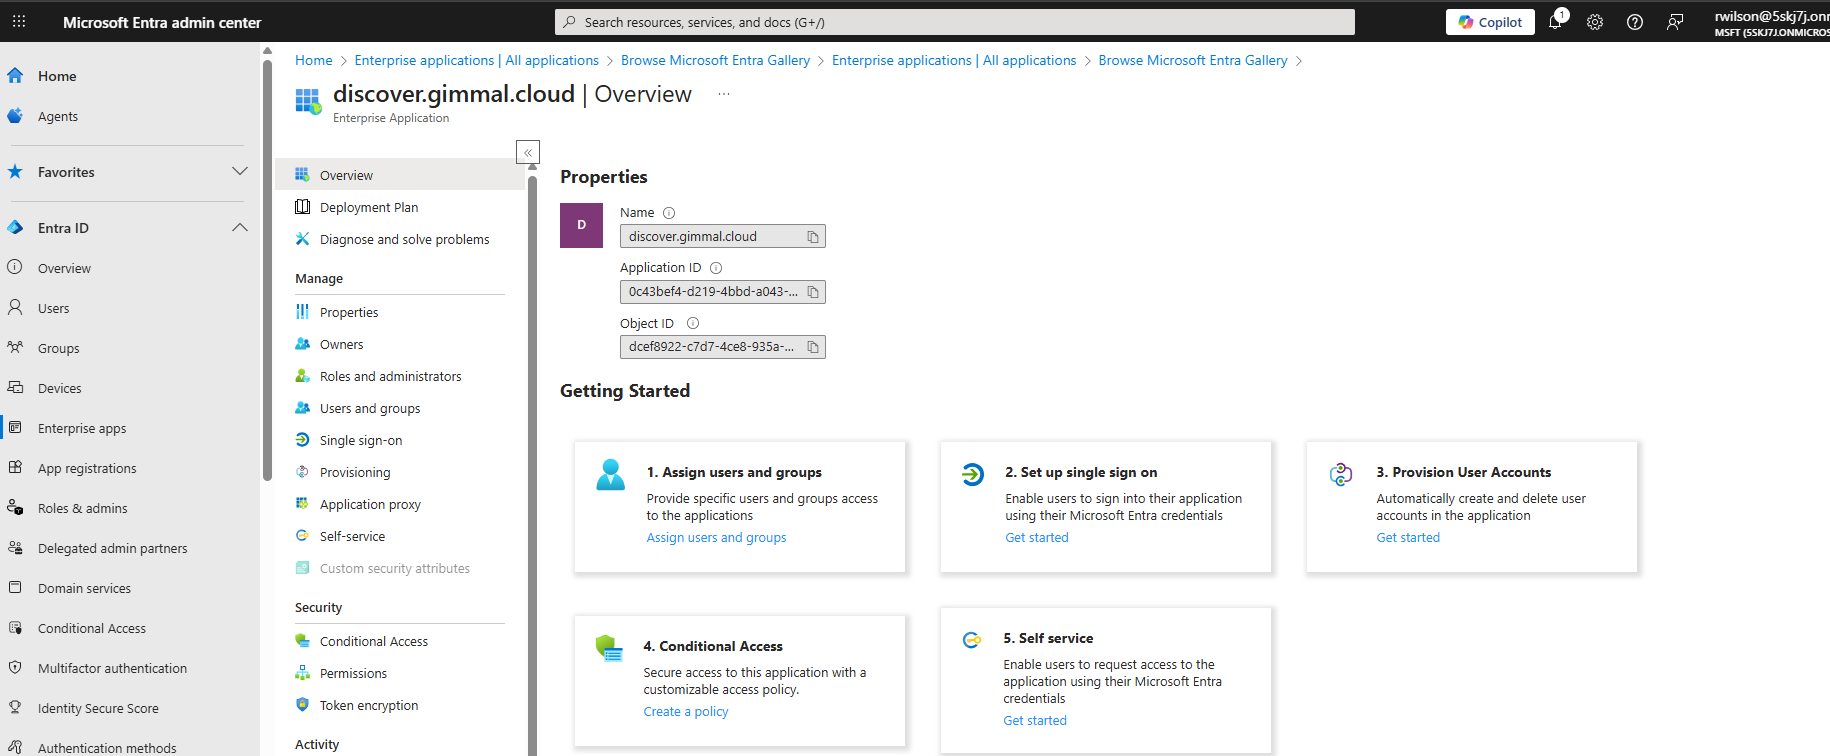
After the application is created, select the option for ‘Setup single sign on’
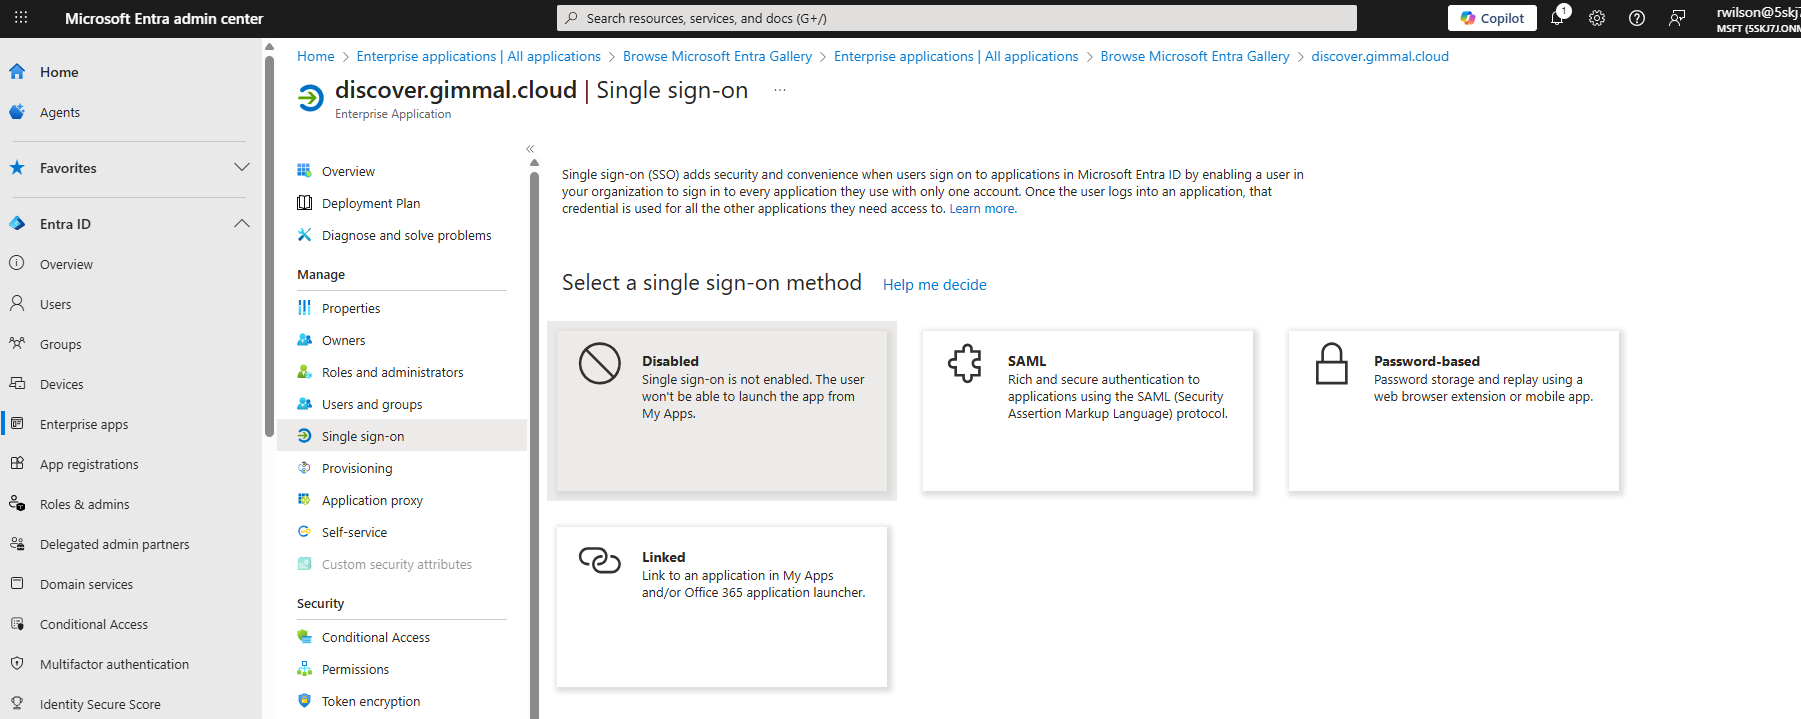
Select the single sign-on method SAML
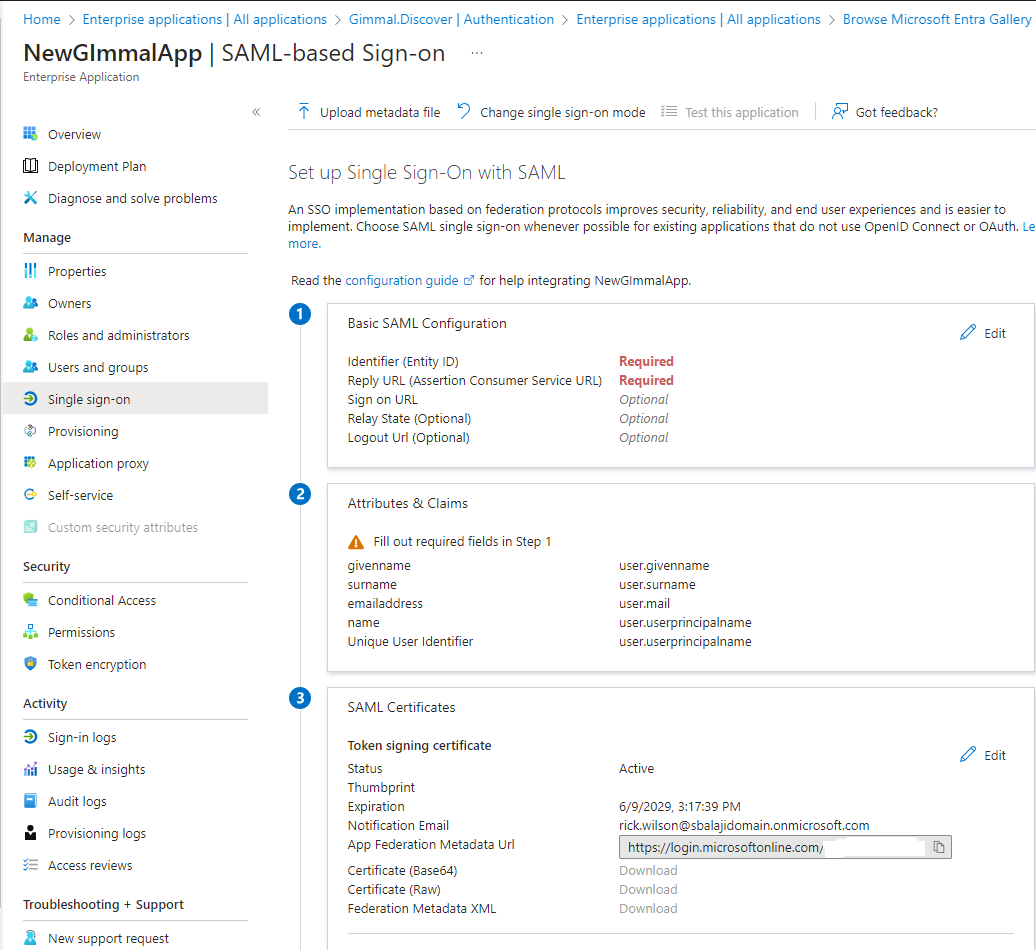
Click the pencil icon to edit the settings marked in red as ‘Required’ in section 1 and supply the values shown below:
Identifier (Entity ID): https://discover.gimmal.cloud/Account/Login
Reply URL: https://discover.gimmal.cloud/Account/SamlConsume
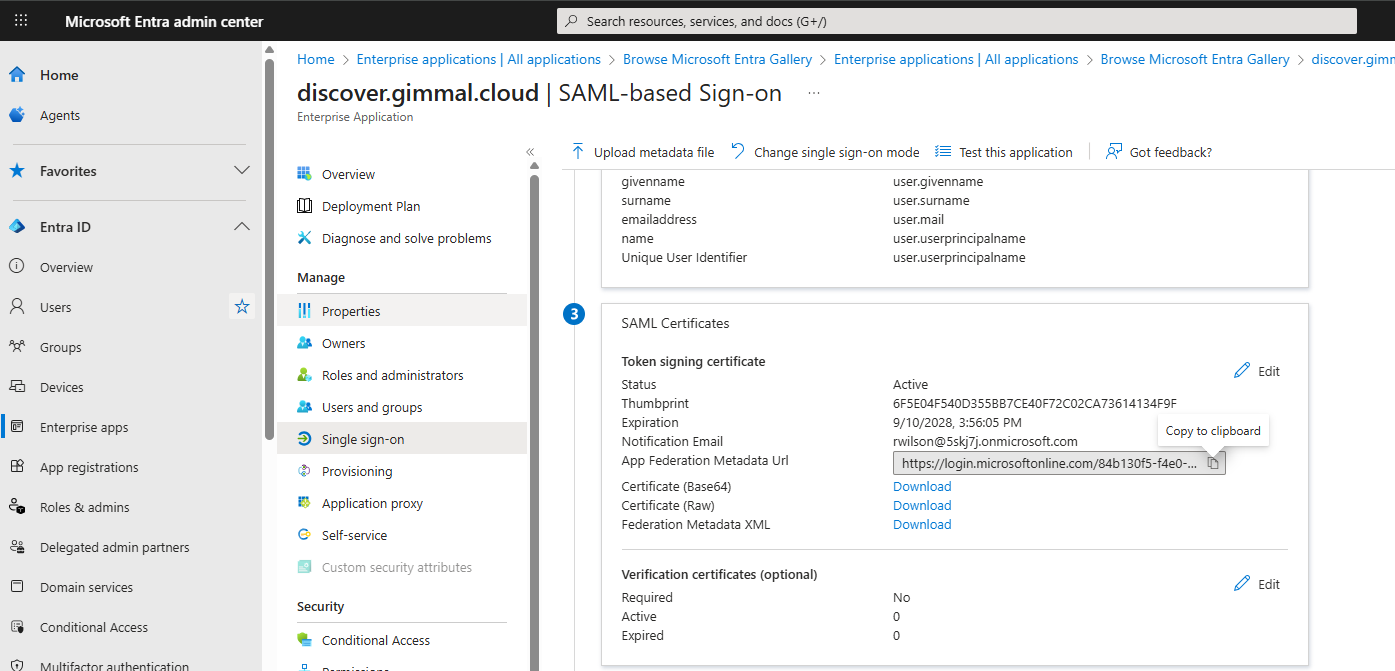
After saving the ID and Reply URL values, move to Section 3 and download the (automatically generated) certificate file using the Certificate (Base64) option. Locate the downloaded certificate file (a .CER) and open it using Notepad. The text displayed in Notepad will be needed in the next section when configuring single sign-on in the Discover dashboard.
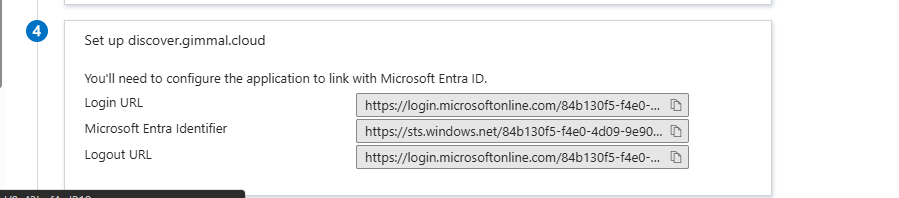
Copy the Login URL shown in section 4. You will need this information to configure single sign-on in the Discover dashboard (see next section).
Single Sign-on Configuration in the Discover Dashboard
-
Log in to the dashboard using an Administrator account.
-
Click the gear icon in the top right corner of the dashboard, select Settings, and navigate to the Single Sign-on page
.png?cb=d95cb8bf58ee86df26d9e384fccb2d1b)
-
Set the following values:
Enable single sign-on: check the box for Main Login
Identity Provider Endpoint: Paste the login URL copied from Entra
Certificate: Paste the Base64 certificate you downloaded from Entra, copy the entire certificate text (including the BEGIN CERTIFICATE and END CERTIFICATE lines), and paste it into this field.
Base URL for SSO: Although it says 'optional' we recommend setting this value to: discover.gimmal.cloud
-
Click the Save button to update the settings.
Login Instructions
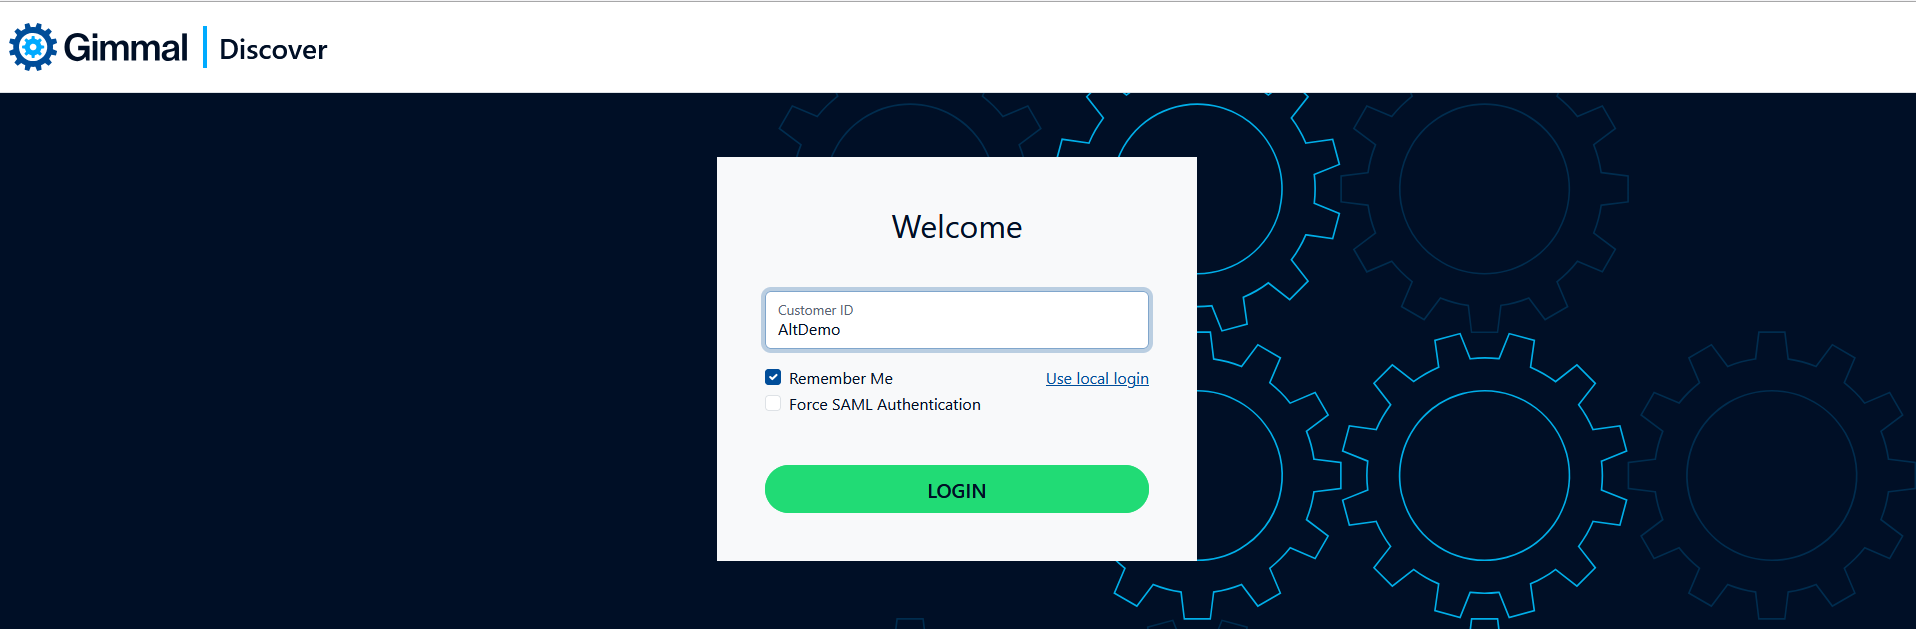
To log in to Discover using Single Sign-on, on the login page:
Click the Use Single Sign-on link
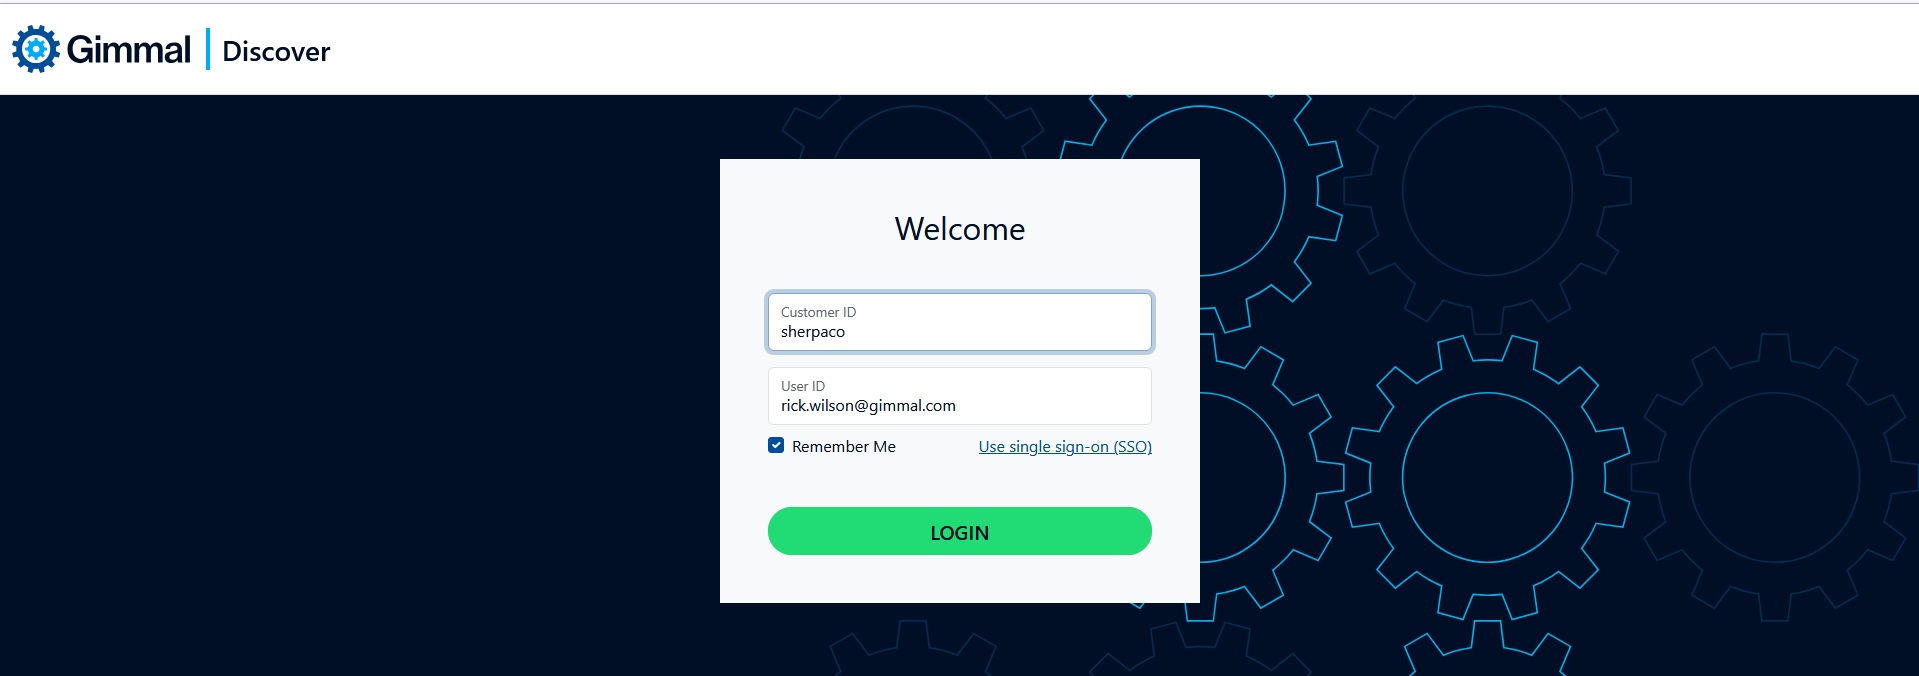
Enter a valid Customer ID, then click Login.
If the user's Entra credential is cached in the browser, the user will be logged in. If not, they will be redirected to the Microsoft 365 login page, prompted to enter their credentials, and then logged into Discover following successful authentication.
Checking the Force SAML Authentication box will ignore any cached credentials and force the user to re-enter their Entra login information.
Requiring SSO Authentication
It is possible to limit a user to SSO login only. To implement this restriction, click on the Administration module link at the top of the dashboard, select a user in the left navigation panel, then edit the user and check the SSO Only Login box as shown below:
.png?cb=6744483060f9141c88d4d1ea7711943a)
When this option is set, the user will still be prompted to enter a Customer ID and User ID, but will never receive the password login prompt. Instead, they will be redirected to the SSO provider.