
This certificate is required if customers intend to query Azure Active Directory to obtain group information. It must be installed on the machine where the EWS Agent is deployed. Follow the steps outlined below to install the certificate:
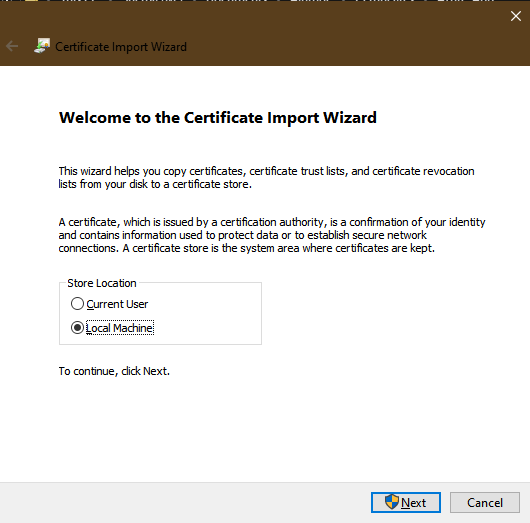
Begin by right-clicking the certificate .pfx file and either selecting 'Install PFX' or 'Open' from the context menu to launch the certificate import wizard. On the welcome screen select the Local Machine radio button then click Next:
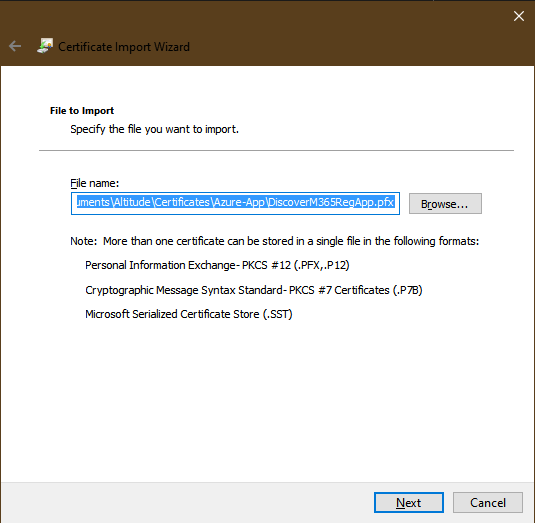
Use the Browse button to locate the certificate .pfx file, select the file then click the Next button to continue:
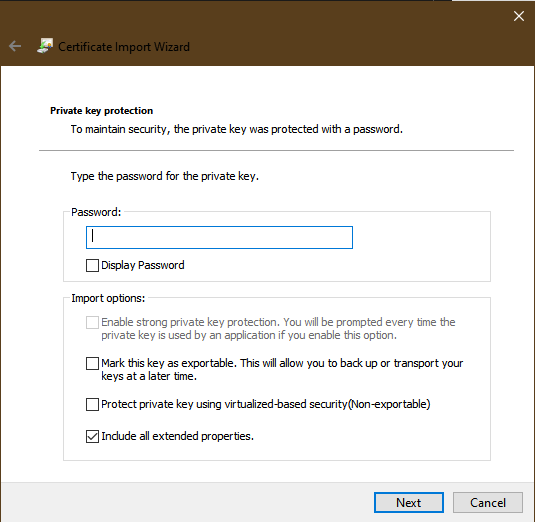
Enter the password used to generate the certificate, select the boxes shown below then click Next
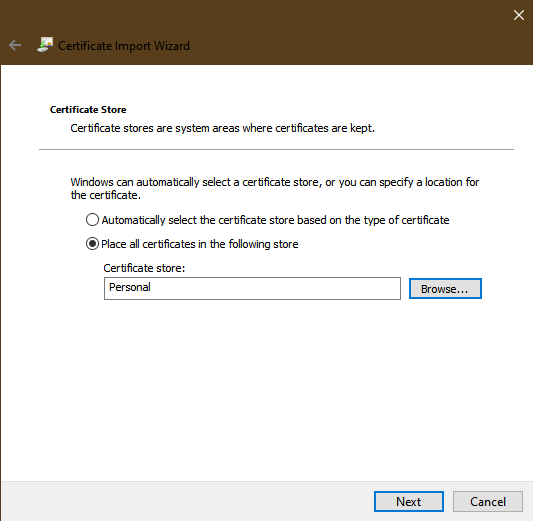
Select the radio button allowing you to select a certificate store, click the Browse button, select Personal then click the Next button:
Verify the settings and click Finish to install the certificate
To confirm, the certificate is correctly installed, do the following:
-
Click the Start/Run menu option and enter MMC (Microsoft Management Console) on the command line
-
From the file menu click Add/Remove Snap-in, then select Certificates in the Available Snap-ins list
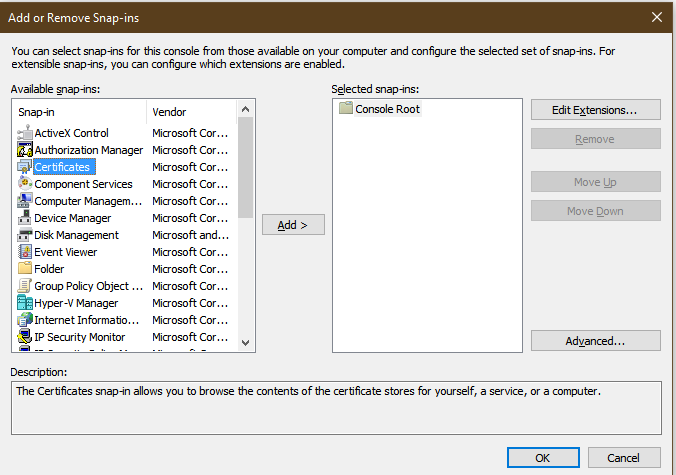
Click the Add button and on the Certificates snap-in dialog select the radio button for Computer account then click the Next button.
In the Select computer dialog, choose Local computer then click the Finish button. This will return you to the Add or Remove Snap-ins dialog, click OK to save your settings, and return to the MMC. There should now be an entry for Certificates (Local Computer) shown in the navigation tree. Select it to open the list, then select Personal, and Certificates.
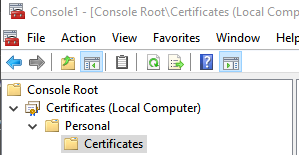
The app registration certificate should now show up in the list.